
Saving discrete code changes in version control with Git enables you to track the history of changes throughout the lifecycle of a project. Commit your changes (early and often) to Git and push them to a remote GitHub repository to deploy them to a targeted, specific environment (Development, Staging, or Production) and collaborate with anyone from anywhere. After you’ve shipped a new feature and want to get all the latest data from the production site, you can use Local’s Connect and sync what you want when you want.
This post is part of a series that helps set up an end-to-end workflow for developing sites.
- Part One: Set Up a Local WordPress Development Site
- Part Two: Git Version Control (in Local)
- Part Three: GitHub Action for Deployments
- Part Four: Synchronize Production Data With Local Connect
Notice how I put “(in Local)” in parenthesis? Local does not offer any integration with Git version control or GitHub, for that matter. However, our WordPress codebase exists because Local generates the WordPress core files for us and stores them on your computer. We want to focus on taking some of those files and directories and putting them under Git version control while intentionally ignoring the rest. This allows us to keep a discrete history of changes to our codebase.
There are many ways to go about how to version control and organize your Git repository. Consider using Composer to manage your WordPress plugins and theme dependencies or utilize WP Engine’s Smart Plugin Manager service to auto-update your plugins and themes.
It is also worth noting that you can rely on WP Engine’s WordPress core auto-updates or test and manually trigger WordPress core updates yourself (either in WP Engine’s portal or in your site’s WP admin dashboard), but we won’t cover including WordPress core files in our version control.
Ultimately, it is a matter of what works best for you and your team, and WP Engine aims to offer the flexibility to meet most teams’ workflow needs. Mostly, we encourage you to keep your Git repository lean because it’ll help keep your GitHub Action deployments shorter. The more plugins you add (and files) to your repository will increase the time it takes to run a deployment, which can create a counter-productive side-effect for your team.
If you’ve been following along, you should have the Yoast SEO plugin and Frost theme installed on your Local site, which we will continue to work with for this end-to-end demonstration.
Telling Git what to ignore
It is crucial to tell Git what you want to keep a history of and what you want to ignore. There is a particular file that Git uses to maintain this list of allowed and disallowed files and directories. It is called the .gitignore file.
If you’ve been following along then your Local site’s wp-content/ directory likely looks like this:
| Directory | Description |
|---|---|
wp-content/plugins/index.phpwp-content/plugins/wordpress-seo/* | WordPress plugins directory with Yoast SEO plugin installed and the standard index.php file. |
wp-content/themes/index.phpwp-content/themes/frost/* | WordPress themes directory with the Frost theme installed and the standard index.php file. |
wp-content/upgrade | Where WordPress often stores backup info when running upgrades. |
wp-content/uploads | WordPress media library uploads directory. |
In our case, we only want to track the wordpress-seo plugin and frost theme directories with Git.
So, let’s create a new file in VSCode (or your editor of choice) called .gitignore , add the following necessary rules to allow and disallow the pertinent files and folders, and save the .gitignore within the wp-content/ directory, which is the root of our Git repository.
Below is the complete code for our .gitignore.
wp-content/.gitignore (full source)
#----------------------------------------
# This Git ignore should be located
# in your WordPress install's wp-content/
# directory.
#----------------------------------------

#---------------------------
# WordPress general
#---------------------------
/index.php

#---------------------------
# WordPress themes
#---------------------------
/themes/*

# DO NOT ignore these themes...
!/themes/frost

#---------------------------
# WordPress plugins
#---------------------------
/plugins/*

# DO NOT ignore these plugins...
!/plugins/wordpress-seo

#---------------------------
# WP MU plugins: these are
# managed by the platform.
#---------------------------
/mu-plugins/

#---------------------------
# WP uploads directory
#---------------------------
/uploads/

#---------------------------
# WP upgrade files
#---------------------------
/upgrade/

#---------------------------
# OS-specific files
#---------------------------
.DS_Store
.Trashes
Thumbs.db

#---------------------------
# Composer
#---------------------------
/vendor
.env
.env.*
!.env.example

#---------------------------
# Smart Plugin Manager
#---------------------------
/.logs/
autoupdater_maintenance_mode_enabled.tmp

#---------------------------
# large/disallowed file types
# a CDN should be used for these
#---------------------------
*.hqx
*.bin
*.exe
*.dll
*.deb
*.dmg
*.iso
*.img
*.msi
*.msp
*.msm
*.mid
*.midi
*.kar
*.mp3
*.ogg
*.m4a
*.ra
*.3gpp
*.3gp
*.mp4
*.mpeg
*.mpg
*.mov
*.webm
*.flv
*.m4v
*.mng
*.asx
*.asf
*.wmv
*.avi
*.log

#---------------------------
# Build tools
#---------------------------
node_modules

#---------------------------
# Other
#---------------------------
.gitattributes
Code language: YAML (yaml)
Note the highlighted lines above (lines 18 and 26). These show the precise lines where we’re telling Git not to ignore the Yoast SEO plugin, Frost theme, and everything else ignored by version control.
Initialize Git (in Local)
Now that we have a proper .gitignore file in our wp-content/ directory. We have to initialize Git. Right now, Git does not exist, nor is Git aware that this folder is intended to be a repository. So, let’s initialize Git. (Note: We won’t cover how to install Git on your computer, but here is a handy guide.)
There are many options for initializing Git, and we’ll cover a few.
The #1 local WordPress
development tool
GitHub Desktop (free)
A typical application for setting up Git version control is GitHub’s own GitHub Desktop, which allows you to drag and drop a folder into its application, choose ‘create a repository,` and give it a name. You can even select a Git Ignore file to jump-start your repo’s configuration, but we already have one.
So, go ahead and drag the wp-content/ folder on GitHub Desktop, choose ‘Create a repository,’ give the repository a name, and click the ‘Create Repository’ button. This will even give us an initial commit, which is handy.

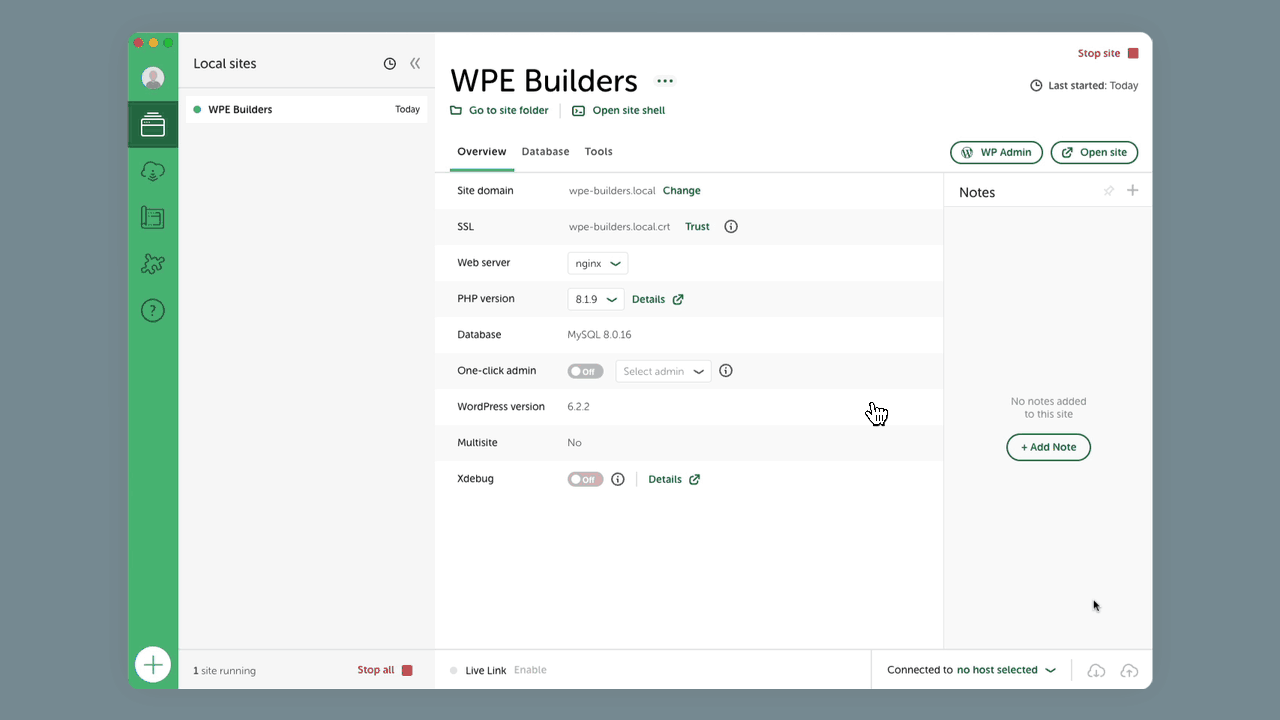
How do you find your Local site’s wp-content/ folder? We can use Local’s ‘Go to site folder‘ to get to where Local installs the WordPress site, but we will still have to navigate further into app/public/wp-content/.
Command-line interface (CLI)
If you’re a regular CLI user, you likely already know how to cd to the wp-content/ directory and run git init.
If you’re still new to CLI, here is another way to switch to the wp-content/ directory. Open up Terminal, iTerm, or Hyper, and type cd (with a space after “cd”) and then drag and drop the folder into the CLI app and hit ‘Return.’ This will drop you right into the corresponding directory.

Publishing Git to GitHub
At this point, you should have Git initialized in your Local site’s wp-content/ directory and tracking changes to only the Frost theme and the Yoast SEO plugin. That is fine and dandy, but we want our Git history available to other developers and clients (optional). We want to publish our repository to GitHub so you can reap the rewards of a centralized codebase and version control.
Again, we’ll show you how to do this with CLI and GitHub Desktop.
Publishing with GitHub Desktop
GitHub Desktop makes it pretty easy to publish your changes if you already have a GitHub account set up. If you don’t, then you better get started!
Just click the ‘Publish repository’ in the top-right, which should prompt you to sign in to GitHub.com by opening a browser and completing the process. Once logged in, give your GitHub repository a name and click ‘Publish.’
Publishing with CLI
There are two ways to go about this:
What’s next?
Let’s explore adding WP Engine’s GitHub Actions to trigger branch-based deployments to targeted environments with our existing demonstration codebase.