Get Started


Key Takeaways
Skimmability is vital for website content. Online readers prefer easily digestible content and may leave if faced with long text walls. Adding horizontal line separators can enhance readability and aesthetics.
Multiple ways to add line separators in WordPress. Options include using the Block Editor, Classic Editor, or HTML, each offering different levels of customization.
Customizing line separators with CSS. While the Block Editor provides style options, Classic Editor and HTML require manual CSS adjustments for customization.
Consider using a horizontal line separator to break up content. This simple element can significantly improve the visual appeal and readability of articles, making them more engaging for readers.
Online readers are picky. They don’t want to see long walls of text, and many will leave a site immediately if the content looks too difficult to read. Therefore, skimmability is vital for your website’s content.
If you have excellent, value-packed content that could use an aesthetic touch-up, a horizontal line separator could be just what you need. This is a handy way to split up text, improving readability, organization, and the overall aesthetics of your posts and pages.
There are several ways to add a line separator in WordPress—you can use the Block Editor, the Classic Editor, or even HTML. In this article, we’ll cover them all. Let’s get to it!
1. Add a Horizontal Line with the WordPress Block Editor
Adding a line separator in the default Block Editor is as easy as placing any other piece of content. First, open up the page you want to add the line to:
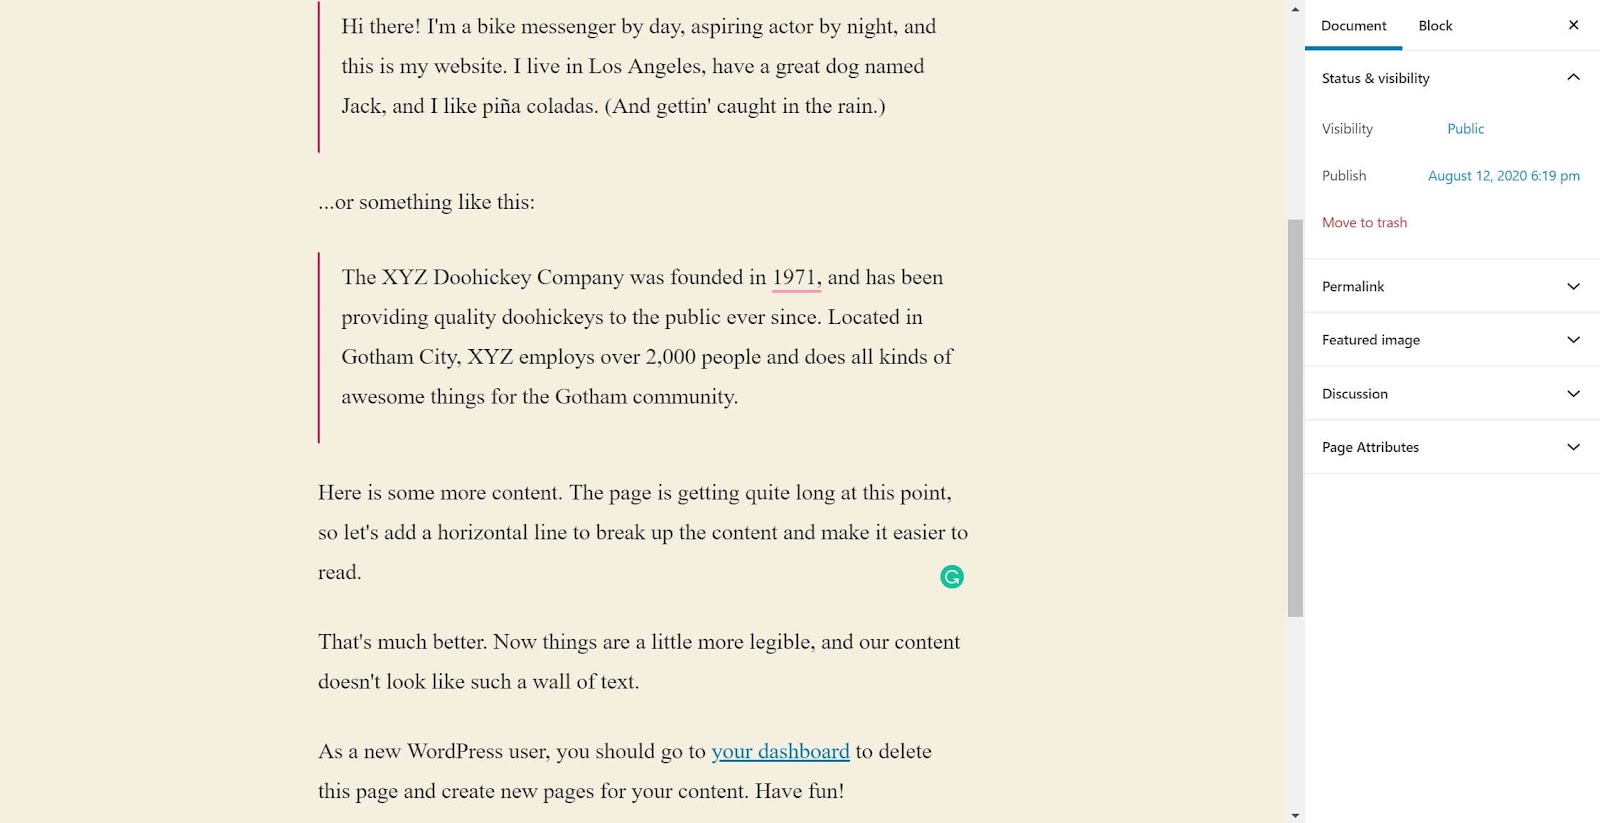
As you can see, our page is a long wall of text. To add a separator and break it up, just hover over the block you want to separate, click on the ‘plus’ icon, and search for “line” or “separator”:
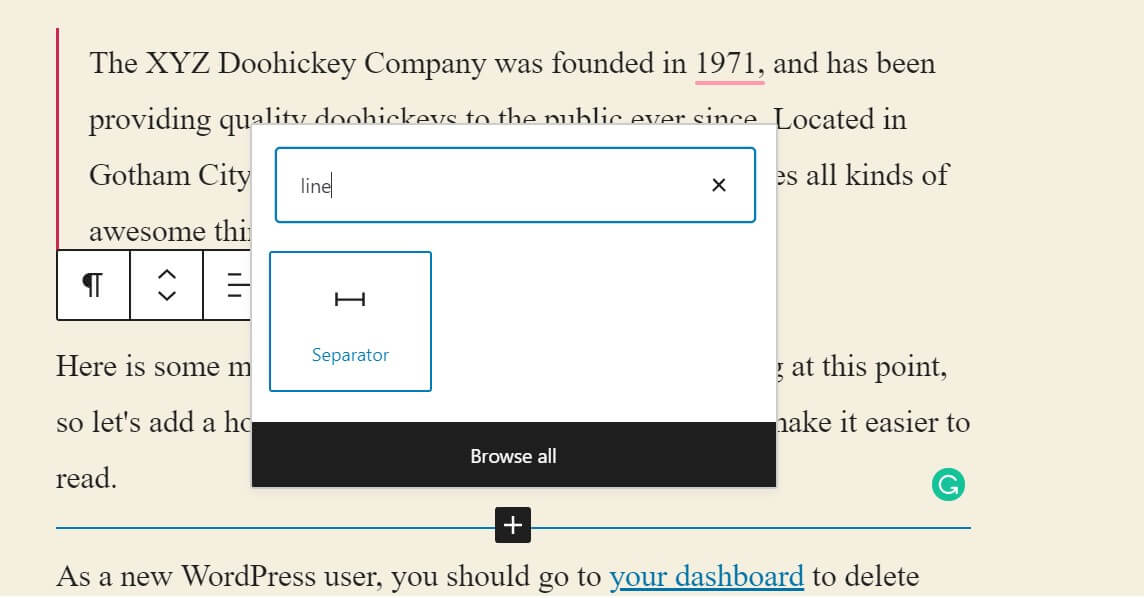
Select Separator from the list, and the editor will add it in the default style:

You can add as many of these as you want throughout the page, in order to break up long chunks of content or separate elements that aren’t immediately related. You can also move the line around by clicking on the arrows in the pop-up menu above it.
Changing Color and Style in the Block Editor
Depending on the theme you’re using, you may have several options for customizing your line separators. In the default Twenty Twenty theme, for example, there are plenty of options for style and color.
To access these settings, select the separator block and click on the three dots that appear above it, or choose the Block option above the menu on the right. Here’s what the separator looks like in the Dots style, with a red color:

The exact options you see here will vary from theme to theme. However, with most, you should at least be able to change the color and width of the separator.
2. Add a Row Separator with the WordPress Classic Editor
If you prefer to use the Classic Editor, you can still add a row separator to your content. In fact, the process is even simpler. Open up your page:
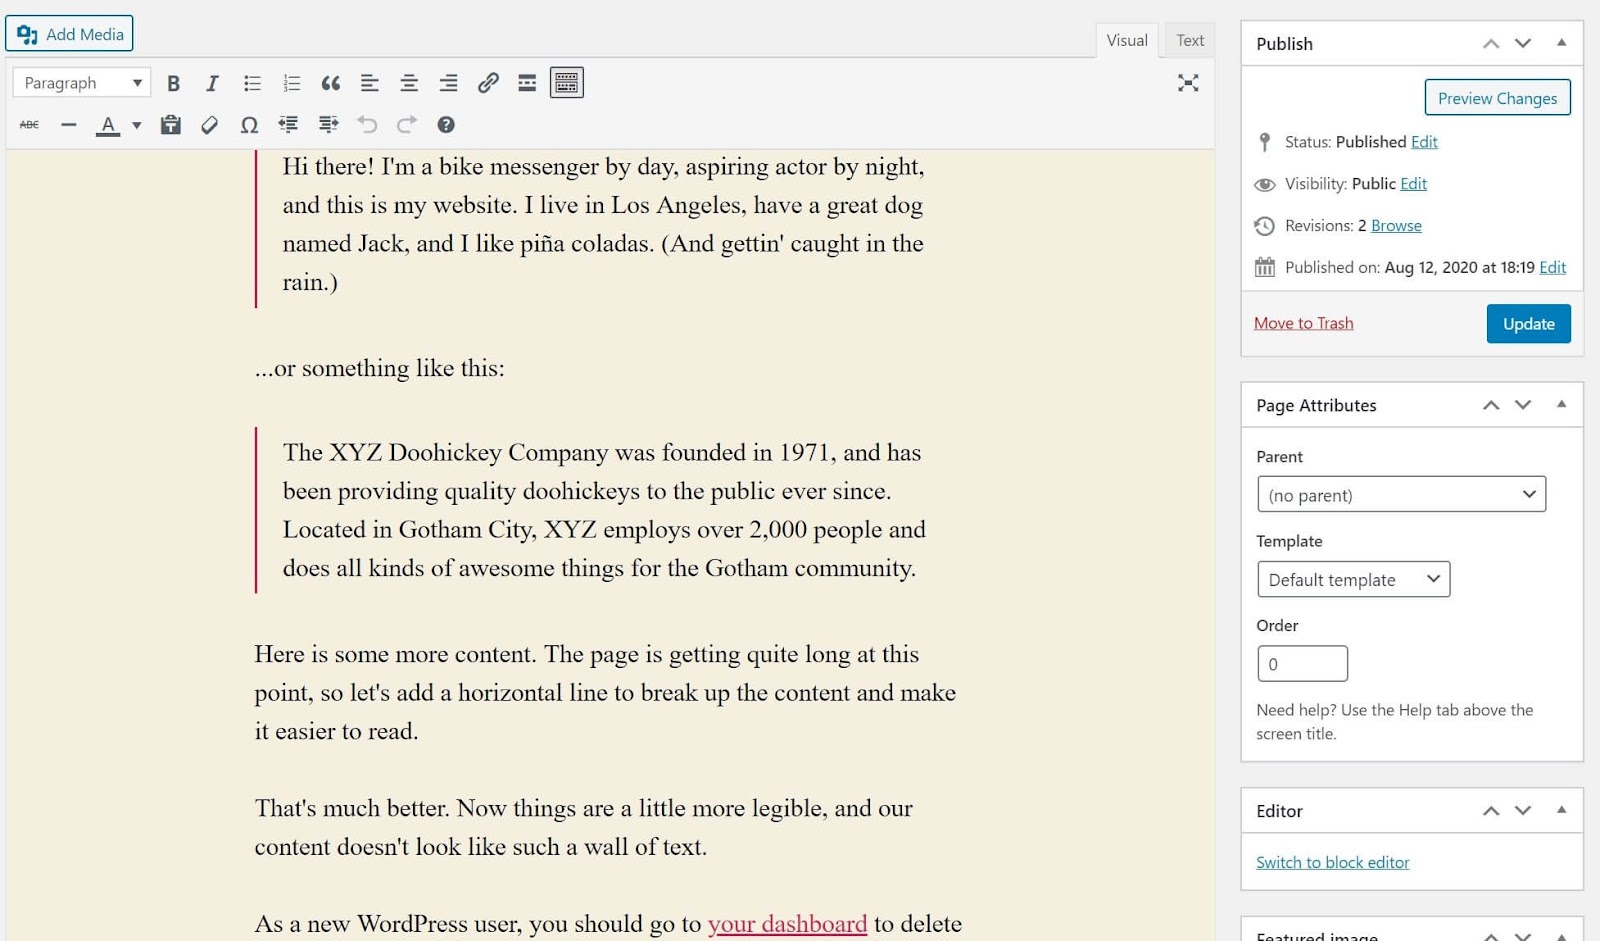
If the editing toolbar isn’t displayed, click on the toggle button at the top of the page, or press Shift + Alt + Z.
Next, place your cursor at the end of a paragraph and select the Horizontal line button in the toolbar. This will insert a horizontal line after your cursor:

As you can see, the line uses the same default style as the Block Editor. However, unlike with the Block Editor, there are no options to edit the line’s style. To do that, you’ll have to add some code manually, which we’ll cover in the next section.
3. Create a Horizontal Line Separator in HTML
WordPress makes it easy to edit the HTML for your pages directly. If you prefer to work that way, you can still easily add a horizontal separator. First, pull up the text editor for the page you want to work with.
If you’re using the Block Editor, click on the three dots in the top-right corner of the editor. Then select Code Editor in the drop-down menu that appears. You can also use the keyboard shortcut Ctrl + Shift + Alt + M.
Here’s what that looks like:

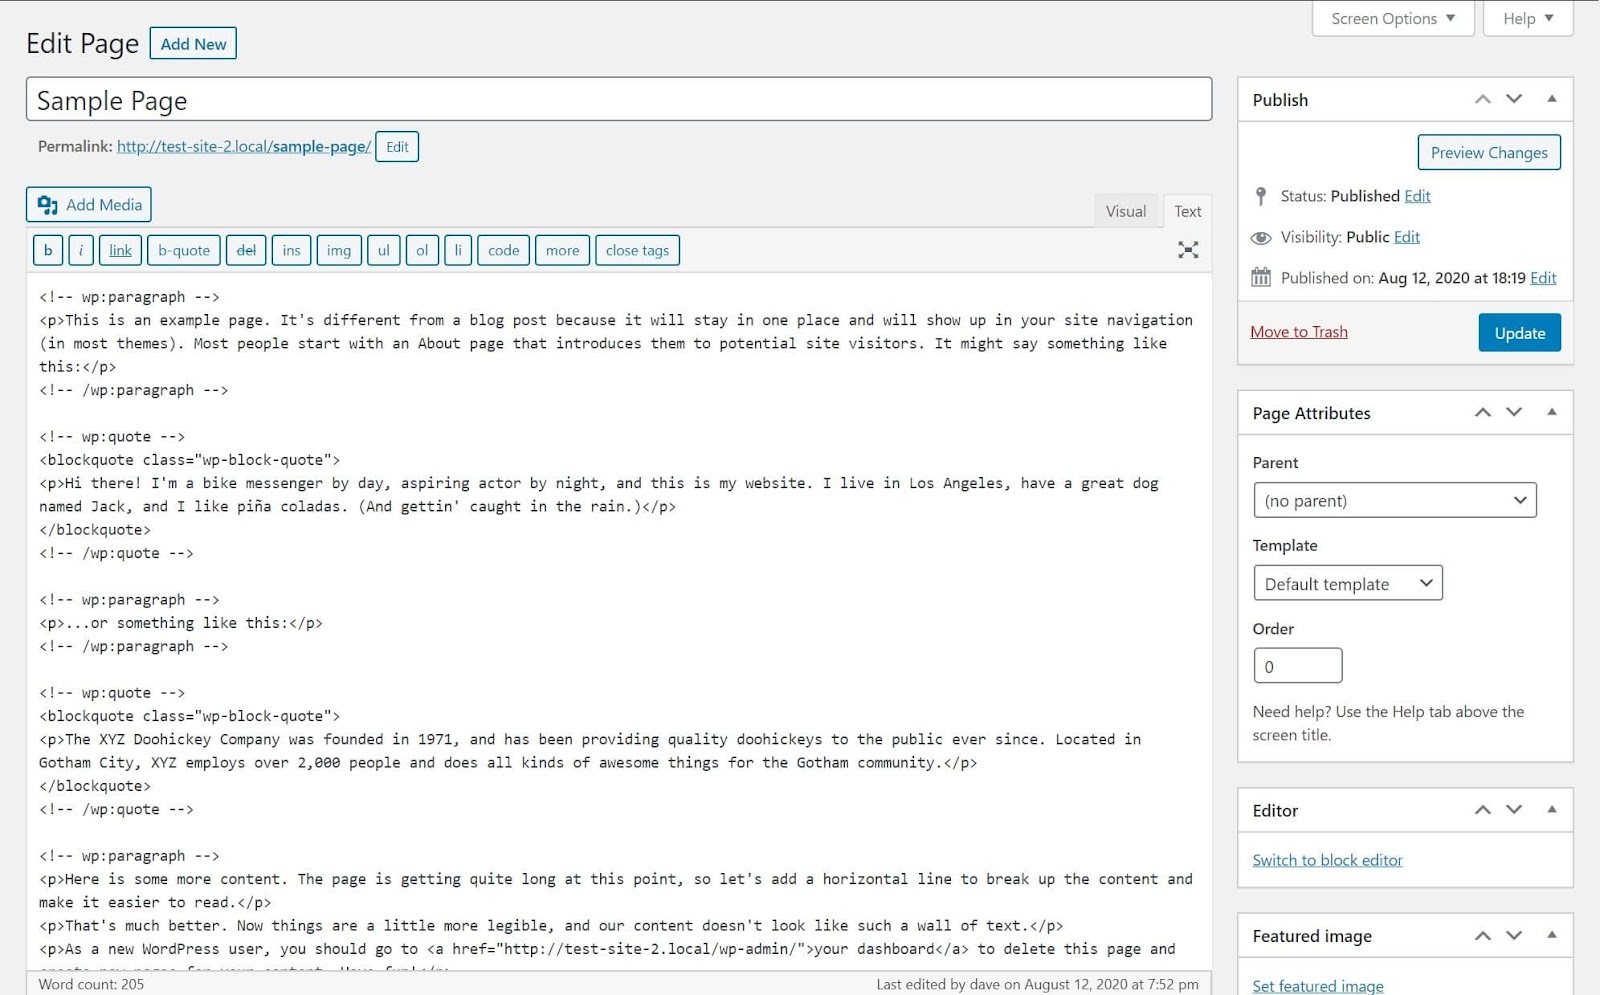
If you’re using the Classic Editor, simply click on Text at the top of the editing window, above the toolbar.
Here’s what the text editor looks like using the Classic Editor plugin:
Now that you have the text editor pulled up, you’ll need to add your separator. Simply place your cursor where you want the separator to appear, press the Enter or Return key to create a new line, and enter the following code:
<hr />
That’s all there is to it!
Changing the Color and Style with CSS
If you’re a fan of working with code, or you prefer the Classic Editor, you won’t get the Block Editor’s fancy configuration options for the line separator. However, you can still adjust its styles using CSS.
To add custom CSS to your page, you can use the WordPress Customizer. When viewing your page on the front end, simply click on Customize in the WordPress toolbar at the top of the screen:

Next, select Additional CSS at the bottom of the sidebar. This brings up a notepad where you can add any custom CSS you like:

You’ll see a live preview of your changes on the right. At this point, you can continue to make edits and preview them until you’re happy with the line’s style.
Customize Your WordPress Site with WP Engine
A horizontal line separator is a quick, easy way to break up a monotonous article and turn it into a must-read product. It’s such a simple element, but it can really elevate your content.
If you want to turn your entire digital experience up to eleven, WordPress hosting with WP Engine can help. We have comprehensive resources for users and developers, along with a selection of world-class hosting packages to help you deliver incredible content to your visitors!