
WordPress Dashboard Tutorial for Beginners: The Ultimate Guide
Welcome to the ultimate WordPress dashboard tutorial for beginners. While WordPress is known for its user friendliness, its backend still comes with a number of options. Getting familiar with all of them can take a while.
To help you get there faster, this guide breaks down everything the WordPress dashboard has to offer in an easily digestible way.
By the end, you’ll have a solid understanding of the essential WordPress basics and the skills necessary to design and manage your site.
What is the WordPress dashboard?
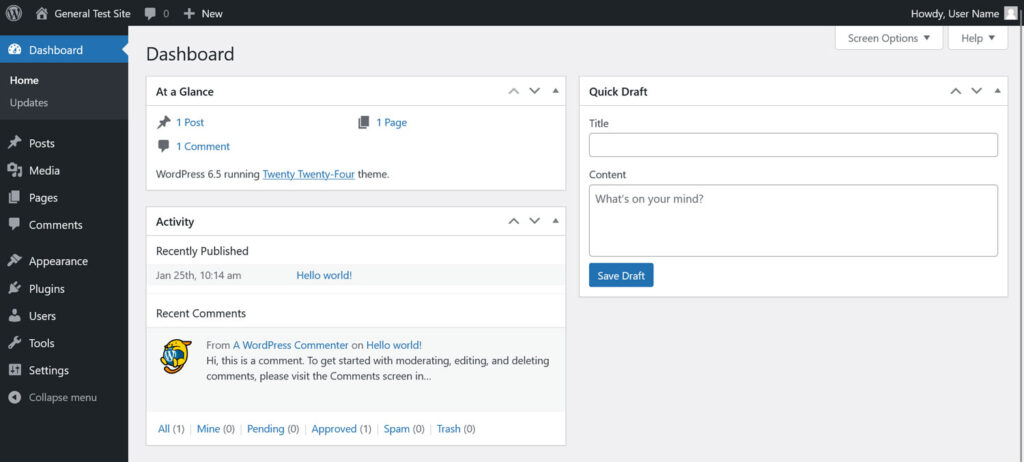
Behind every WordPress site sits the WordPress dashboard: the control panel of your website and the focus of this tutorial. This is where you, as the administrator, can style your site, install plugins, write blog posts, create new pages, and change site settings.
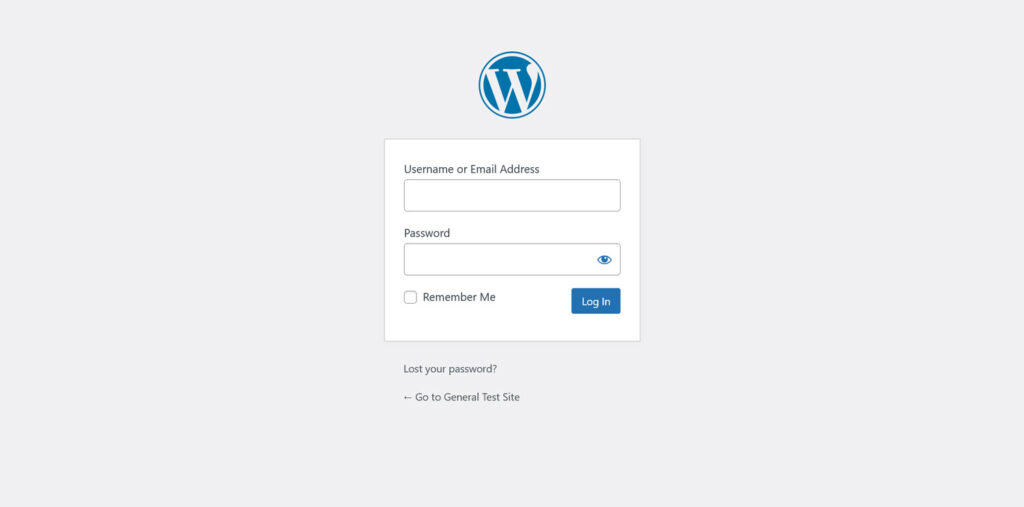
You access the dashboard by logging in with your account. The login page is usually located at https://yourdomain.com/wp-login.php or https://yourdomain.com/wp-admin. Both addresses will land you on the WordPress login page and subsequently the dashboard.
What parts make up the WordPress dashboard?
The WordPress dashboard consists of various pages that you can access through the main menu on the left-hand side of the screen. Here’s a quick overview so you don’t get lost:
- Dashboard: This is the home screen of your WordPress dashboard. You’ll find an overview of your site and some maintenance settings here.
- Posts: Create new blog posts, as well as tags and categories.
- Media: Where images, videos, and other media files are stored.
- Pages: Similar to posts, this is where you create new pages for your website.
- Comments: Manage comments left on your blog posts.
- Appearance: Switch themes, or style your current theme.
- Plugins: Install new plugins and add new functionality to your website.
- Users: Add new users who can log in to your website and help you run it.
- Tools: Various advanced tools that let you do things like check on site health, export or import your site, or edit theme and plugin code.
- Settings: Update various website and dashboard settings.
Some plugins will add an extra menu to the list, while others will add a submenu to Settings.
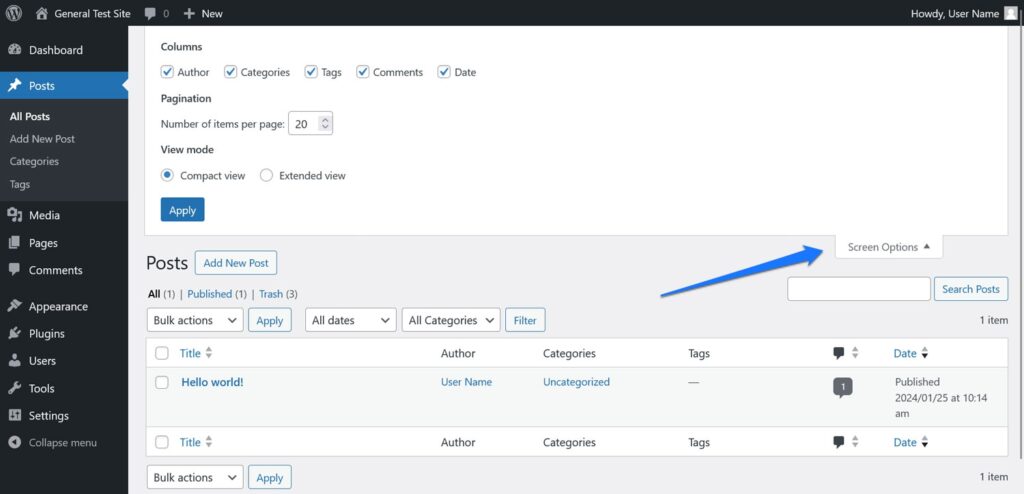
Also, keep an eye out for the Screen Options and Help menus often in the top right corner of most pages. These can help you customize the dashboard to your liking or help you use the page
The dashboard home screen
The home screen is the first thing you’ll see upon logging in. You’ll find plenty of useful info at a glance here, like your latest comments, recent activity, or quick post draft creation.
If you install other plugins, they’ll often add their own widgets here too.
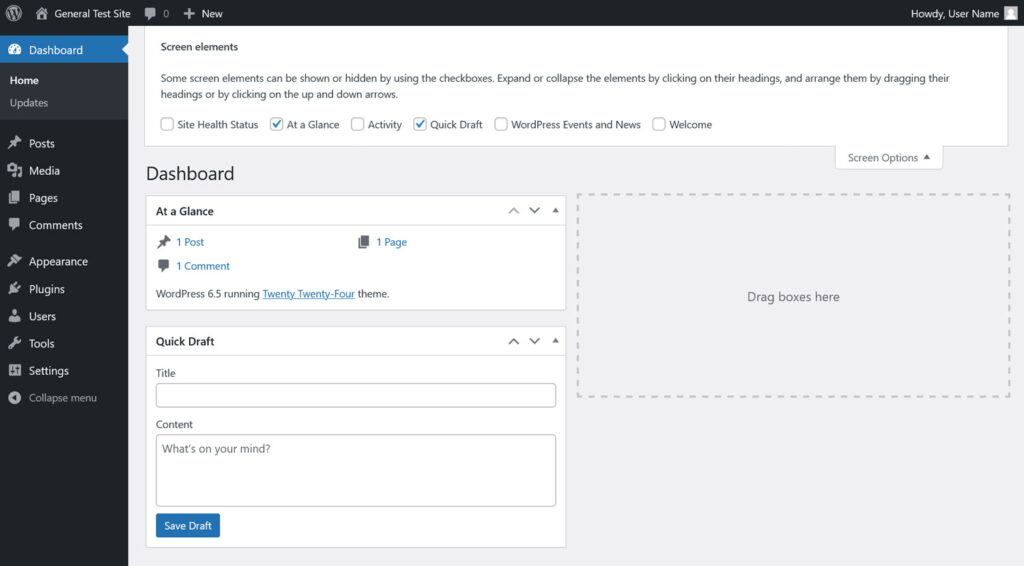
Take note of the aforementioned Screen Options at the top here. They offer a variety of options for enabling and disabling widgets that show up in this screen. In addition, you can move around the page content via drag-and-drop.
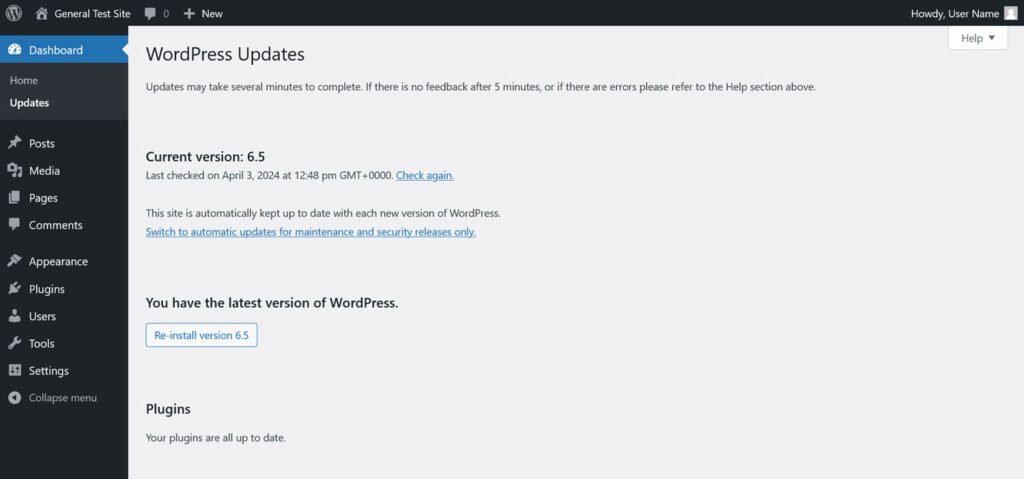
You’ll also want to keep an eye on the Updates submenu on the left. While WordPress can update automatically, whether it does so depends on your settings. Therefore, it’s important to check every once in a while to make sure everything is up to date.
Outdated WordPress installations or add-ons can be a major security risk. Don’t forget to back up your site before every update!
Posts
We’re now getting into the heart of WordPress and its renowned content management capabilities. The Posts page is where you go to write, design, and publish different types of content, such as blog posts or long-form articles. This is also where you’ll manage existing posts.

In the Posts menu, hover over any individual post and click Edit to open the post editor screen (you can also simply click on the post name). Quick Edit allows you to modify title, tags, and other features directly in the Posts menu. Clicking on Trash deletes any posts you don’t want, and Bulk actions allows you to edit or delete multiple posts at once.
To create a fresh post, click Add New Post at the top. This will take you to the post editor.
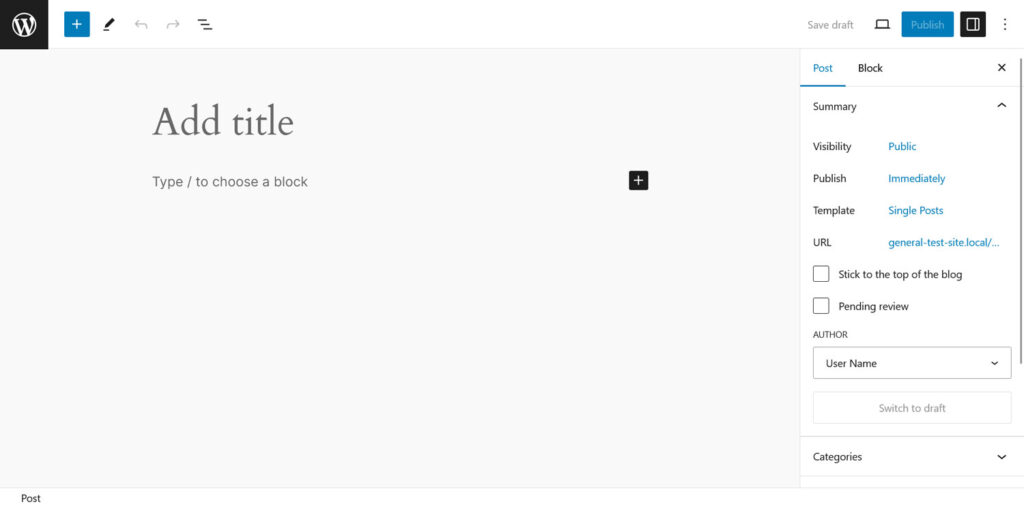
WordPress’ block-based editor manages each part of your post as a standalone entity. Even a paragraph or heading has its own block, and you can add them in several different ways.
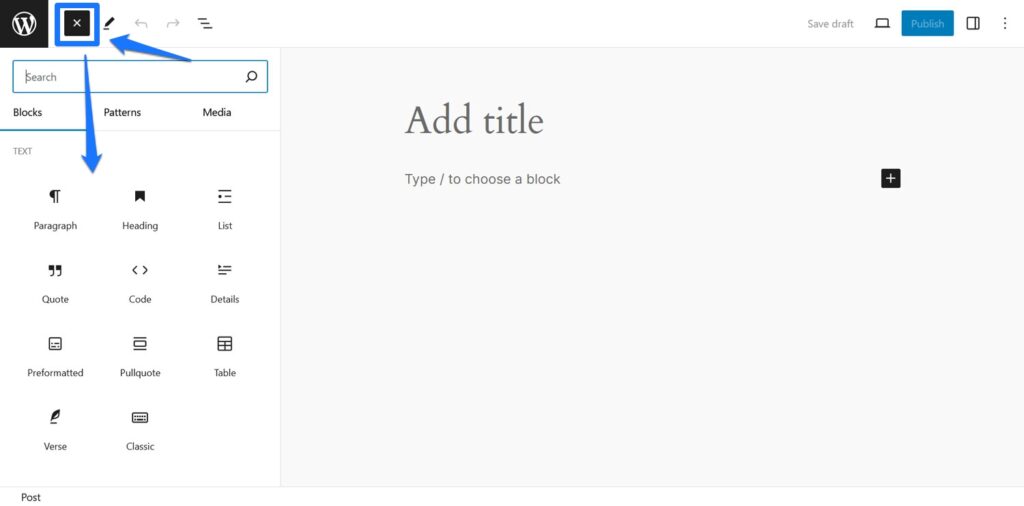
One option is to click the big plus button in the upper left corner to see a list of all available blocks. You can then add individual blocks to the page by clicking on them.
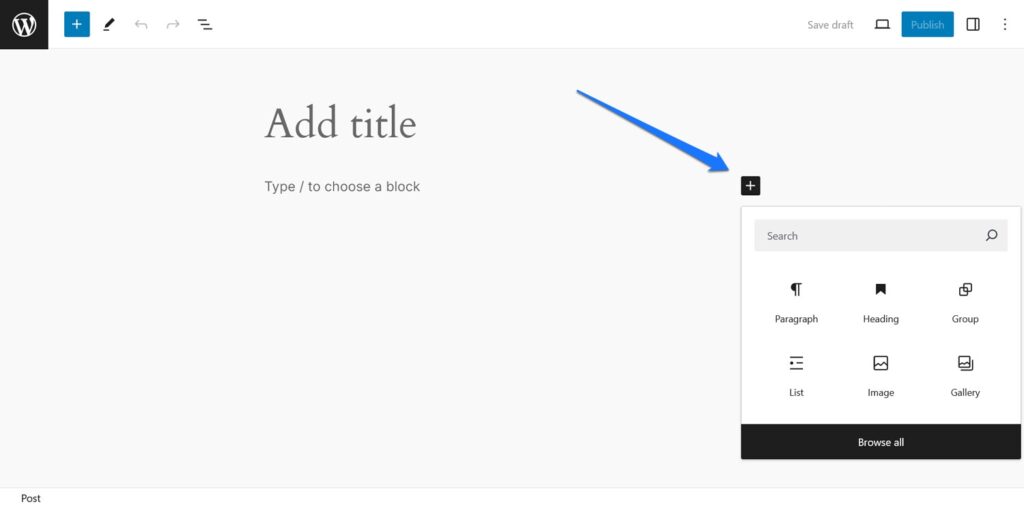
Alternatively, there is another plus symbol directly in the editing area. When you click on this plus symbol, you have to search for the required block by name.
Finally, you can also add blocks by typing a slash forward (“/”) and then inputting the desired block name.
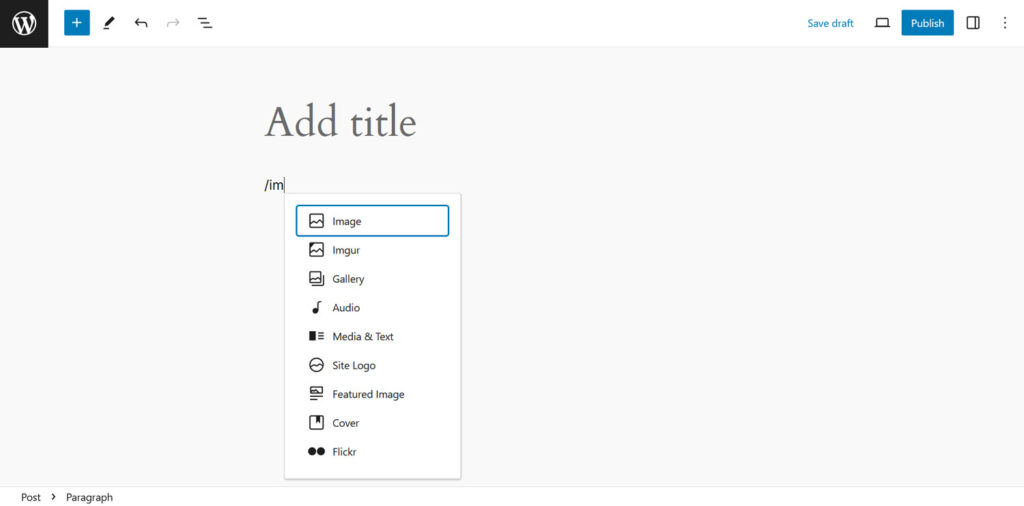
If you know what you are looking for, this is usually the fastest way.
On the left side of the top bar, you’ll also find writing tools like the document overview, undo/redo options, and more. The right side offers access to document and block settings, device preview, and the option to publish your post.
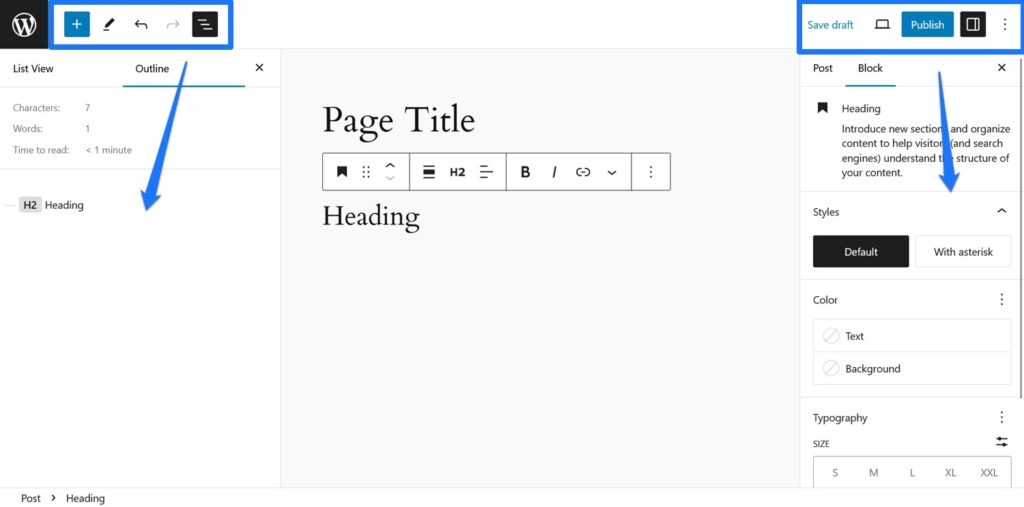
From here, all you have to do is start writing.
In addition to the above, you’ll also find the Categories and Tags submenus within the Posts dashboard menu. You can use these to organize your posts and help visitors explore your content.
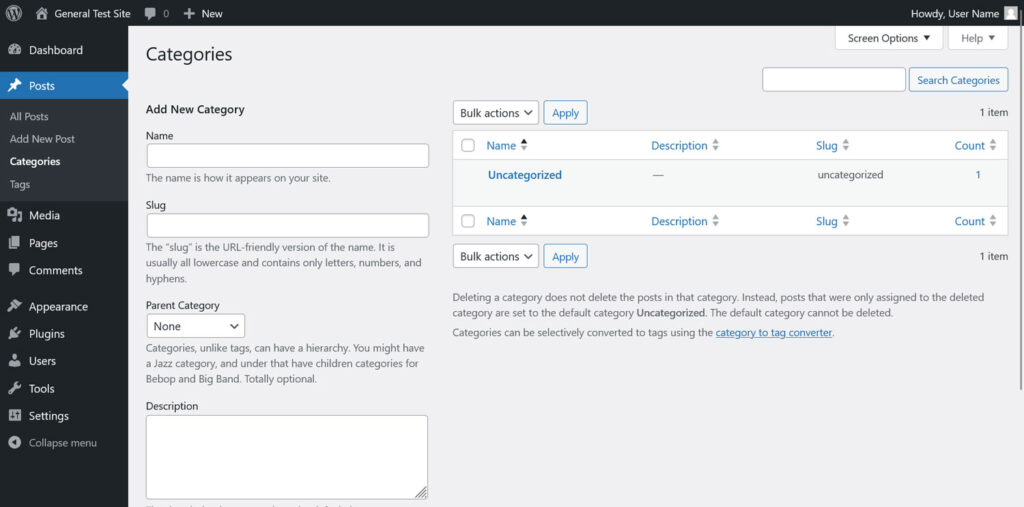
One of the main differences between categories and tags is that categories have hierarchies (sub-categories), while tags are standalone.
In addition, every post you publish has to be assigned to a category (which happens in the sidebar of the editor), while tags are optional.
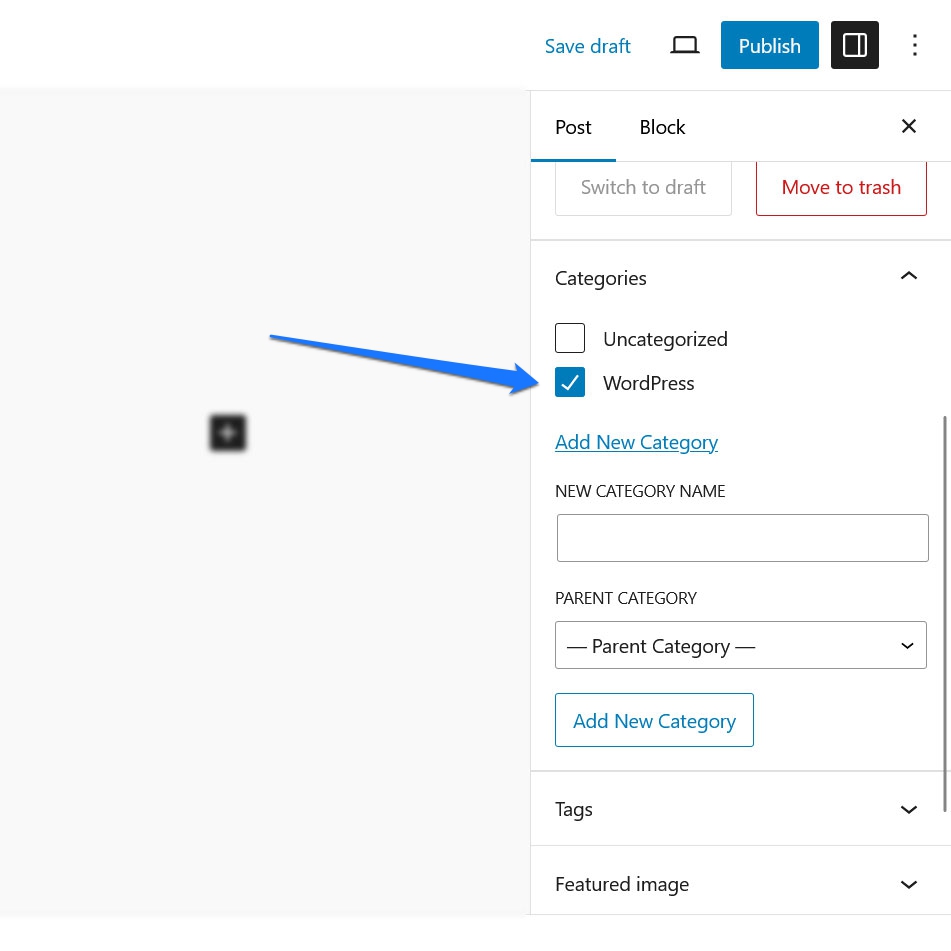
The purpose of categories is to provide broader groupings for your content. Tags, on the other hand, are specific to single posts. For example, you might have a category for recipes containing dozens of posts while you add a “guest post” tag for articles written by other authors.
Some plugins also use these markers. For instance, in WooCommerce, you can use them to tag and categorize product items. Refer to our article above for an in-depth explanation of categories and tags and how to use them for your SEO.
Media
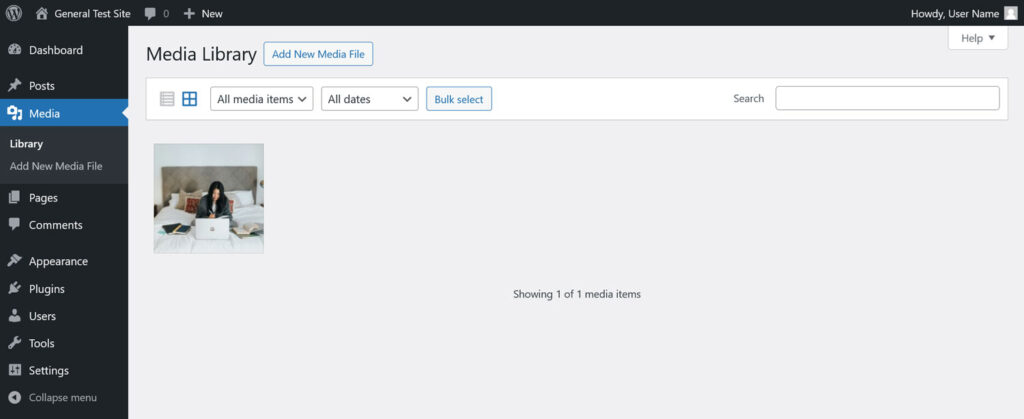
Next up in our WordPress dashboard tutorial is the Media. Within this tab, you’ll find your site’s Media Library.
Navigating the Media Library is pretty straightforward: click Add New Media File to upload photos, videos, or other files.
Then click a file’s thumbnail to add alt text, caption, description, and so on. Files that you upload from the WordPress editor also appear here.
The media library is especially helpful because you can use it to search through the images and other media files you’ve uploaded to your WordPress site, and use the same file in multiple posts or pages without wasting space or rewriting meta info.
Pages
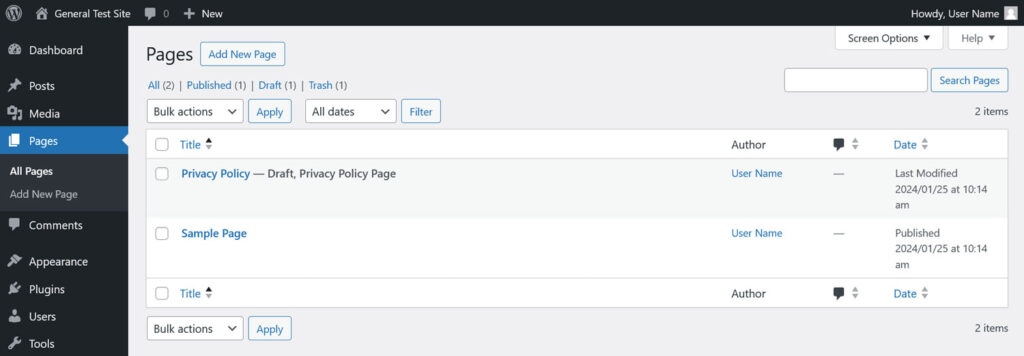
Pages are a foundational aspect of any WordPress site, and you’ll find that creating pages and posts is a relatively similar process as it largely happens in the same block-based editor.
The main differences between posts and pages are that pages are mainly used for static content, such as your About page or Contact page. Parts of your website that rarely change. Posts, on the other hand, are more dynamic in nature.
For that reason, pages can’t be organized with categories or tags—pages themselves use a “parent-child” hierarchy. They also lack a publishing date or the ability to appear in archives and Recent Posts widgets.
In the Pages menu, you can edit and delete pages exactly as you can with posts. Click Add New Page to start designing. WordPress will also prompt you with some design templates you can use as a jump-off point.

Otherwise, designing a page is functionally identical to creating a post.
Comments
On the Comments page, you’ll find a list of comments left on all your posts. You can sort these by commenter, post, and submission date, as well as pending, approved, spam, and deleted comments.
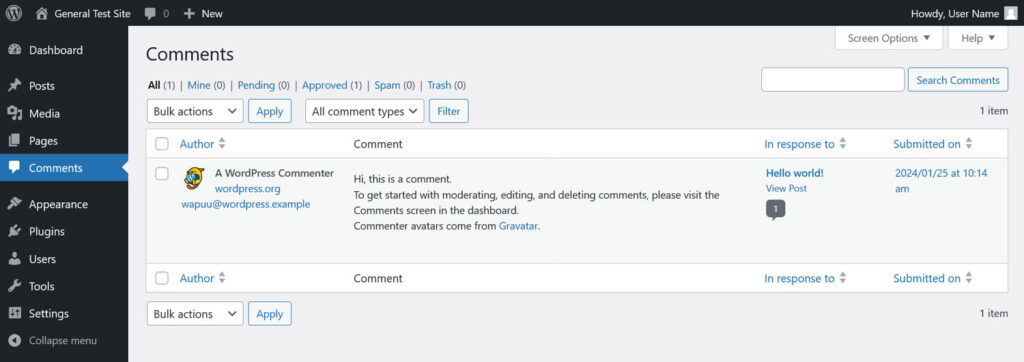
You also have the ability to edit the content of comments, or approve any held back for review.
The Bulk actions will be useful in case you want to approve a bunch of comments at once, or delete all spam comments.
Appearance
The Appearance section basically consists of two parts: the Themes menu, where you can install and manage website themes, and options to customize the design of said theme.
What options exactly are available here depends on the nature of your WordPress theme, e.g. whether you are using a block theme or a classic theme.
Themes
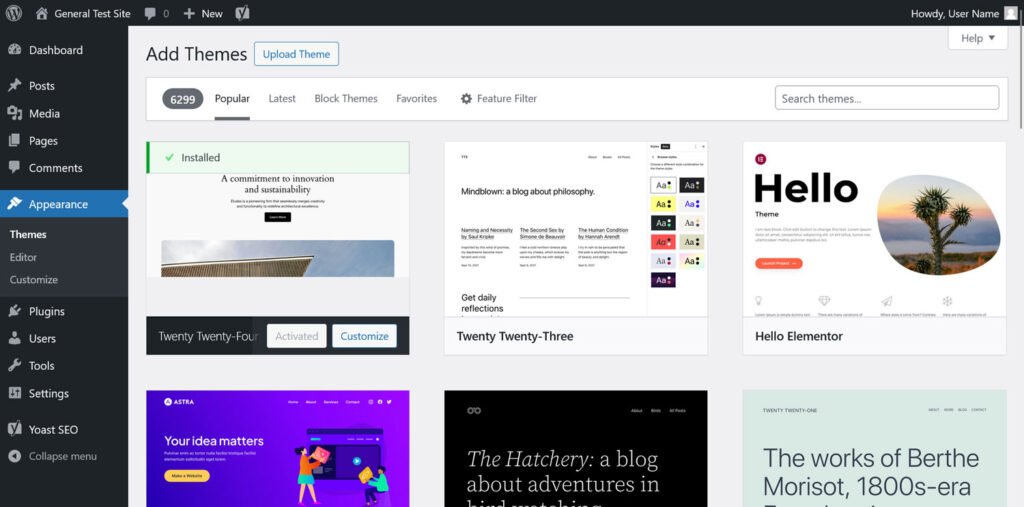
Your WordPress theme is the foundation of your website. It controls how your site looks and acts. The Themes submenu under Appearance contains a list of all themes installed on your site.
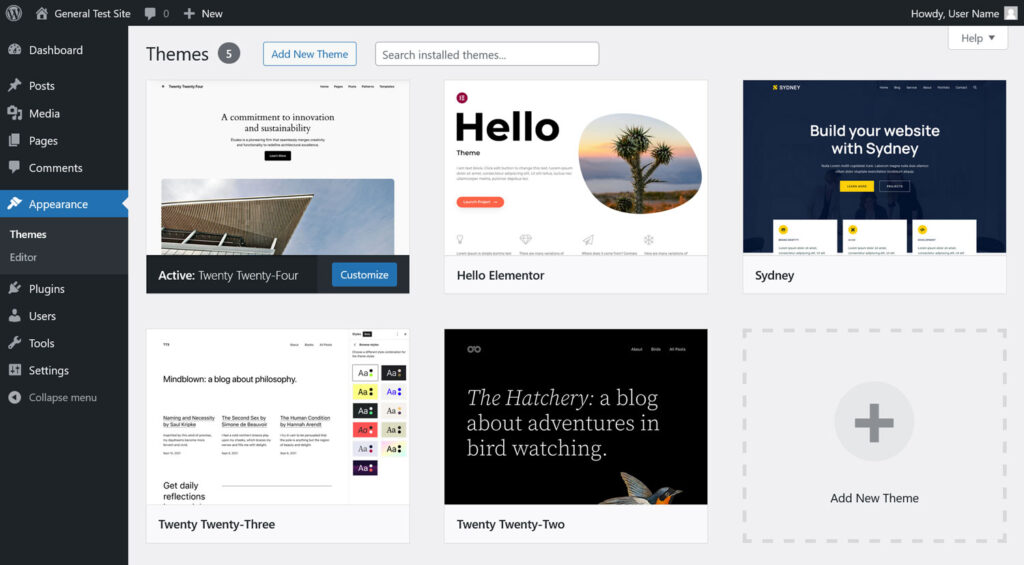
You can click Add New Theme to pick from the official repository or upload a third-party theme.
Site editor
If you’re using a block theme, the Editor option will show up under Appearance. This lets you access the Site Editor, which gives you full control over styling your website using blocks.
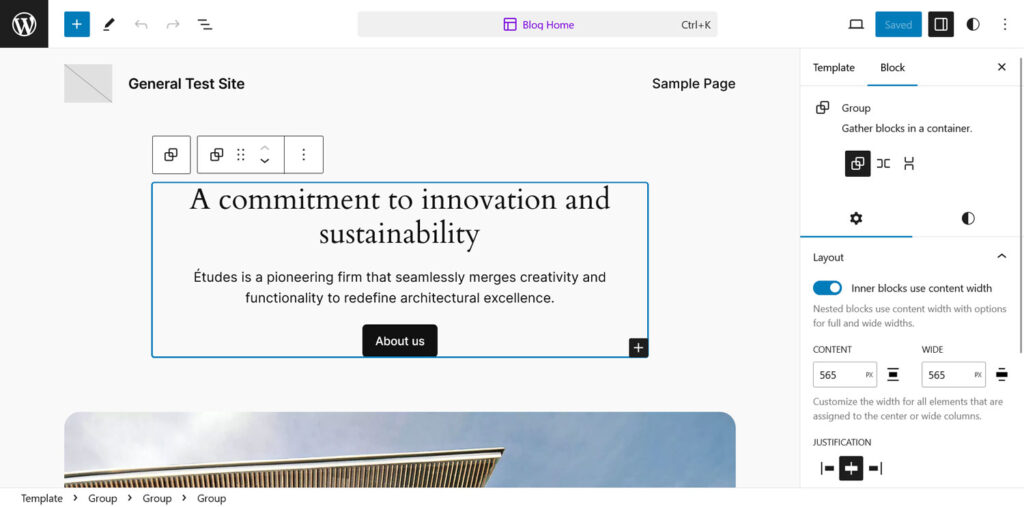
It’s very similar to creating a post or page, but you can edit anything and everything about your site’s layout, including:
- Navigation: Create and edit navigation menus.
- Styles: Switch up site styling like color palettes and typography.
- Pages: Browse through and quickly edit any page on your site.
- Templates: Create and edit page templates. You can drop these into any post or page to use them.
- Patterns: Mini templates; drop these into any page to add pre-made designs like a hero image or gallery.
To start editing a page, click any element in the preview panel. You’ll then see a very similar UI to that of the post and page creators. Edit content, add blocks, and tweak settings to create your customized website.
For more information on this central part of the WordPress dashboard, check this detailed Site Editor tutorial.
Customizer
The option to access the WordPress Customizer, will show up when you are using a classic theme (in older versions of WordPress) . You can access it by clicking the Customize submenu.
The options you see in the Customizer will vary depending on your theme, but you’ll usually be able to change the color scheme, header, footer, menus, and other theme options.
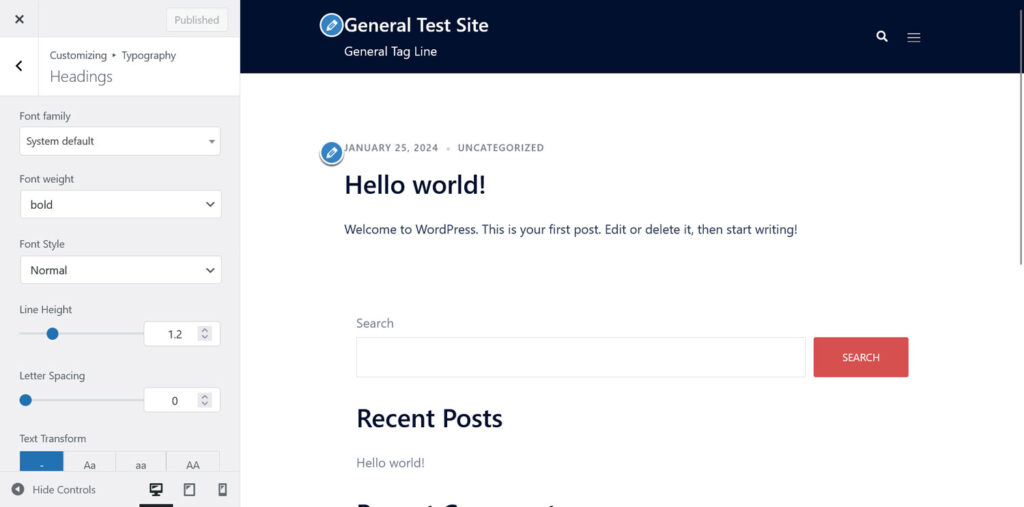
You’ll also find the Additional CSS menu where you can add custom styling code. You can click the blue pencil icons in the center preview area to edit various widgets directly, but you’ll find many themes lacking in customization compared to the Site Editor.
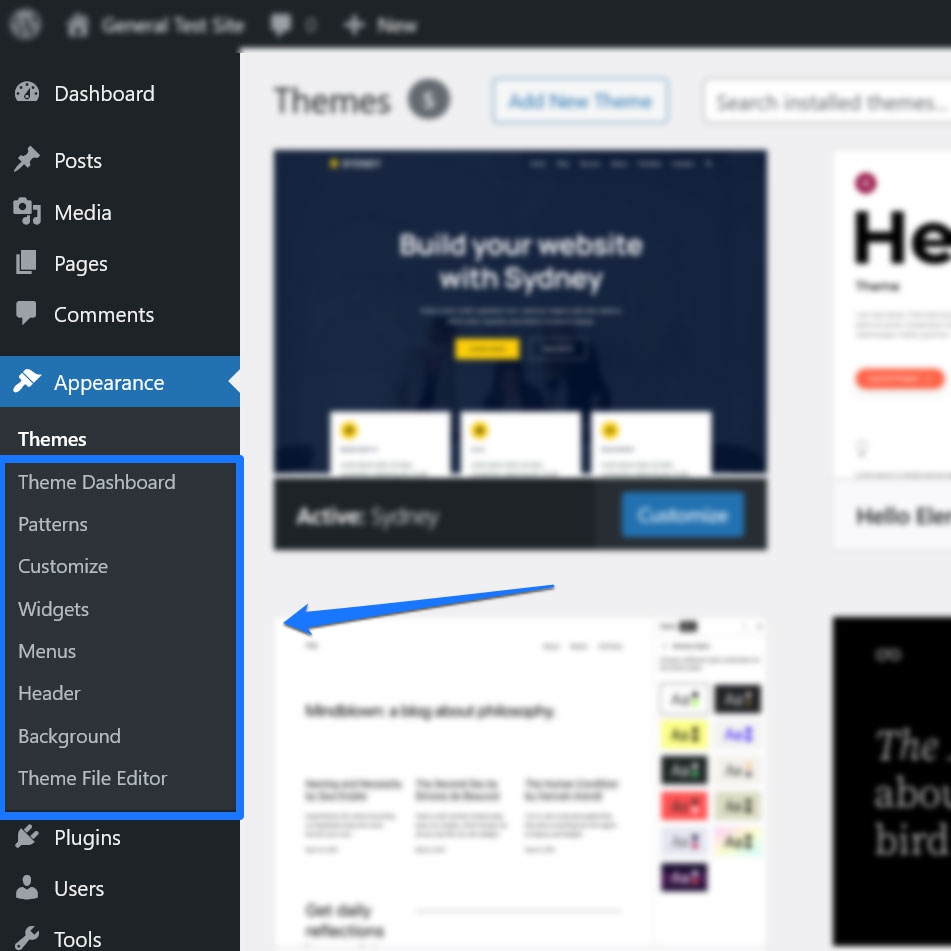
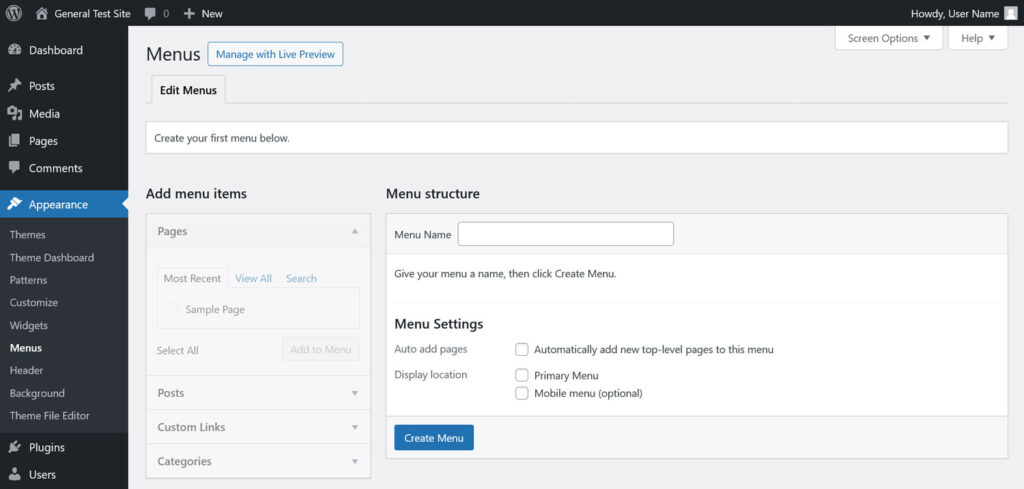
Alongside the Customizer option, you may notice several extra submenus in the Appearance tab, including options to edit menus, headers, and widgets. Access these to take care of these website elements separately.
Plugins
Plugins are a major draw of WordPress, and a big reason why it’s possible to create a site without knowing how to code. If you want to add functionality to your site but don’t know how to build it yourself, there is usually a plugin for it already available.
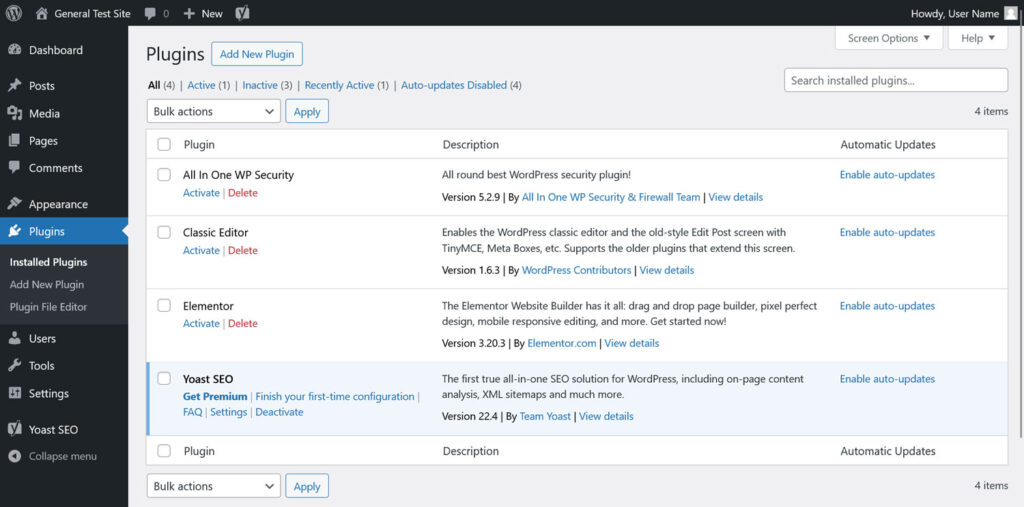
In the Installed Plugins submenu, you can activate or deactivate any of your plugins. This enables or disables functionality while keeping them installed. You can also uninstall unused plugins here.
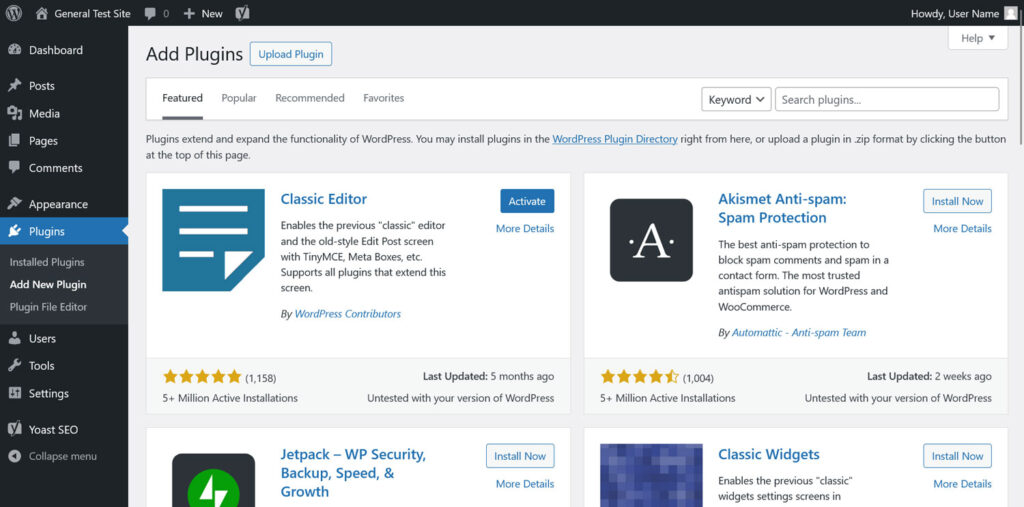
Meanwhile, when you click Add New Plugins, it allows you to search the WordPress plugin repository for any extensions you might want to download. Or click Upload Plugin to upload files you manually downloaded.
Users
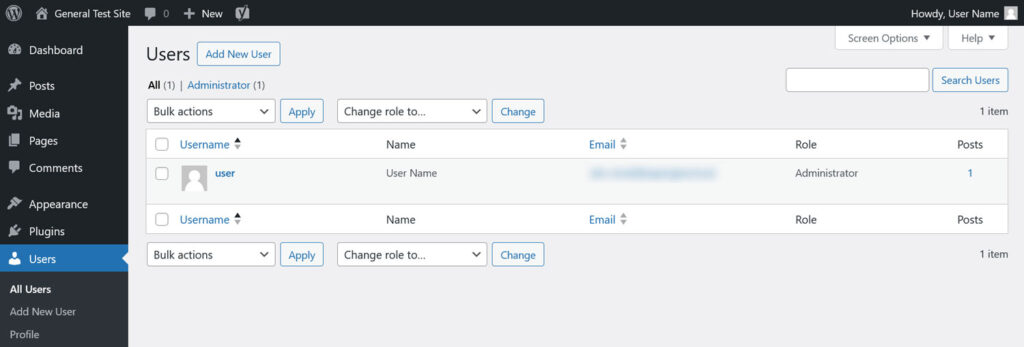
Understanding the Users tab is very important. Adding a new user means entrusting someone with your site, and you need to understand how permissions work.
By default, WordPress comes with five to six built-in user roles. Plugins may add more with their own parameters.
- Subscribers have basically no permissions. They can only manage their own profile settings.
- Contributors can write and edit only their own posts, not pre-existing posts. They also can’t publish posts or upload media files.
- Authors can create, manage, and publish only their own posts.
- Editors can create, manage, and publish posts by anyone. They have a lot of other abilities too, like moderating comments, creating and publishing pages, and seeing private pages or posts.
- Administrators have access to all sensitive settings on a single site.
- Super Admins have access to all admin features across a multisite install.
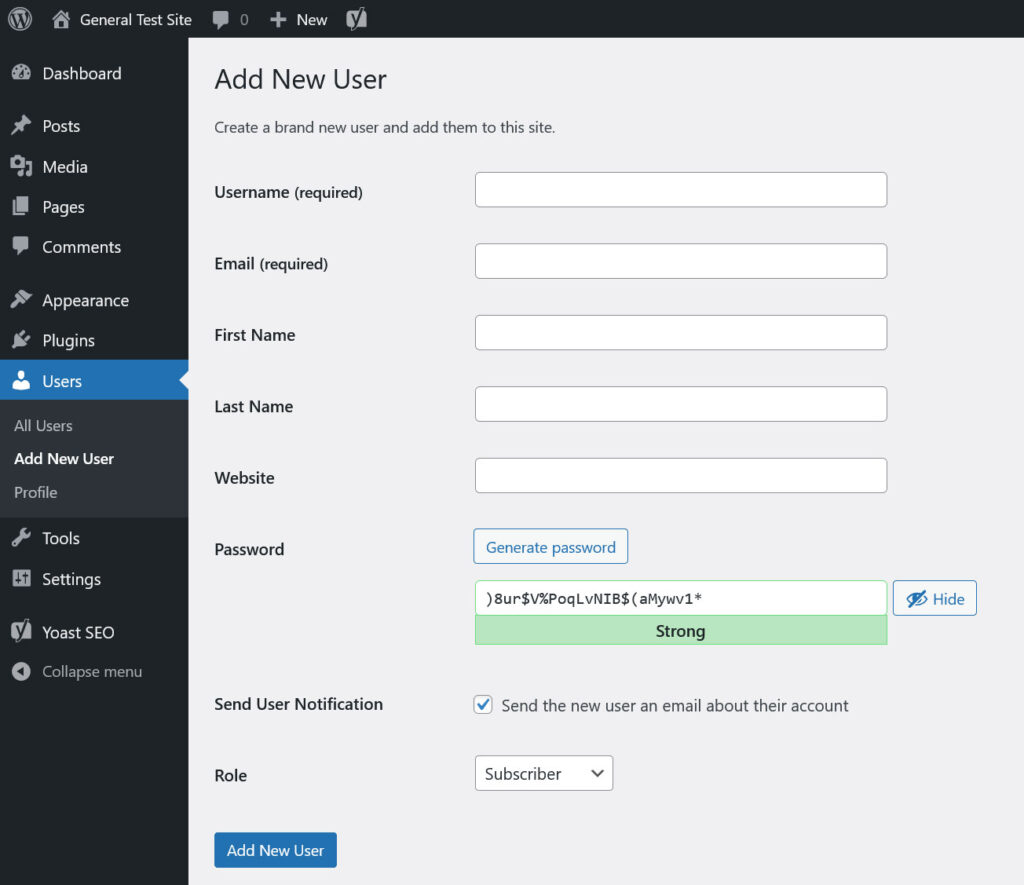
New user accounts are created under Add New User.
If you create a new profile, the person will be emailed about their account and can log in with the password you provide. They’ll be granted permissions based on their user role, so be careful. Only give as much permission as is absolutely necessary.
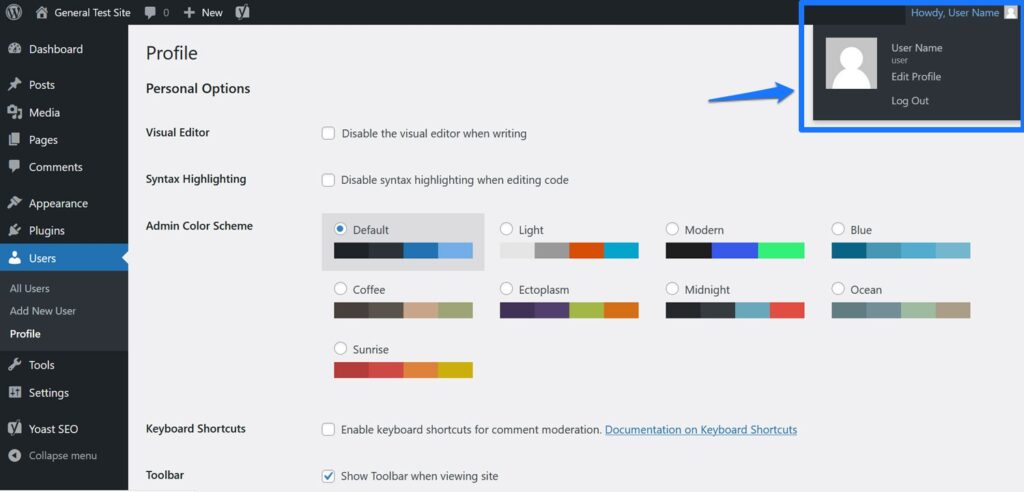
Use the Profile submenu to update your user preferences. You can change your admin color scheme, set dashboard language, update personal info like your email, password, and bio, or upload an avatar.
These settings only apply to your own account and you can also access them via the greeting in the upper right corner of the WordPress dashboard.
You may also manage other users’ profile settings from the All Users page. Just hover over any name and click Edit.

Tools
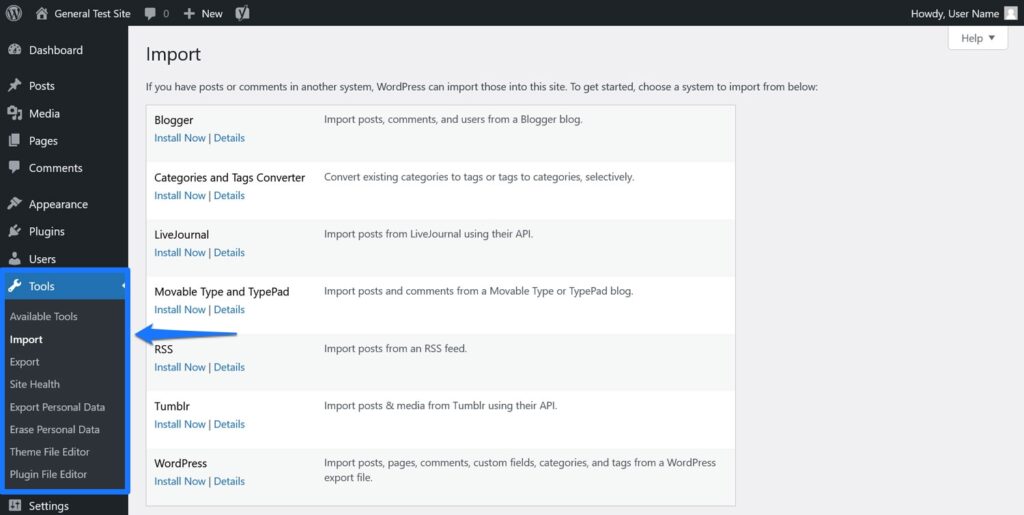
WordPress comes with several tools to help you manage your site. Some, like Site Health, are worth checking up on often. Others won’t come up as much, but could be very useful for certain users.
- On the Import screen, you can import posts, comments, users, and media from websites like Tumblr, Blogger, and other WordPress installations. You can also convert tags to categories and vice versa.
- Use the Export tool to export posts, pages, media, or everything on your website.
- Site Health helps you monitor various server and site issues that are affecting speed and security.
- Export Personal Data and Erase Personal Data help you comply with GDPR laws when users request access to or deletion of their personal data.
- Theme File Editor and Plugin File Editor let advanced users edit the underlying code of your theme and plugin. Heads up: When using a classic theme, you find these options under Appearance and Plugins respectively.

Settings
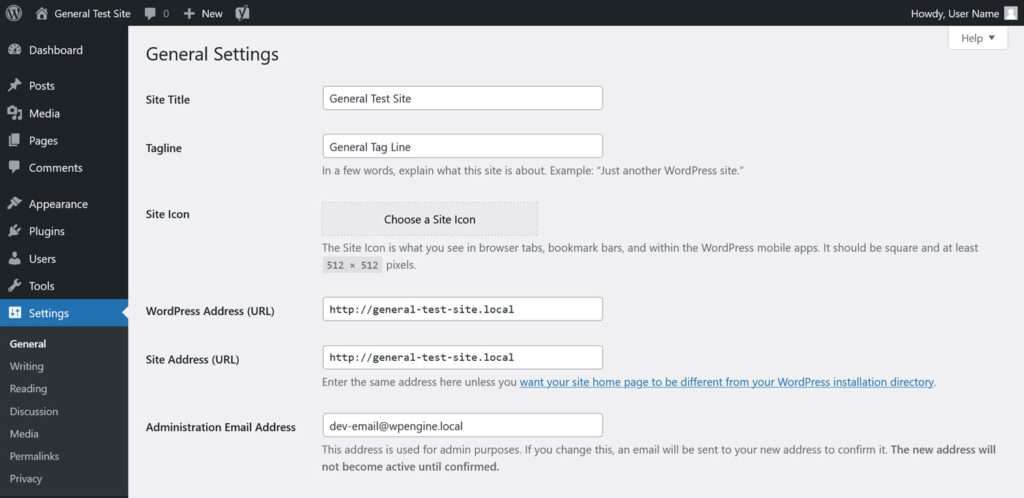
The WordPress dashboard comes with plenty of settings to tweak, each of which could almost use its own tutorial. Therefore, you’ll want to take a look through these and see if there’s anything that needs to change.
- General: Here you can set various settings like your site’s timezone, language, title, tagline, and date/time format.
- Writing: Change the default post category and format to save time, post via email settings, and update services.
- Reading: Change how your homepage and other feeds display new posts, plus search engine visibility.
- Discussion: Settings here affect comments and posts. You can close comments on old posts, require user registration, turn off comments, enable comment approval, and disallow certain words or phrases.
- Media: Here you can set thumbnail and image sizes, and change media organization options
- Permalinks: Your permalinks settings affect the URL slug of your posts and pages. It is, therefore, very important for SEO.
- Privacy: Here you can get help creating a privacy policy for your website.
Master the WordPress dashboard with this guide
You may struggle to get the hang of the dashboard at first, but once you have the basics down, WordPress isn’t hard. The intuitive UI should help you grasp even steps not covered in this guide.
Knowing how to install themes and plugins, style your site, and create new posts and pages is the fundamental knowledge that will help you learn the ropes of WordPress. Now that you know all this, you’re ready to tackle creating your own website.
