Get Started


Key Takeaways
Sending a custom welcome email in WordPress is crucial for user engagement. A personalized message can increase user retention and guide new visitors to key site areas.
Welcome emails have a 34% read rate, making them a highly effective engagement tool. Crafting a compelling message can significantly impact user interaction.
Using plugins like Better Notifications for WP can streamline the process of customizing welcome emails. Third-party tools offer more flexibility and personalization options.
Resending welcome emails may be necessary for users who didn’t receive the initial message. Tools like the Unconfirmed plugin can help manage this process effectively.
If your WordPress site allows registrations, you may have noticed a pattern: new visitors register for the site and then disappear, never to be seen again. In other words, you’re losing users, and the bland default welcome email could be to blame.
A custom welcome email is the perfect solution to this problem. With a carefully-designed message, you can engage new users and introduce them to your brand right from the start. Custom emails also enable you to more easily funnel first-time visitors to the parts of your site you most want them to visit.
In this article, we’ll explain exactly why a customized WordPress welcome email is so important. Then we’ll walk you through how to set one up for your website.
Why Send a Welcome Email to Your WordPress Users?
Sending an email to new users and subscribers is important for several reasons. To start with, a lot of people have come to expect it: as many as 74 percent, according to some sources.
Beyond that, a welcome message gives you a perfect way to start the onboarding process for new users on your site. Instead of having them register and leaving them to wonder what to do next (or worse, forget about your site entirely), you can have WordPress automatically send an email that guides them towards the next steps.
Some examples of how you can use a welcome email include:
- Nudging users towards current sales and promotions on an eCommerce site.
- Informing new subscribers about the perks that come with their subscriptions. This is especially important if those subscriptions are paid, because it gives you an opportunity to quell any potential buyer’s remorse.
- Providing directions to new contributors on a multi-author site, such as a blog. This helps ensure that all new authors are on the same page.
Finally, consider this: welcome emails have a 34 percent read rate, which is much higher than other common types. If you want to engage your subscribers, an introductory message may be your best opportunity.
How to Send Welcome Emails Using a Plugin
By default, WordPress sends a generic email to all users who register on your site. This message can’t be customized, however, and only prompts the new user to create a password.
To customize your welcome emails, you’ll need third-party software. There are a lot of options, but a plugin is generally the easiest solution for WordPress users. Let’s look at how that process works.
Step 1: Download a Plugin (Like Better Notifications for WP)
The first step is to install and activate a plugin to send your welcome emails. Better Notifications for WP is a free tool that lets you configure all of the various automated emails WordPress sends out, so we’ll use that one.
To install the plugin, head to your WordPress dashboard and navigate to Plugins > Add New. Search for “Better Notifications” and it should be the first option to pop up. Then click on Install Now and Activate.
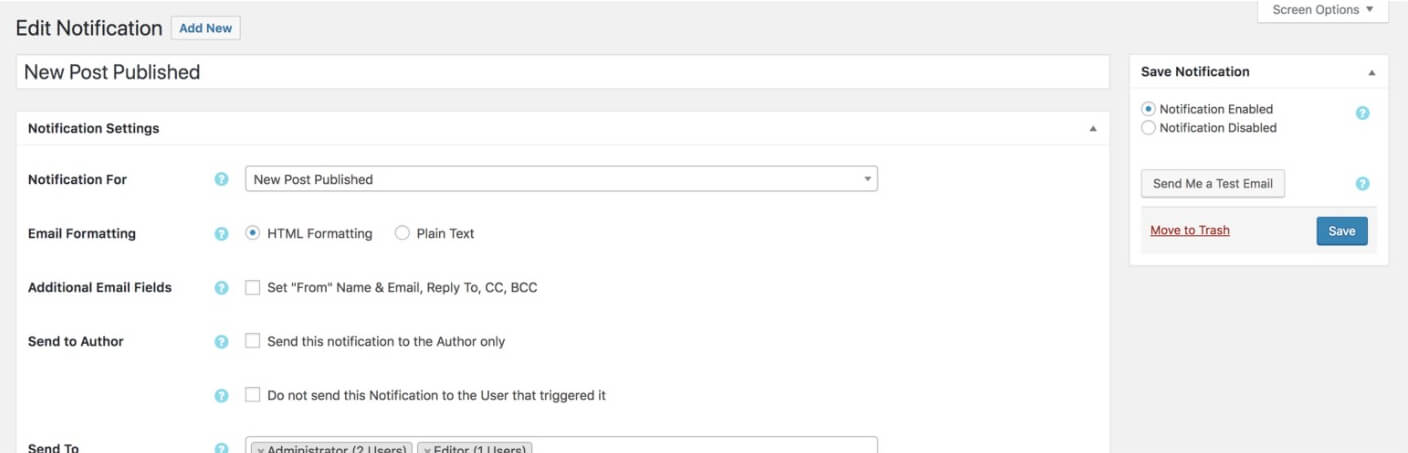
Step 2: Add a New Notification
With the plugin activated, the next step is to create a new notification. From the dashboard, navigate to Notifications > Add New:
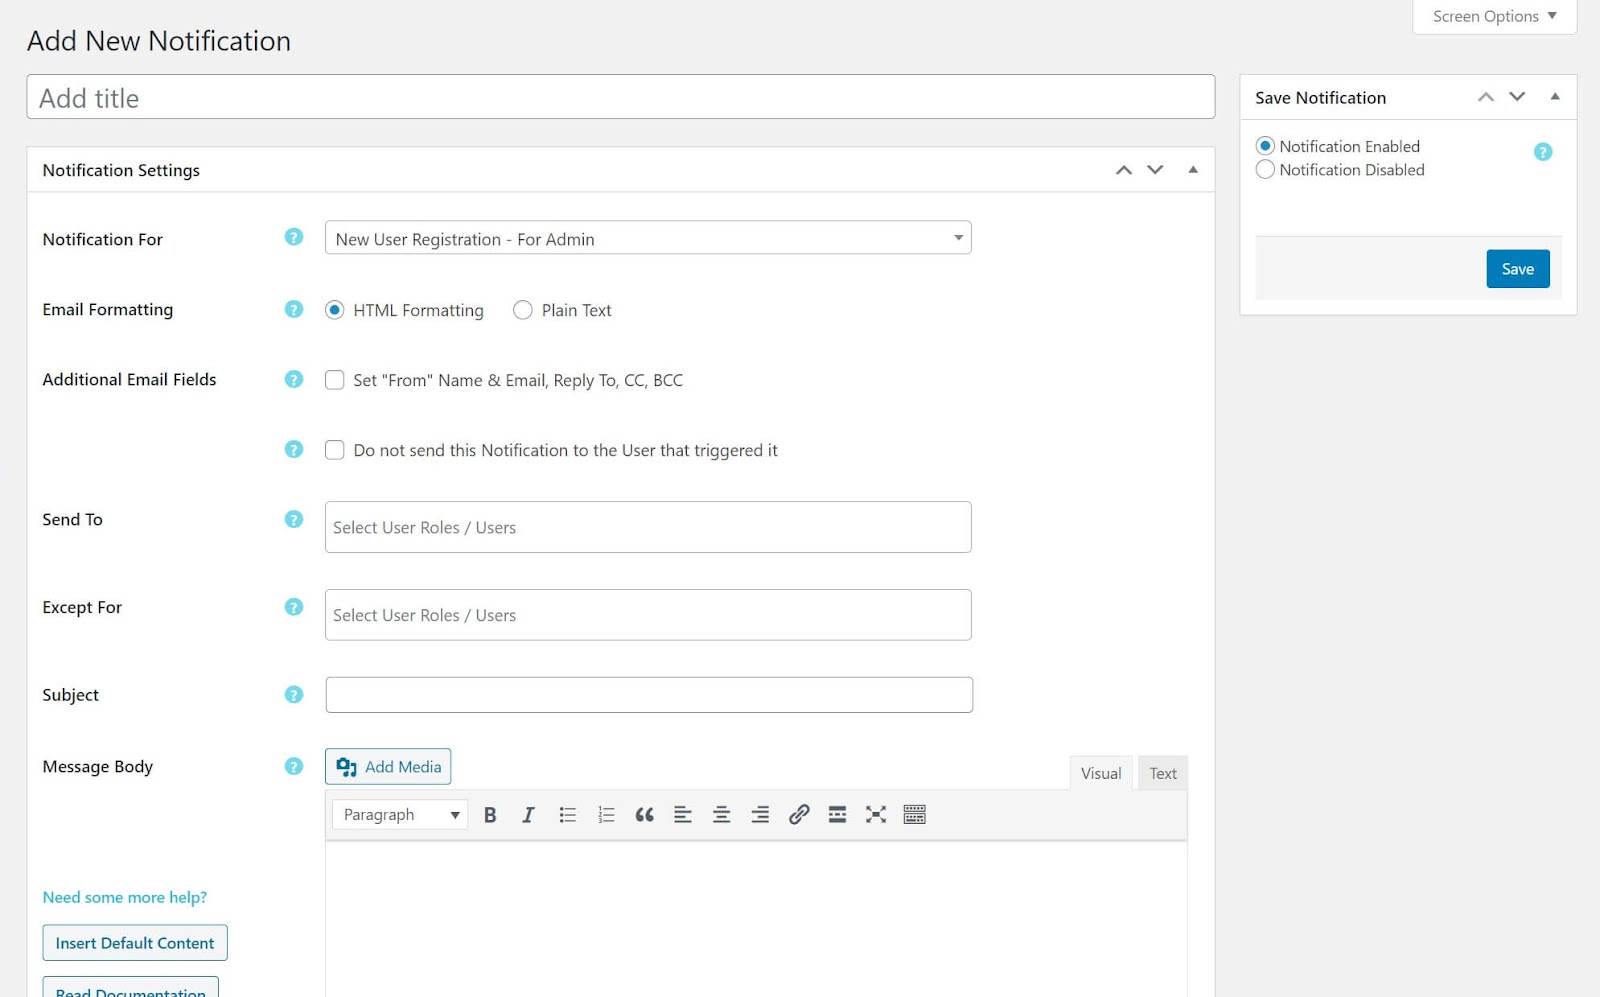
Give your notification a title, and select “New User – Post-Registration Email” from the Notification For drop-down menu:

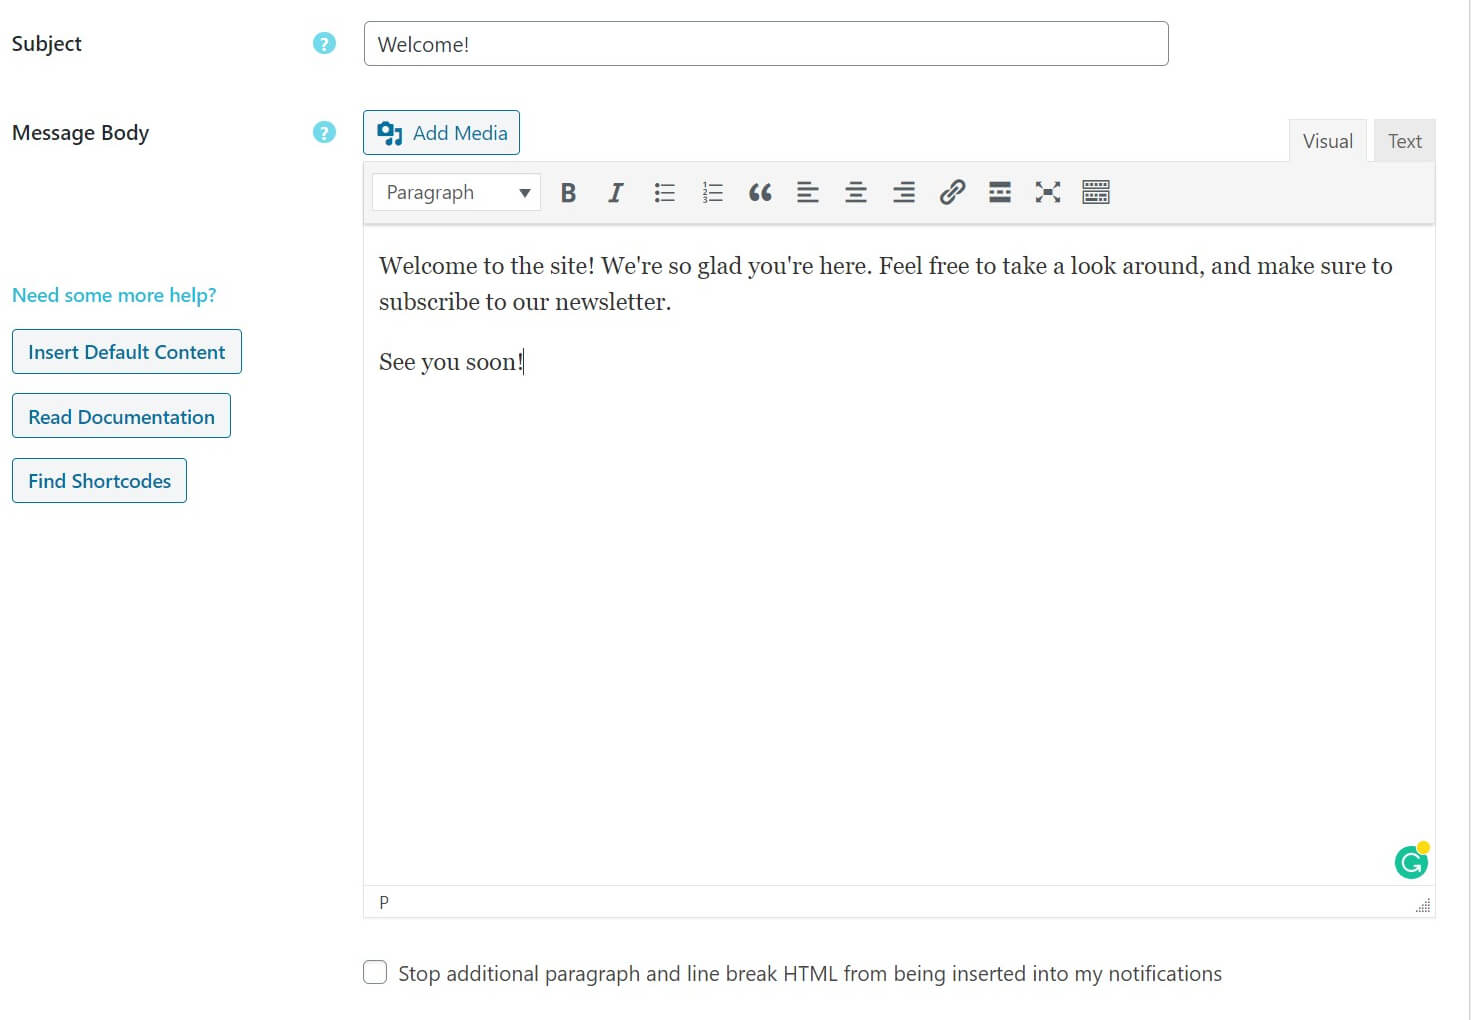
Next, go ahead and fill in the email subject and message body with whatever content you like. This works just as it does with the WordPress Classic Editor, so it should be a familiar process. You can insert images, include links, and format your text:
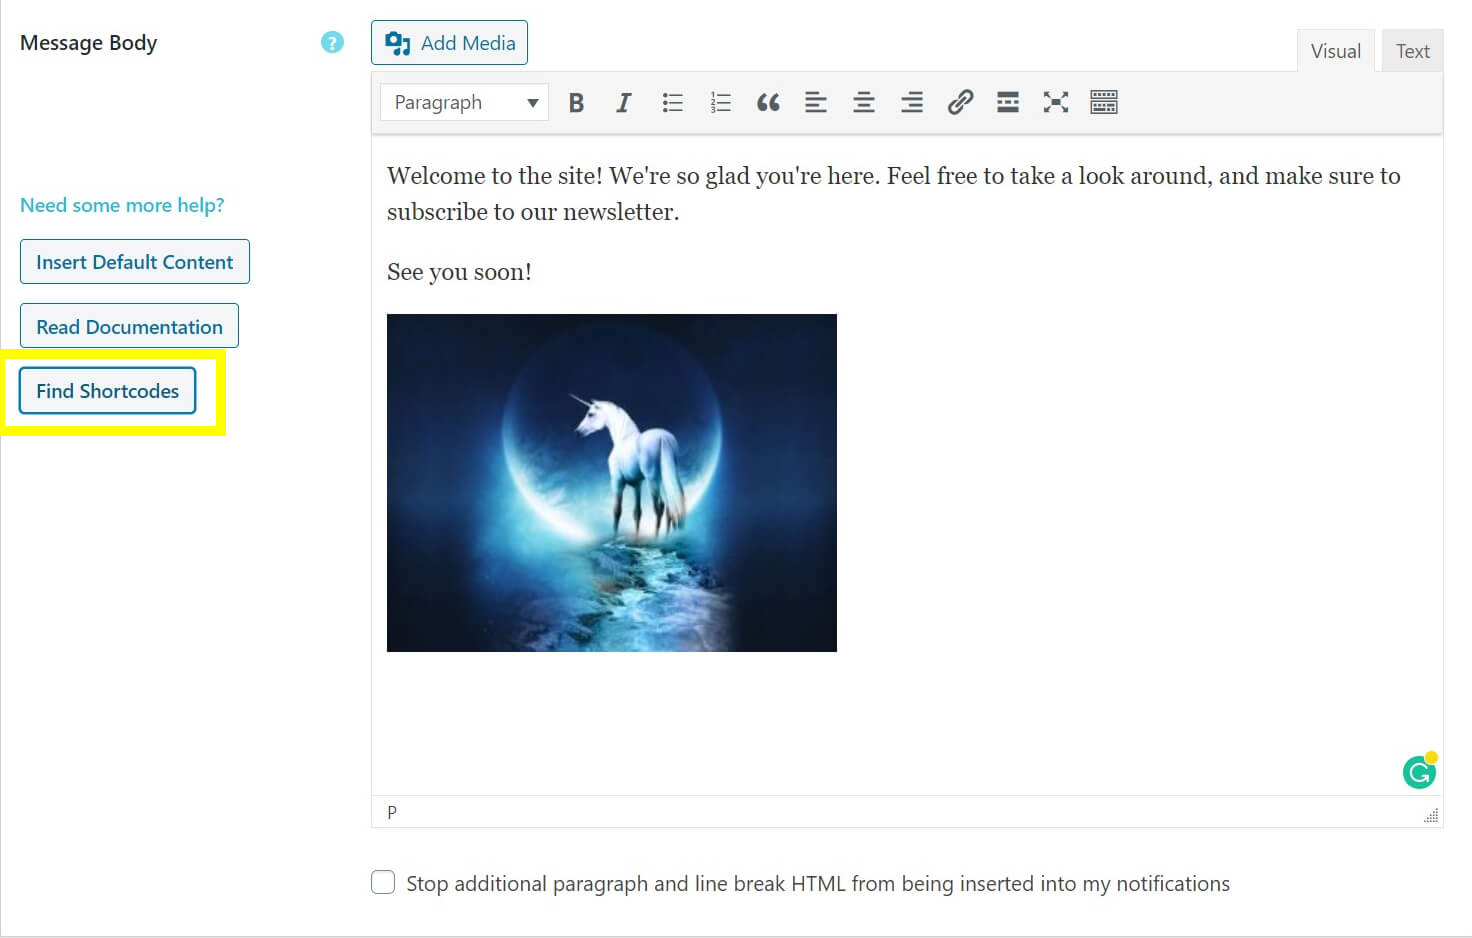
You can also add shortcodes to your email to automatically pull and display certain information. To see what shortcodes are available, click the Find Shortcodes button in the bottom-left corner of the editing screen:
This will take you to a page where you can select the type of notification you’re creating, and see all of the available shortcodes for it.
One option that’s particularly useful is [email_user_display_name], which inserts the display name the user entered on their registration form. Assuming that the user actually entered their real name, this is an easy way to add some personalization to your welcome email.
When you’re finished making changes here, click on Save.
Step 3: Send a Custom Test Email
The plugin also includes an option to send yourself a test email. You may want to consider taking advantage of this feature. You don’t want to create a beautiful welcome message that goes to waste because nobody is receiving it.
All you have to do is select the Send Me a Test Email button right next to Save:

The email will be sent to the address set in your WordPress user profile. When you receive it, you can look it over to make sure that everything appears correct.
Step 4: Test the Custom Email with a New User Account
Testing your site and content thoroughly is critical. With that in mind, it’s a good idea to view your email from the perspective of an actual user. To do this, log out of WordPress, head to your website, and create a new account.
Then, you can check the relevant email account and make sure you got the welcome message. At the same time, you can review the contents of the email and make sure all the links work, any media is properly embedded, and the message delivers the impact you want.
If everything works as expected, then you’re all done. You’ve now customized your WordPress welcome message!
How to Resend a Welcome Email
Sometimes, for one reason or another, users will not receive their welcome emails and complete the account confirmation process. This is most commonly a problem on sites using WordPress multisite. In these cases, you may need to resend the welcome email.
Unfortunately, WordPress does not include this functionality by default, so you’ll need to install another tool. The Unconfirmed plugin is designed specifically for this situation.
After installing the plugin, simply navigate to Users > Unconfirmed in the WordPress dashboard. There, you can see any users who haven’t confirmed their registrations. Next to each username, there will be a button you can click on to resend the welcome email.
Keep Your Site User-Friendly with WP Engine
Whether you want to onboard new writers or funnel first-time visitors to your latest content, a custom welcome email is an ideal solution. With a personalized email, you can impress and engage users immediately, introducing them to your brand and building a relationship in the process.
To make your site even more user-friendly, WP Engine offers in-depth developer resources and managed hosting for WordPress that can help you deliver an incredible digital experience. Check out our plans today!