Get Started


Key Takeaways
Ninja Forms offers flexibility and functionality without custom code. With over a million active installations, it provides pre-built templates and a drag-and-drop form creator for various form types.
Easily customize forms with Ninja Forms. Add, remove, or edit fields to tailor forms to your site’s needs.
Multiple options to add forms to pages. Use Gutenberg blocks, shortcodes, or append forms to posts for seamless integration.
Set up email preferences for automated responses. Configure email actions to send messages to specific recipients based on form submissions.
If you’re trying to grow leads for yourself or your clients, adding effective contact forms is a great place to start.
While you can build your own custom forms from scratch, there are also great WordPress form plugins readily available today that can automate the process with added functionality, helping you get valuable information from people who are trying to reach you.
With more than a million active installations, Ninja Forms is one of the most popular contact form builders for WordPress, and it offers a ton of flexibility and functionality without having to write custom code.
From simple feedback and contact forms to event registration, file uploads, and more, Ninja Forms offers pre-built templates and options for building custom forms using a drag-and-drop form creator.
In addition to great overall support, the plugin is also regularly updated and offers powerful options for developers, including hundreds of functions, action hooks, and filters for custom functionality.
Ready to try out Ninja Forms? Let’s dive in!
Install It
To install the Ninja Forms plugin, go to Plugins > Add New in the WordPress admin. Search for “Ninja Forms” and click Install Now.

Once it’s done installing, the “Install Now” button will change to “Activate”—once it does, click the button to get started.
Open Ninja Forms and Start Building Your Forms
After activating the plugin, the Ninja Forms dashboard should be accessible from the left-hand side of your admin:
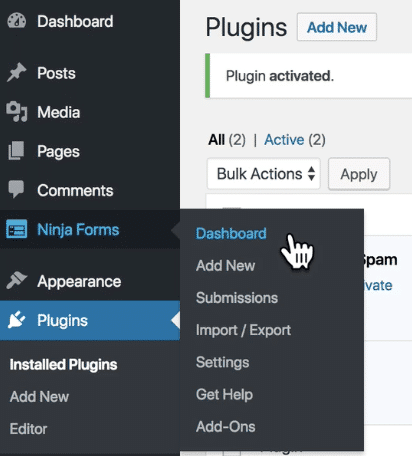
Click Add New under “Dashboard” and you’ll be presented with template options for setting up your first form:
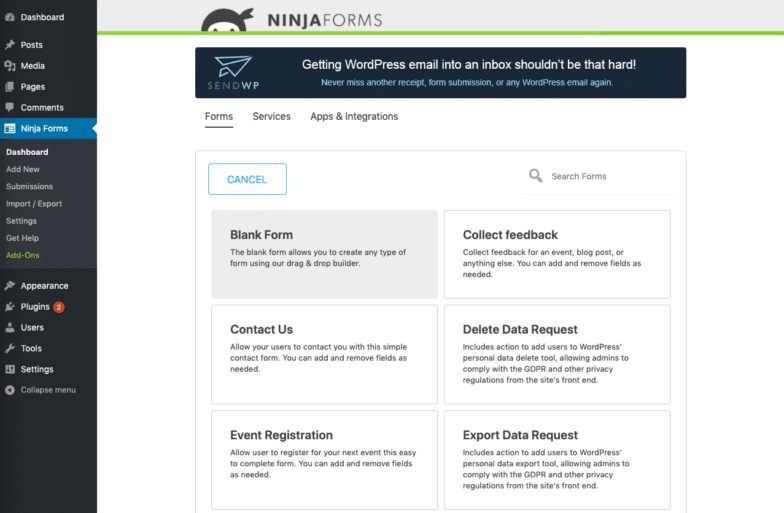
While Blank Form lets you start from scratch, selecting Contact Us brings up a template for an easy, straightforward contact form, with customizable fields:
From here you can add, remove, or simply edit any of these fields to meet the needs of your site anbd your content.
Edit or Modify Your Forms
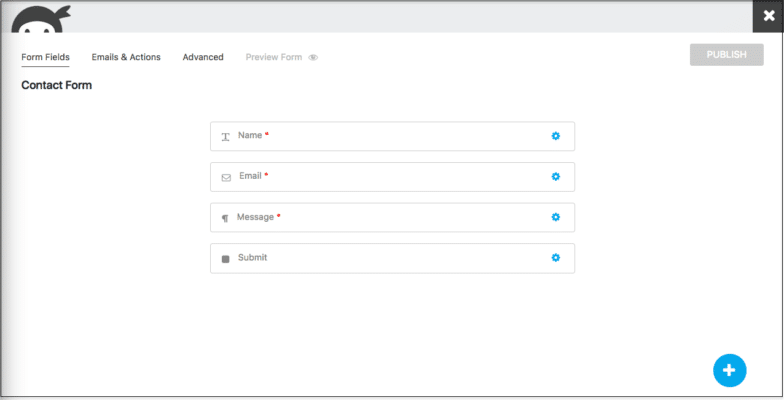
By default, the Contact Us form starts with a field for Name, Email, Message, and Submit. If you want to add fields, delete fields, or include different fields, click the blue circle with the white plus sign at the bottom right-hand side of the screen for additional options. You can also click the small blue gear symbol on the right-hand side of any field you’ve added to modify that specific field.
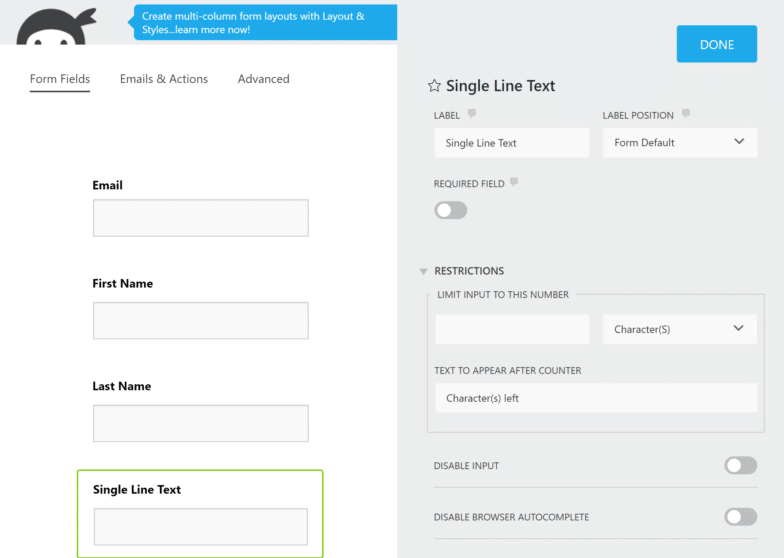
To remove a field, hover over the gear symbol and a trash icon will appear—simply click it to delete.
To learn more about advanced options and functionality in the form builder, check out the Ninja Forms documentation.
Add Your Form to a Page
Once you’re done building your form (be sure and click Done) you need to publish it in order to begin using it on your site:

Once it’s been published, you have a few different options available for adding your form to any page, wherever you’d like it to appear.
Add Your Form as a Content Block
With the introduction of WordPress 5.0 and the Gutenberg editor, sites using version 5.0+ have the ability to add a Ninja Form as a Gutenberg content block.
When editing a page or post, simply click the block icon and search for Ninja Form.
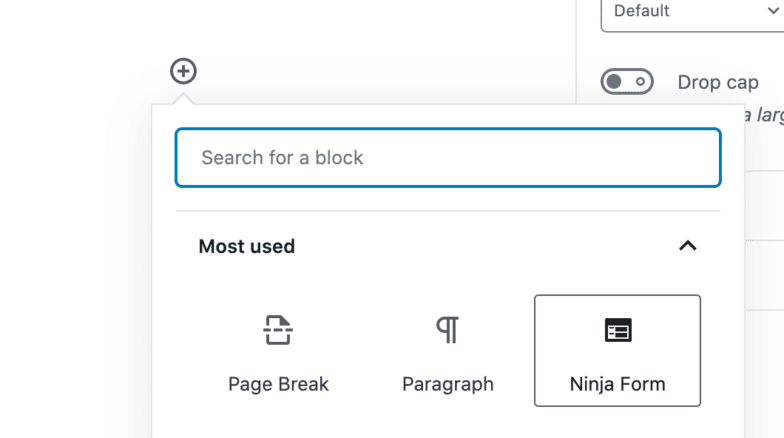
Once you click the Ninja Form block, a dropdown menu will appear that allows you to select your desired form from the ones you’ve published. Click on the form you want, and it will be inserted into the page or post.
Add Your Form Using a Shortcode
Another method for adding forms is to use a shortcode. Within the Ninja Forms Dashboard, you’ll see that each one of your forms has a unique shortcode:
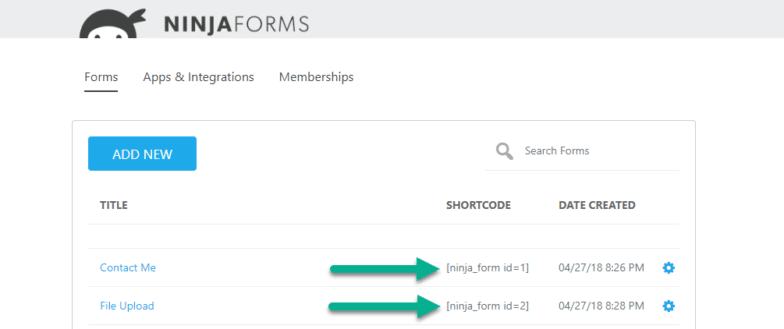
To add this into a page or post, simply copy and paste the shortcode you want into your editor (Gutenberg offers a specific block for shortcode) and it will embed the form within your page or post.
Append Your Form to a Post or Page
When editing a page or post, you’ll also an option to Append a Ninja Form in the right-hand sidebar of the editor. Simply choose your desired form from the dropdown menu and it will appear at the end of the page or post you’re editing.

Set Your Form Preferences
Once you’ve built a form you can always go back and adjust its preferences. For a comprehensive list of form settings and elements you can change, check out this helpful article.
One of the first things you may want to do is set up your email preferences, which can be used to send an email to anyone after a form is submitted by a user.
While this article offers an in-depth look at all of the options available, the first thing you’ll need to do is create “email actions” that occur after a form is submitted.
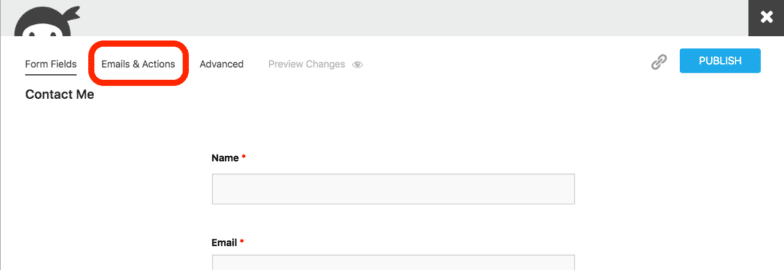
To get started, click Emails & Actions within a specific form’s Settings:
From there, you can either select a pre-built email action for your form or click the blue circle & button to create a new action.
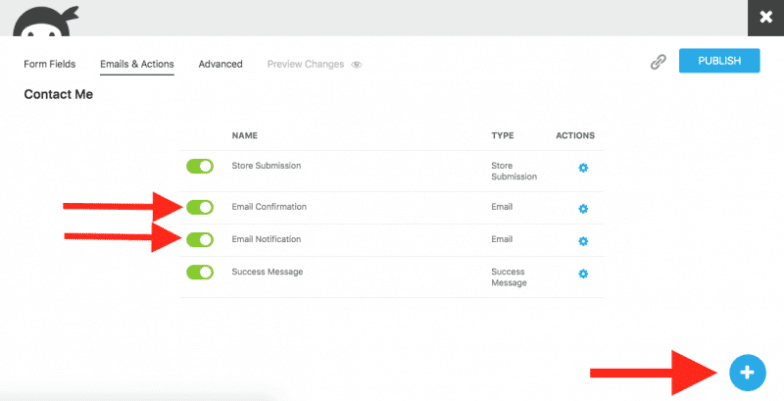
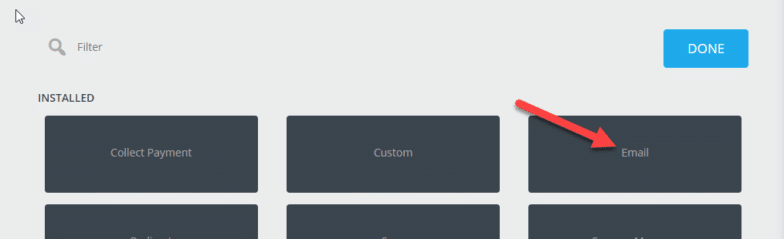
If you select the latter, you’ll be presented with the following options, and you’ll need to select Email from the new window that appears.
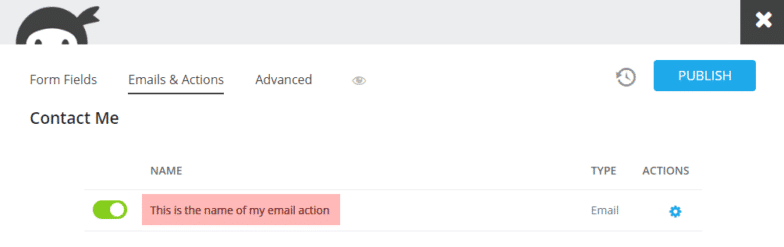
Then you’ll need to configure your action—start by giving it a name:

This name will then appear on your Actions list:
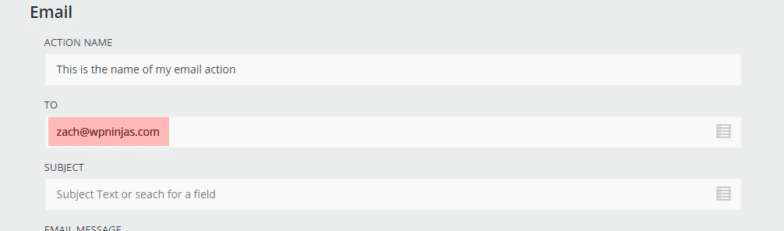
From there, you’ll need to select an email address that this action will send to. You can add emails manually, or use the merge tag icon to add a field from the form (such as a user’s email). Additional email addresses can be added with a comma separator.
If you want to use your own email address (common for admin emails), you’ll simply type the email address where you want to receive the message from this specific email action:
To automate replies from the form to other users, simply click the merge tags icon in the field, and then choose the email field in your form that asks for a user’s email address.
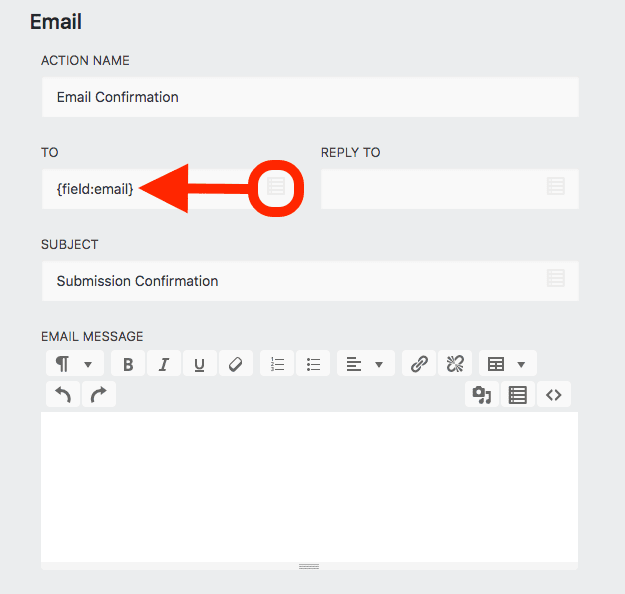
The merge tag you choose will “merge” whatever data a user submits in that field into your email action once the form is submitted.
And that’s it! Now you know how to create simple feedback submission or contact forms using Ninja Forms.
To get the most out of your site performance, check out WP Engine’s world-class WordPress hosting!