

Website Migration Checklist: a High-Level Guide
Migrating a website is a bit like moving a house while the residents are still inside. Between maintaining uptime, ensuring data integrity, and preserving SEO equity, the technical stakes are high. Without a structured, repeatable process, even minor oversights can result in a catastrophic loss of traffic and revenue. That’s why successful teams rely on a structured, phase-based approach.
At WP Engine, we’ve supported thousands of complex migrations, successfully moving hundreds or even thousands of pages with zero downtime. A successful transition is about infrastructure alignment.
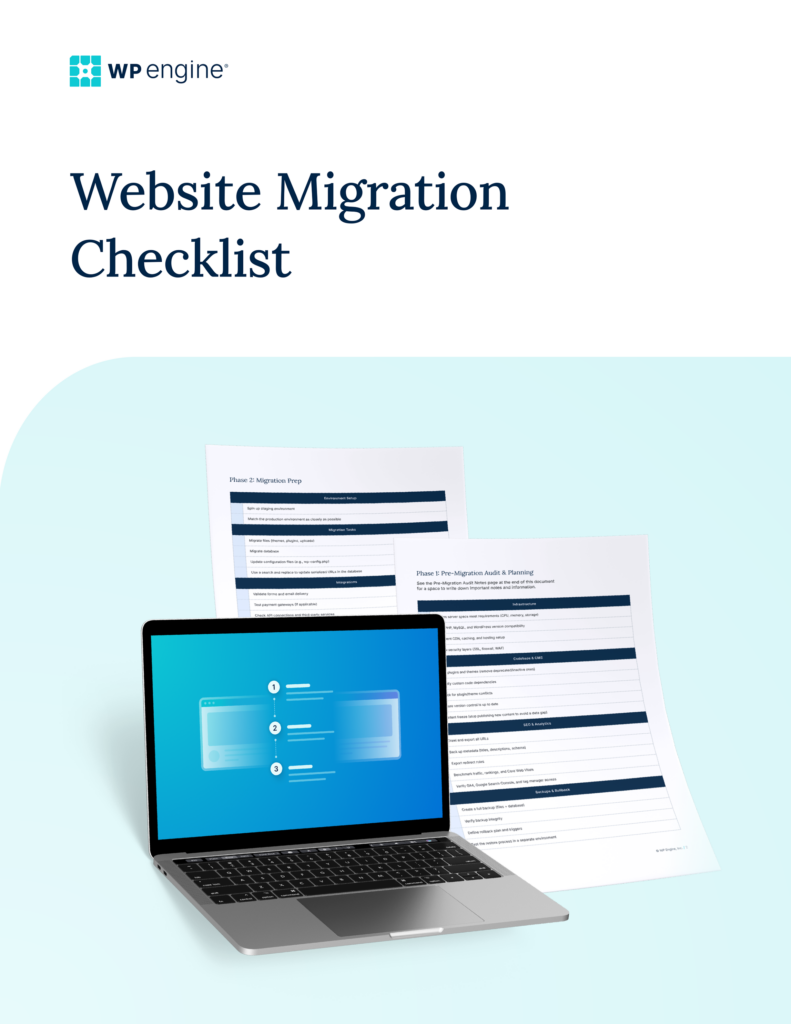
While every site migration will look a little different, this guide outlines the migration process at a high level so teams can execute with confidence. When you’re ready for your next migration, download our simple, scannable website migration checklist to start planning your own process!
Download our comprehensive migration checklist for a simple, scannable overview you can print and use for your next migration!
What is website migration?
Put simply, a website migration refers to the process of moving your site from one online location to another. All of your site’s content, data, design elements, and functionality should move seamlessly and with little to no interruption for your visitors.
Typically, a migration refers to the process of moving from one web host to another, but it can also refer to moving your site to a different URL, moving from HTTP to HTTPs, or moving to a different CMS (such as migrating from Drupal to WordPress). Sometimes, a large-scale redesign can even be considered a migration if the structural changes to the site are profound enough to require a new domain or platform.
For the purposes of this article, we’re referring to a migration as the process of moving an existing website to another hosting provider while keeping all of the site’s information, including the URL structure, the same.
Risks of website migrations
While the goal of a migration is often improved performance or rebranding, migrations frequently fail due to poor planning, undocumented legacy processes, and a lack of SEO planning. When a migration is rushed, teams risk their business’s digital foundation.
The most immediate threats of a poorly planned migration include:
- SEO issues: For migrations where URL structures are changing, teams need to implement a rigorous 1:1 redirect map, or search engines will lose track of your high-value pages. Poorly executed moves can lead to organic traffic drops of 20% to 40%, wiping out years of ranking equity overnight.
- Revenue and trust loss: Downtime and broken conversion funnels directly impact both your bottom line and your customers’ trust. If a visitor encounters 404 errors or a malfunctioning checkout, they rarely return.
- Data integrity risks: Mismanaged migrations can result in lost data, broken internal links, and corrupted user information.
A comprehensive migration checklist is essential to avoid these issues. It serves as a single source of truth that aligns developers, SEO specialists, and stakeholders. By benchmarking performance pre-launch and verifying technical vitals post-launch, a checklist transforms a volatile gamble into a controlled, predictable transition.
Looking to move to a host that makes migration seamless? WP Engine’s Site Migration Plugin makes moving your site easy, fast, and secure. Watch this video to see how it works.
The website migration checklist
Treat migrations as a sequence of clearly defined phases, each with specific tasks. Skipping steps or jumping ahead is how issues tend to arise. While every migration will look a little bit different, these high-level steps can help you get started on your planning.
Before you make a single change, migration starts with your pre-planning. You’ll document everything about your site, from key tools and integrations to performance metrics, and create your rollback plan in case there’s a problem. Then, you can safely move into your migration prep work. Once you’ve prepared as much as you can, you can move into the actual launch phase of the migration. Post-launch, you can focus on QA, validating your work, and monitoring for issues.
Download our printable website migration checklist for a simple, scannable version you can use to start planning your next migration.
Phase 1: Migration pre-planning and site audit
A successful migration starts weeks or even months before a single file is moved. This phase is about understanding your current site’s baseline performance, eliminating non-essential features that you don’t want to take into your new environment, and planning the process of your launch day.
Document everything, as this baseline will help you set up a successful launch and compare site performance after migration.
Assess and document current production site
- Review your current server specifications and resource allocation
- Confirm PHP, MySQL, and WordPress versions
- Document CDN and caching layers
- Evaluate current security posture (WAF, firewalls, SSL setup)
- Gather all required access and credentials required for migration
- Document DNS provider, your credentials, and the current DNS configuration
- Audit custom code dependencies
- Record current versions of all plugins and themes
SEO and analytics baseline
- Crawl and export all existing URLs
- Benchmark current performance metrics like traffic, SEO rankings, Core Web Vitals scores
- Use what you know about your traffic patterns to schedule an ideal migration date and time when you project lower traffic volume to minimize the risk of interruption to your visitors
- Validate configurations in GA4, Google Search Console, and other tracking tools
Migration and rollback planning
- Document all the information you’ve collected and put it in a plan of action
- Record what needs to change and where to change it (e.g., DNS records)
- Record what needs to be moved and how to move it (e.g., themes and plugins)
- Define rollback triggers and processes
- Use data from assessment steps to create a fallback plan that allows you to revert to your current configurations
- Define when rollback will happen vs pushing ahead (e.g., What issues or amount of downtime will trigger a rollback?)
- CRITICAL CRITERIA: Take a full backup of all files and databases before proceeding past Phase 1
Teams using platforms with built-in staging environments and automated backups can reduce risk at this stage by testing changes in isolation before touching production.
Phase 2: Migration testing and preparation
With your baseline set, you can start tackling the prep work and execution tasks required for a successful launch day. The goal here is accuracy, not speed.
All tasks in your pre-migration plan should be practiced during this testing and preparation phase. This is the time to pressure-test every aspect of the plan to ensure it’s repeatable on launch day.
Spin up a new environment
- Mirror your production environment as closely as possible on your new host
- Refer to your infrastructure assessments and match PHP, MySQL, and WordPress versions to the current production environment
- Configure any new hosting-level options as desired for production
- Confirm HTTPS enforcement
- Confirm caching configuration
- Configure security and WAF
- Install and validate SSL certificates as needed if not utilizing the default platform certificates
- Some hosts, like WP Engine, can help streamline this phase by integrating critical components, like integrated CDN layers, at the platform level
Initial Migration: Move files, database, and configurations
- Export critical files and database content, and import them to your new environment
- Replace environment-specific URLs with the test domain using a search and replace tool
- Some hosts, like WP Engine, can help you with search and replace by handling it automatically
- Ensure wp-config.php has the correct database credentials and security keys for the new server
- Confirm the server can properly read and write to your folders
- Clear any caching
Validate integrations and third-party services
- Payment gateways
- Forms and CRM connections
- APIs and external data sources
Initial QA and testing
- Check page templates and layouts
- Identify broken links or missing assets
- Run performance tests (load speeds, Core Web Vitals, etc.)
At this stage, the site should be functionally complete in its new environment. Your team should have confidence that the steps taken to produce your new environment are repeatable, refined, and ready for launch day.
Phase 3: Launch
On launch day, precision is the name of the game, as even a small issue can lead to downtime, security issues, broken functionality, or lost traffic. Follow your migration steps and coordinate across the team to make sure your plan is executed as intended.
Database migration depends very much on the type of data your site stores. Because of this, it’s difficult for us to define the exact steps, but those specifics should have been worked out in phase 2. To give you some idea, there are two broad ways to migrate data: all at once or incrementally.
Catch-up migration (optional)
- If the source site has been modified between the start of your migration and the launch of your new site, you may need to conduct another migration of only the new or modified content on launch day
- You can skip this step if there have been no changes to your site since your last incremental migration (no content updates, no new orders placed through an eCommerce store, etc.)
- This step may need to be repeated as needed for a short period as traffic moves from your old site to the new site
Search and replace the primary domain on the new environment
- Revert environment-specific URLs to the production domain with a search and replace tool
- Tools like the WP Engine Site Migration plugin can simplify this process by performing your catch-up migration and updating URLs in one simple action
DNS updates with minimal downtime
- Lower TTL settings 24–48 hours ahead of your planned migration
- Note: Launch day actually starts 24–48 hours before the switch moment, because you’ll want to lower your DNS Time to Live (TTL) ahead of a migration. This will force the internet to clear its cache and propagate your new DNS records instead of sending visitors to the last cached location (aka: your old site)
- Update DNS Records
At this point, your new site should be live, and traffic should be routing to it. Now, it’s time to review your work and double-check for any errors post-migration.
Phase 4: Post-launch validation and monitoring
A migration isn’t finished at launch. The first hours and days after going live are critical for identifying hidden issues.
Validate analytics, tracking, and conversions
- Confirm tracking tools are firing correctly
- Compare post-launch data to pre-migration benchmarks
Monitor indexing status
- Monitor indexing status in search tools (e.g. Google Search Console)
- Check for crawl errors or coverage issues
Performance regression monitoring
- Monitor uptime and server response times
- Watch for traffic-related slowdowns
- Monitor site performance (e.g. Core Web Vitals)
Monitor for errors
- Even the best-planned migrations can have errors. Keep a close eye on your site in the weeks following your migration
- Identify HTTP errors (e.g., 4xx, 5xx)
- Monitor third-party integrations
Ongoing monitoring tools, like WP Engine’s Site Monitoring, can make it easier to catch and resolve issues before they impact your visitors or rankings.
When to use a managed platform for migrations
While manual migrations are possible, they aren’t always efficient, especially for teams managing sites with complex functionality, high traffic, or a large volume of content or pages.
A managed platform becomes invaluable in these cases, as your migration can be assisted by a team of experts who work on migrations every day and understand the common issues to watch out for, reducing the risk that your team gets stuck troubleshooting problems post-migration.
Common website migration pitfalls (and how to avoid them)
Even experienced teams can run into preventable issues. The most common pitfalls include:
- Skipping the pre-migration audit: Without proper documentation, teams may encounter compatibility issues or unexpected failures mid-migration.
- DNS misconfigurations: DNS mismanagement results in downtime or traffic being routed to the wrong environment.
- Incomplete redirect mapping: In migrations where URL structures change, sites can experience SEO losses and broken user journeys.
- Plugin and theme incompatibility: This is a common point of failure if known working versions aren’t used on the new site.
- No rollback plan: With no plan for when and why to revert to the old site, teams can end up scrambling if something goes wrong during deployment.
A structured checklist helps mitigate these risks by ensuring the migration team doesn’t overlook critical elements of the plan.
Migrate with confidence
With a structured, phase-based approach, teams can reduce uncertainty, maintain performance, and protect SEO value throughout the migration process.
Download our quick checklist for a framework that helps standardize workflows, minimize errors, and ensure every migration is predictable and controlled.
With the right process and the right platform, migrations become less about risk mitigation and more about growth potential.
FAQs about website migration
What should be included in a website migration checklist?
A complete checklist should cover pre-migration audits, file and database transfers, DNS updates, SEO preservation, testing, and post-launch monitoring. Each phase plays a role in reducing risk and ensuring continuity.
How do you migrate a website without losing SEO?
Preserving SEO is possible! Teams should maintain URL structures where possible, implement accurate redirects, back up metadata, and monitor indexation after launch. Benchmarking performance before migration is also essential to understanding whether you’re successful in maintaining your SEO integrity.
What should you monitor after a website migration?
Focus on analytics accuracy, traffic trends, search rankings, site performance, and crawl errors. Early monitoring helps identify and resolve issues before they have a lasting impact.
