Get Started

Key Takeaways
Local development provides a safe, offline sandbox environment for WordPress projects, eliminating risks to live sites. This allows developers to test plugins, tweak themes, and refactor code without impacting production, ensuring stability.
Local’s Blueprints feature significantly streamlines development by allowing teams to template and instantly clone pre-configured starter sites. This eliminates repetitive setup tasks, saving substantial time for agencies building multiple WordPress projects annually.
Local integrates with professional workflows, offering zero-click automation for deployments to WP Engine and Flywheel via MagicSync. This enables visual comparison and 5x faster deployment of individual file changes, enhancing efficiency and accuracy.
Local supports advanced architectures like WordPress Multisite and dedicated beta testing sandboxes for future-proofing. This allows safe testing of upcoming WordPress core releases and managing multiple sites from a single installation without risk to live environments.
For advanced teams, Local facilitates Git version control and automated CI/CD pipelines using GitHub Actions. This ensures code quality with PHP linting and instant cache clearing, minimizing human error and securing deployments.
Explore the comprehensive guide, Options for Deploying Your WordPress Site from Local, to master advanced migration and deployment strategies.
Build, test, and deploy powerful sites faster with this essential guide to local WordPress® development in the WP Engine ecosystem.
Modern WordPress®1 development requires speed and reliability. Whether you’re an agency pro or a freelancer, you need to build, test, and experiment safely without touching a live production site.
Local solves this by turning your machine into a powerful offline server environment.
Developing locally grants total freedom. You can test plugins, tweak themes, and refactor code with zero risk to your live site. Paired with WP Engine hosting, Local transforms your laptop into a secure, lightning-fast, and high-performance sandbox.
This guide shows you how to master that ecosystem. You’ll learn everything from spinning up your first site to scaling your workflow with Blueprints and advanced CI/CD pipelines.
Getting started
Before diving into the code, you need to understand exactly what Local is and get comfortable navigating its interface.
What is Local Development?
Before installing the software, it helps to understand what Local actually does.
- Providing a sandbox environment: Normally, a WordPress website lives on a live web hosting server. Local transforms your own machine into an offline server, allowing you to build and test your site completely in private.
- No internet required: Because the server is running directly on a laptop, it’s possible to build, break, and experiment with a WordPress site offline, meaning WordPress development can be performed anywhere.
- Experiment with (and break) sites safely: If you install a plugin that crashes the site or triggers a critical PHP error, your live website remains completely untouched and safe. This makes it a great tool for testing and experimentation.
Installation & system preparation
Getting Local up and running is straightforward, but there are two things beginners should know before hitting download:
- Admin privileges: During installation, your operating system (Mac or Windows) will likely ask for your administrator password. This is normal and safe; Local needs permission to tweak your system’s hosts file so that custom web addresses (like
mysite.local) work correctly in your browser. - Disk space check: While the Local application itself is lightweight, every WordPress site you create includes its own database, core files, and media. Keep an eye on your hard drive space if you plan to clone large production sites later.
Spinning up a new site
To understand how professional teams collaborate without overwriting each other’s code, you need a clean baseline site to practice on. In this quick setup, we’re going to spin up a fresh local site and install a standard theme and plugin to mimic a real client project.
Prerequisites
- Ensure Local is downloaded and installed on your machine.
- Have your command line terminal handy (though we won’t need it just yet).
Getting started
- Create the site:
- Open Local, click the “+” icon (Create a New Site), and give it a name. At this point there are some advanced options, but these can be left as the default for now.
- Choose the preferred standard environment, to use the default most up to date versions of PHP and MySQL.
- Finally add a WordPress username and password
- Launch the Admin Panel: Once the site is live, click the Admin button on your Local dashboard to jump straight to your WordPress login screen and log in with the details you set up previously.
- Install the Baseline Theme: Go to Appearance – Themes – Add New, then search for, install, and activate the Frost theme (a clean block theme perfect for development testing) or a theme of your choice.
- Install a Test Plugin: Go to Plugins – Add New, then search for, install, and activate any standard plugin of your choice.
Cloning a live site
Spinning up a blank website in Local is great for practice, but what happens when a client hands you an existing, live website with hundreds of blog posts and thousands of images?
Thanks to a tight integration between Local and the free WP Migrate Lite plugin, you can package up a live website into a single .zip file and clone it onto your computer in just a few clicks with no complex API keys or server pipelines required.
Prerequisites
- Install the free WP Migrate Lite plugin on the live website you want to clone.
- Ensure your Local desktop application is open on your computer.
Getting started
- Export the live site: On your live WordPress dashboard, navigate to Tools – WP Migrate. Select the Full Site Export option to bundle your database, media library, themes, and plugins into a single package, and download the resulting
.zipfile. - Drag, drop, and clone: Take that downloaded
.zipfile and drag it directly anywhere onto the open Local desktop app window. - Automatic translation: Local will automatically read the zip package, unpack the files, and spin up a local copy.
- The magic behind the scenes: During the import, Local uses WP Migrate to run an automatic Find and Replace on your database. It safely updates all your live URLs (like mywebsite.com) to local URLs (like mywebsite.local) and fixes any broken serialized data automatically.
Want to see the full walkthrough of this migration process or learn more about how WP Migrate handles complex database serialization?
Check out the full breakdown: Importing a Live Site with WP Migrate and Local.
The Local dashboard
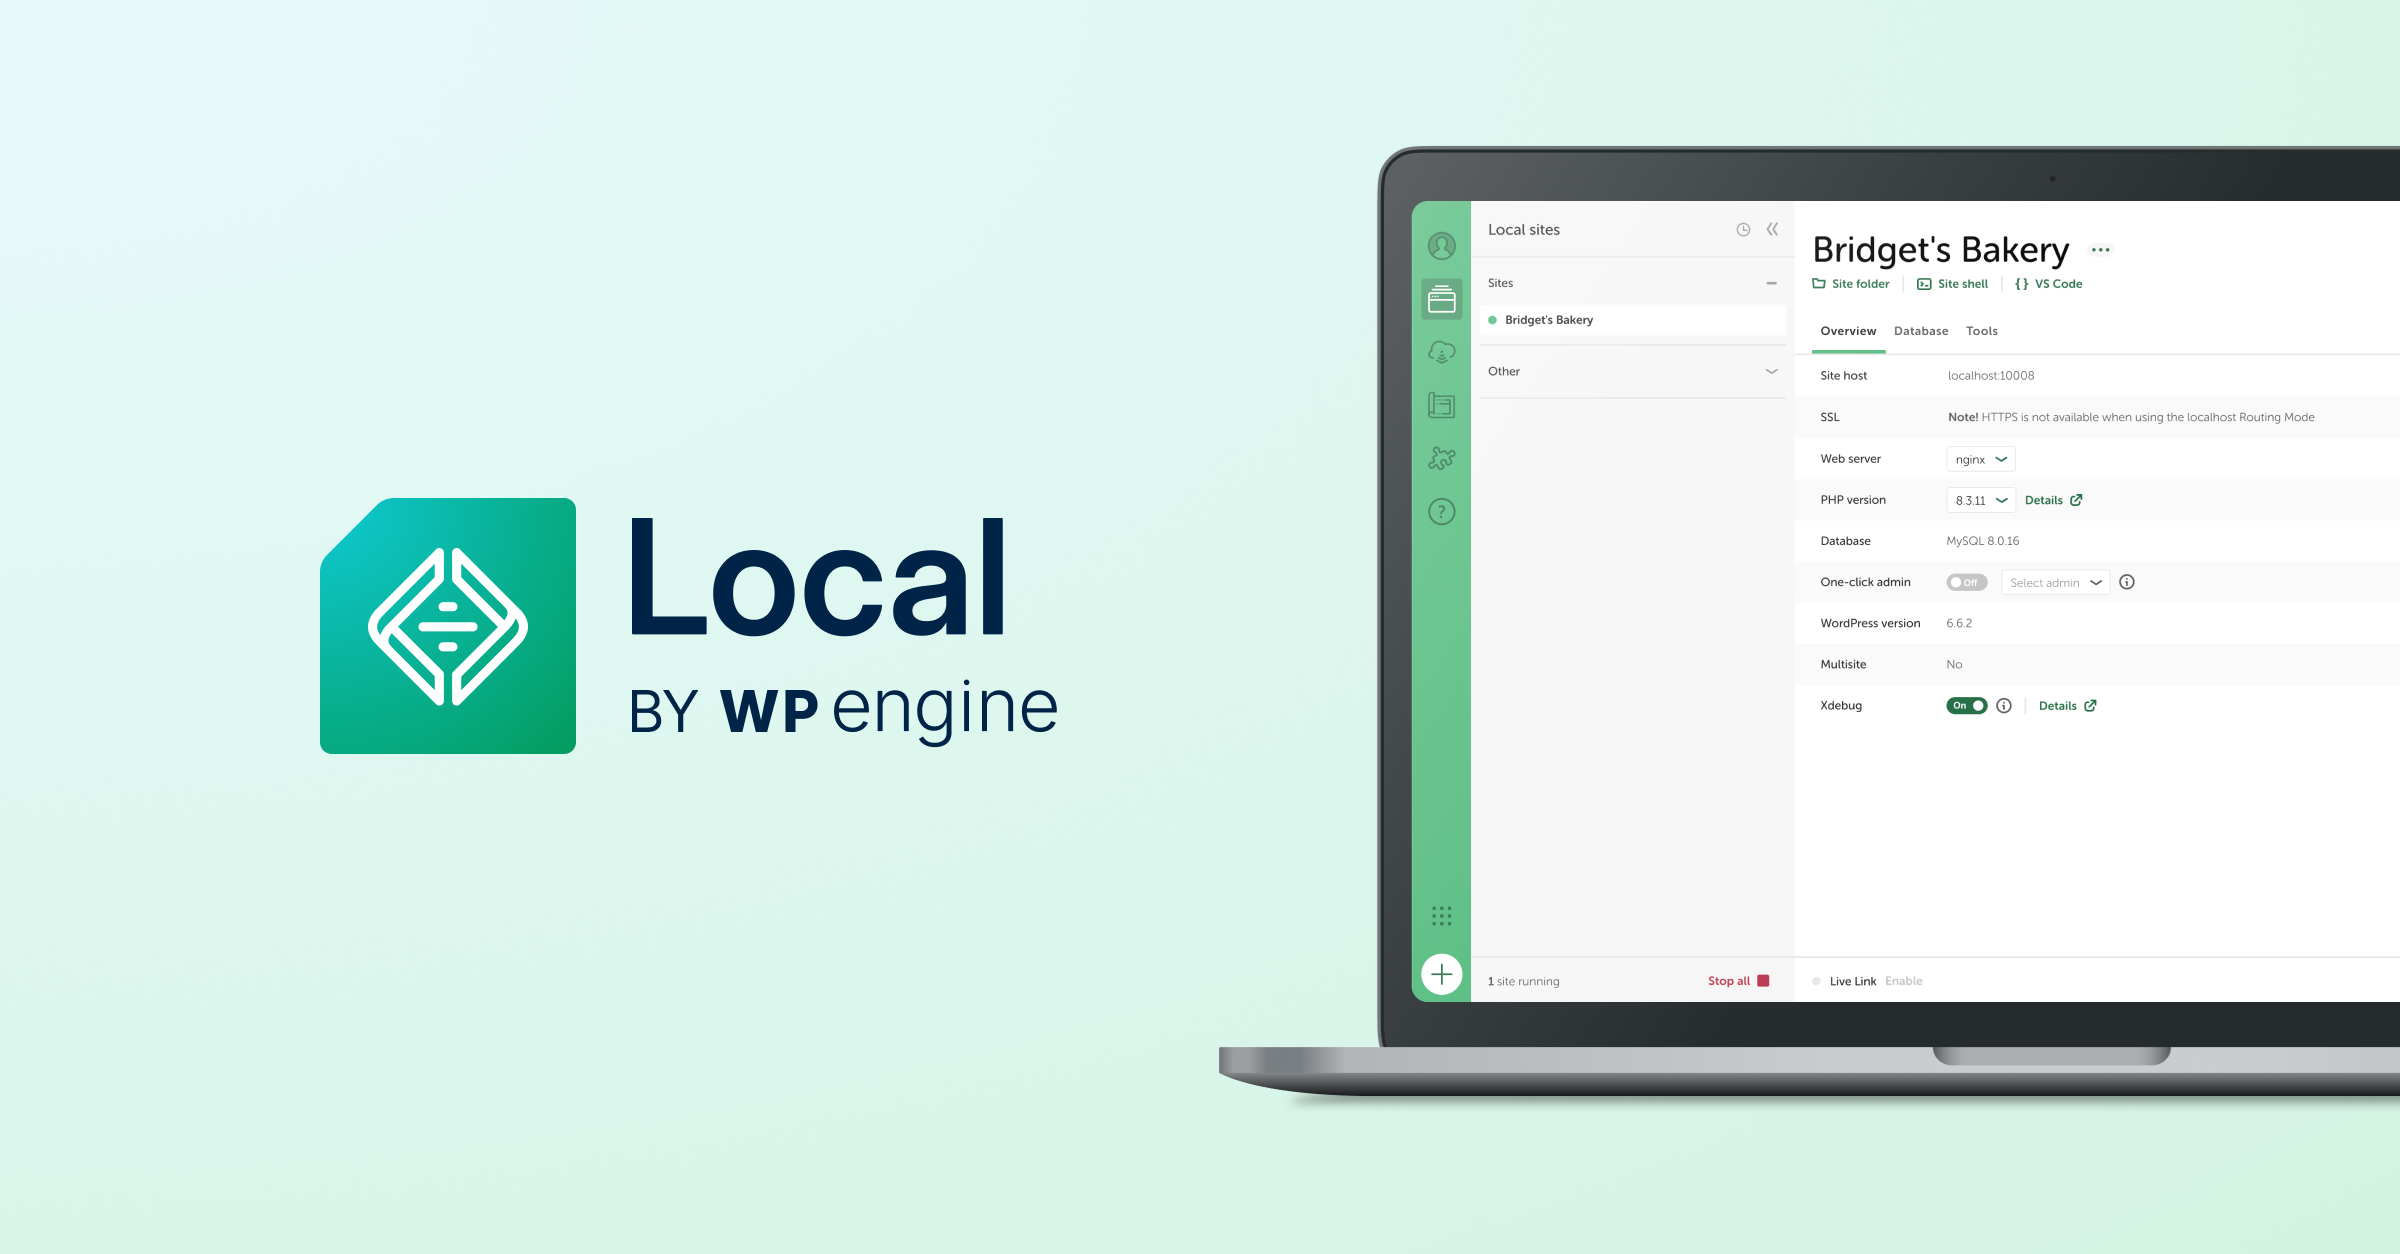
When your new site finishes installing, you will be greeted by the Local dashboard. It can look intimidating with all its technical jargon, but you only need to know four main areas:
- The site control bar: This features the Start/Stop Site toggle. Local doesn’t need to drain your battery when you aren’t working; turn it on when you develop, and stop it when you’re done. You’ll also find the Admin button (takes you to the WordPress login) and the Open Site button (takes you to the website frontend).
- The overview tab: This shows your site’s vitals. Here, you can change your PHP Version on the fly to test compatibility. You can also toggle on One-Click Admin, a massive quality-of-life feature that automatically logs you into WordPress without making you type your password every time.
- The database tab: WordPress stores all your posts, pages, and settings in a database. Clicking Open Admin gives you a direct look into those database tables. You won’t need this often, but it’s a lifesaver if you ever need to manually fix a broken setting or edit data.
- The tools tab: This is where Local hides some of its best features, like Mailpit (an internal inbox that intercepts emails your site tries to send so you can test contact forms safely) and Live Links (which lets you generate a temporary, public URL to show your work to a client or test it on your phone).
Site anatomy: where do your files actually live?
The biggest hurdle for beginners is losing track of where their website files are on their computer. If you don’t know where your files live, you won’t be able to write code or manage version control later.
- In the Local dashboard, right under your site’s name, look for the “Site Folder” link. Clicking this opens your computer’s file finder (Finder on Mac, File Explorer on Windows) directly to your project directory.
- Once inside that folder, navigate to: app – public – wp-content
- Inside wp-content, you will see your themes and plugins folders. Bookmark this location; it’s where you will be writing custom code, adding local Git repositories, and doing your real development work.
Optimizing daily workflow
Once you have your baseline site running, you don’t need to jump straight into complex code. Local comes packed with built-in utilities designed to save you time, optimize your site’s performance, and make collaboration seamless.
Here are the three essential power features you can start using immediately:
1. Live links: share your progress instantly
Live Links securely tunnels into your local machine to generate a temporary public URL. This allows you to show your work to a client or test your site on a mobile device without deploying it to a live staging server.
- Navigate to the bottom bar of your site’s dashboard in Local and click Enable next to Live Links.
- Click the small dropdown arrow to view your temporary credentials (username and password).
- Copy the URL and open it on your phone or text it to a client.
2. Image Optimizer: boost site speed locally
Large images are a top cause of slow WordPress websites. Instead of waiting until your site is live to install heavy compression plugins, you can optimize your entire media library directly on your computer.
- Go to the tools tab in the top menu of your specific local site.
- Select image optimizer (install the free add-on if prompted).
- Click scan for images to let Local locate your JPEGs.
- Optional: Check Strip my Metadata to safely remove hidden camera details and reduce file sizes even further.
- Click Optimize Images. You can pause and resume this process at any time without losing your progress.
3. Cloud backups: never lose your work
Local development is safe, but hard drives can still fail. The Cloud Backups add-on connects Local directly to your personal cloud storage, so you can save snapshots of your projects with a single click.
- Log into your free Local account within the app.
- Go to the Add-ons menu and enable Cloud Backups.
- Connect your preferred provider (like Google Drive or Dropbox).
- Go back to your site provider, access the Backups tab, and click Backup Now. Your entire environment, database and files are safely stored and can be restored on any computer running Local.
Blueprints for design & development
When you first spin up a brand new site in Local, it arrives in a completely blank “Hello World” state with no custom styles, no active plugins, and standard settings. If your agency builds dozens of sites a year, repeating the exact same setup process (installing your favorite page builder, SEO plugin, and security tools) is a time sink.
With Local’s Blueprints feature, you can configure your perfect “starter site” once, freeze it as a template, and clone it instantly for all your future projects.
Getting started
- Build your baseline: Spin up a standard site in Local and install your required toolkit (plugins, themes, etc.). Configure your default permalinks and settings exactly how you like them.
- Save the blueprint: Right-click your site’s name in the left-hand sidebar menu (or click the three-dot icon next to the title and select Save As Blueprint.
- Name & exclude: Give your template a clear name. You can optionally use the file exclusion filter to keep the file size light. Click save blueprint.
- Launch from the sidebar: Local pulls your templates into a dedicated blueprints tab right on the main navigation bar. The next time you click the “+” icon to build a site, simply choose create from blueprint to instantly drop your entire development team into a perfectly pre-configured environment.
Headless WordPress blueprints
If you or your clients are looking to step into the future of web architecture, standard monolithic WordPress isn’t your only choice. Local also includes built-in Headless WordPress Blueprints.
This advanced framework separates your content management from your display layer, pairing a powerful WordPress backend with an ultra-fast Node.js frontend (using Faust.js, or WPGraphQL).
Getting started
- Navigate to the puzzle piece icon on the left sidebar to open the Add-on Library.
- Find the WP Engine Headless WordPress add-on, click enable, and allow Local to restart.
- Open your Blueprints tab and scroll down to unlock three pre-built headless sandboxes
- Select a template and click continue. Local will automatically deploy a local
Node.jsenvironment alongside your database and link them together automatically.
Advanced architectures
Once you’ve mastered single-site setups and templates, it’s time to scale up. Local isn’t just for basic blogging environments; it’s powerful enough to run massive network sites and future-proof your code against upcoming core updates.
In this phase, we’ll explore how to set up a WordPress Multisite network, perfect for agencies managing multi-language variants or developers hosting a library of theme demos, as well as how to build a dedicated testing sandbox for upcoming WordPress core releases.
Checklist
Before scaling up your architecture, keep these two critical Local behaviors in mind:
- Router mode: For Multisite to function, Local’s Router Mode must be set to “Site Domains” (e.g.,
mysite.local). If it’s set tolocalhost, sub-domains and sub-directories will break. - Local connect limitation: Local Connect does not currently support syncing Multisite installations to live hosting. You will need to use a plugin like WP Migrate for remote deployment.
1. Scaling up with WordPress multisite
A Multisite network allows you to manage multiple virtual websites from a single WordPress installation and database. When you create a network of sites, you have to decide how their web addresses (URLs) will be structured. Local handles both perfectly, but they look a bit different:
- Sub-Directories (Paths): This structures your network like folders on a single website (e.g.,
mysite.local/shopormysite.local/blog). It’s the easiest to set up because all sites live under one main domain name. - Sub-Domains: This structures each site as a unique offshoot of your main domain (e.g.,
shop.mysite.localorblog.mysite.local).
Getting started
- Launch the Installer: Open Local, click the “+” icon, name your site and select continue
- Choose the preferred (recommended) environment setup
- Under Advanced Options, locate the Multisite dropdown and select either:
- Sub-Domain:
site1.mysite.local - Sub-Directory:
mysite.local/site1
- Sub-Domain:
- Add Site: Complete the setup wizard. Local automatically handles the complex server routing rules under the hood.
- Test the Network: Log into your new site, navigate to My Sites – Network Admin – Sites, and click Add New to instantly spin up a functioning sub-site.
2. Future-proofing with a beta testing sandbox
Never test unreleased WordPress software on a live client site. Local allows you to build a safe, isolated sandbox to ensure your custom themes and plugins are completely compatible with upcoming WordPress releases.
There are a few ways to get a beta site running, but using a pre-configured Blueprint is by far the fastest method.
Getting started
- Download a pre-built beta testing zip file directly.
- Drag the .
zipfile anywhere onto your open Local dashboard window to trigger the automatic environment import. - Launch the site and log in using the pre-baked credentials:
- Username:
admin - Password:
admin
- Username:
- The environment comes pre-loaded with the WordPress Beta Tester plugin active and set to the “Bleeding Edge” core development track, giving you instant access to the latest Release Candidates (RCs).
Professional workflows (deployments & syncing)
Developing sites locally is the industry standard for professional WordPress creators. But once your code is perfected on your machine, how do you take it live?
There is no single “correct” way to launch a site, but your workflow strategy will usually fall into a distinct tier of sophistication. Think of it as a deployment spectrum ranging from manual control to platform automation.
The core blueprint: files vs. database
Every WordPress site migration involves moving exactly two components from your origin machine (local) to the remote live server (production):
- The Files: Specifically your local
/wp-content/folder, which holds your custom themes, plugins, and media uploads. - The Database: The brain of your site that records your posts, pages, and system configurations.
Three ways to go live
The classic manual hand-Off (SFTP & Adminer)
If you are working with a traditional web host, you will likely be handling things by hand. This involves using an SFTP client (like FileZilla) to copy your local /wp-content/ folder over to the live server, exporting a compressed .gzip snapshot of your database from Local’s built-in Adminer tool, and manually importing it into the live database manager (like phpMyAdmin).
The universal plugin option (all-in-one WP migration)
For a more automated handoff that works on any hosting provider, you can use a migration plugin. Install a tool like All-in-One WP Migration on both sides to input simple translation rules, package your database and code into a single portable file, and drag-and-drop it directly into your live server dashboard without touching raw database tables.
Zero-click automation (Local Connect & MagicSync)
If your live environments host on WP Engine or Flywheel, you can skip the manual pipelines entirely. By linking your hosting API credentials straight to the Local desktop app, deployment becomes a seamless, one-click affair.
MagicSync unlocks a visual, two-pane window that compares your offline code with the live server, allowing you to deploy individual file changes with laser-targeted accuracy up to five times faster.
Closing the loop: syncing live data back to your computer
A true developer workflow isn’t a one-way street. While you are busy writing new features offline, your clients and content creators are constantly posting live blogs and updating system settings on the live site.
To keep your machine from falling behind, Local Connect lets you pull that live site environment right back down to your computer. This gives you a perfect, up-to-date offline twin of the live site to test against before your next big deployment.
Ready to take your site live? For a granular look at setting up database table prefixes, handling complex serialized data strings, or optimizing your plugin exports, check out the complete, step-by-step masterclass: Options for Deploying Your WordPress Site from Local.
Advanced workflows (Git version control & CI/CD pipelines)
For teams, agency developers, or solo creators demanding strict code backups and automated deployments, clicking buttons in an app interface isn’t enough. You want your codebase to track its own history and deploy itself safely every single time you push code.
By standardizing a terminal-based version control pipeline, you can isolate development branches, collaborate seamlessly, and eliminate human error from your deployment process entirely.
Step 1: Track only what matters (.gitignore)
Local generates thousands of core WordPress files (wp-admin, wp-includes, etc.). You should never track core WordPress files or massive image upload directories in Git. It bloats your repository and slows down your deployment. Instead, you only want to track your custom themes and plugins.
Open your computer’s text editor, create a new file named .gitignore, and save it directly inside your local site’s /wp-content/ directory. This script forces Git to ignore the core system noise while keeping tabs on your specific active project files:
# Ignore all themes and plugins by default
/themes/*
/plugins/*

# DO NOT ignore your specific development assets!
!/themes/my-custom-agency-theme
!/plugins/my-custom-plugin

# Ignore core system noise, backups, and media uploads
/uploads/
/upgrade/
.DS_Store
Thumbs.db
Initialize the repository: Inside the Local app dashboard, click the Open Site Shell button directly beneath your site title. This opens a terminal window automatically rooted to your site’s directory. Run the following commands to initialize Git:
cd wp-content
git init
git add -A
git commit -m "Initial commit of custom assets"
Publish to GitHub: Create a new repository on your GitHub account, link your local machine to it using the terminal prompt provided by GitHub, and push your code live.
Step 2: Automated pushes via GitHub actions
With your code safely living on GitHub, you can build a CI/CD pipeline. This means whenever you push code to a specific branch on GitHub, a virtual server automatically spins up, double-checks your code, and safely overwrites the files on your live server.
How a standard pipeline is structured:
- Pushing to the stage branch triggers GitHub to instantly deploy changes to your staging server for client review.
- Merging into the main branch triggers an automated production deployment.
To configure this automation, you create a workflow file inside your repository at .github/workflows/deploy.yml. A typical automated deployment script looks like this:
name: Automated Site Deployment
on:
  push:
    branches:
     - stage
jobs:
  deploy:
    runs-on: ubuntu-latest
    steps:
    - uses: actions/checkout@v4
    - name: Deploy Script Execution
      uses: wpengine/github-action-wpe-site-deploy@v3
      with:
        REMOTE_PATH: "wp-content/"
        WPE_SSHG_KEY_PRIVATE: ${{ secrets.WPE_SSHG_KEY_PRIVATE }}
        WPE_ENV: your-staging-environment-name
        PHP_LINT: TRUE
        CACHE_CLEAR: TRUE
The safety switches behind the scenes:
PHP_LINT: TRUEautomatically runs a code syntax check on your files before deploying. If a developer accidentally left a broken bracket or syntax error in a file, the deployment instantly halts, protecting your live site from the dreaded “White Screen of Death.”CACHE_CLEAR: TRUEensures that the second your new files land on the hosting server, the server cache is instantly busted so your clients see the visual updates immediately.
Securing the pipeline with SSH keys
To make this deploy securely without saving passwords in public view, you bridge the connection using an SSH key pair:
- Generate the Keys: Run ssh-keygen -t ed25519 in your terminal to create a passwordless security handshake.
- The Public Key: You paste this string into your web hosting account under SSH Keys so the server trusts incoming code.
- The Private Key: You save this string inside your GitHub Repository as an encrypted variable by navigating to Settings ➔ Secrets ➔ Actions. GitHub uses this background secret to securely sign off on deployments every time you run a git push command.
Conclusion
Mastering local development is about adopting a professional mindset that prioritizes safety and efficiency. Syncing offline work with production servers removes friction, allowing you to focus entirely on building better sites. With this guide, you can now move from basic local site creation to complex workflows, leveraging features like Live Links, Blueprints, and automated deployments to streamline your daily tasks.
Your professional development doesn’t end with this guide. Keep experimenting, refining your processes, and pushing boundaries. Your local machine is now your most powerful asset, and it’s time to start creating!
- WP Engine is a proud member and supporter of the community of WordPress® users. The WordPress® trademarks are the intellectual property of the WordPress Foundation, and the Woo® and WooCommerce® trademarks are the intellectual property of WooCommerce, Inc. Uses of the WordPress®, Woo®, and WooCommerce® names in this website are for identification purposes only and do not imply an endorsement by WordPress Foundation or WooCommerce, Inc. WP Engine is not endorsed or owned by, or affiliated with, the WordPress Foundation or WooCommerce, Inc. ↩︎