Get Started

Key Takeaways
Creating a WordPress theme offers full control over site appearance and functionality. Developing a custom theme requires basic web development knowledge in HTML, PHP, and CSS.
Local WordPress setup enhances theme development efficiency and security. Local environments provide faster loading times and secure testing grounds for theme creation.
Two essential files, index.php and style.css, are fundamental for a basic WordPress theme. These files define the layout and styling of the theme.
Utilizing Local for WordPress theme development streamlines the setup process and facilitates testing. Local simplifies creating multiple test environments and managing WordPress websites locally.
There are thousands of WordPress themes you can choose from, ranging from multi-purpose to focused niche options. However, sometimes the only way to get your website looking exactly like you want it to is to create your own theme.
Creating a WordPress theme is perfectly doable, even if you don’t have an extensive background in web development. You just need to learn what files your theme requires and where to place them. Then you’ll make changes to the code until you get everything working the way you want.
In this article, we’ll introduce you to WordPress theme development and the tools you need to get started. We’ll also show you how to create a basic WordPress theme in four steps. Let’s jump in!
An Introduction to WordPress Theme Development
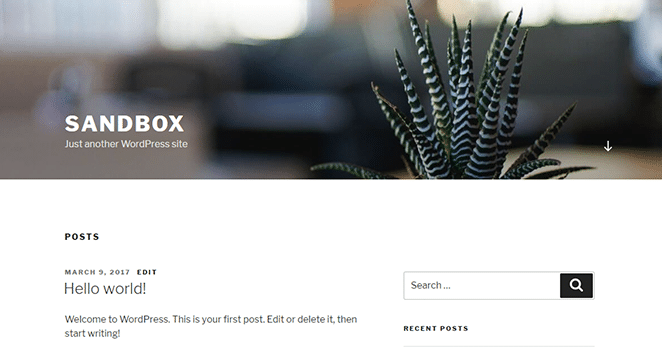
WordPress themes are templates that affect your site’s appearance and layout. For example, here’s a WordPress website using the default Twenty Seventeen theme:
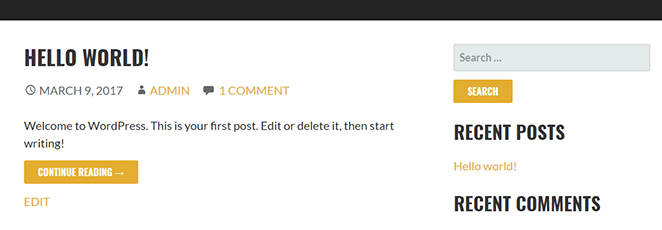
Here’s that same website, but this time using the popular Stout theme:
With the right theme, you can get your WordPress website to look however you want without having to make changes to its code. However, if no theme matches your requirements, you can also create your own. The upside to this approach is that you have full control over the way your site looks and your theme’s functionality.
To create a theme of your own, you will need at least a basic web development background. You don’t need to be a professional, but if you don’t have a general understanding of HTML, PHP, and CSS, the process can be frustrating.
Get Genesis Framework & StudioPress themes for free!
When you host your sites on WP Engine, you’ll have access to premium WordPress themes (including Genesis!). That’s a ton of value to get you started; learn more here.
Likewise, creating a theme and getting things looking and working right can take time. As such, deciding whether to make your own theme comes down to whether your site would benefit from a custom theme. You should also consider how timely and cost-efficient creating your own theme would be compared to using an existing one.
Finally, it’s worth considering that a lot of people make a pretty good living from WordPress theme development. It’s a very competitive field of business, but who’s to say you couldn’t develop a winner and make a profit from your work?
Why You Need a Local WordPress Setup for Theme Development
To set up and test your custom theme, you’re going to need a WordPress installation. The best way of doing this is by using a local environment, for the following reasons:
- It’s more efficient. With a local WordPress setup, loading times are almost non-existent, and you won’t need to upload files to an external server.
- It’s safer than using a live environment. Web development always involves a lot of trial and error, so it makes sense to do it in a secure, local environment.
- You can create multiple test environments. Running multiple WordPress websites is much easier on a local setup.
- You can use specialized software. There are a lot of applications you can use to speed up your local WordPress development, such as Local, a free local development tool for Mac, Windows, and Linux machines.
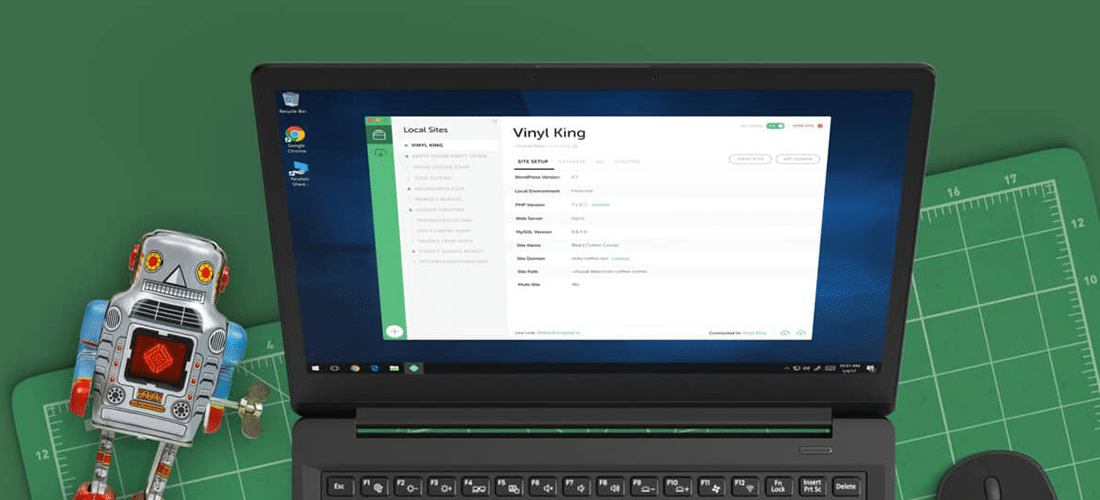
With Local, you can set up as many WordPress websites as you want with only a few clicks. You also get access to a simple dashboard where you can manage all your test sites.
More importantly, you can configure each local website. That means you can use different versions of PHP, MySQL, and either NGINX or Apache. You can also save some of your sites as “blueprints” to be re-used later.
How to create a WordPress theme with Local (in 4 Steps)
In this tutorial, we’ll show you how to set up a local WordPress environment for theme development, teach you about all the files you need, and show you how to test it. Let’s get to work!
1. Use Local to Set up a WordPress Website
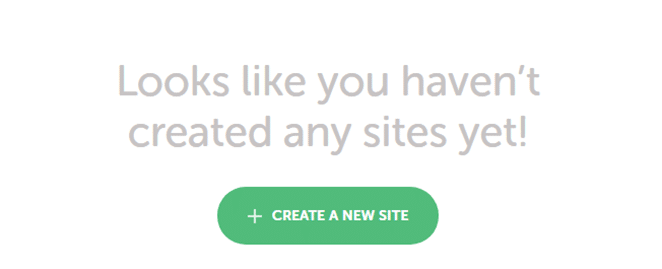
The first thing you’ll need to do is download Local for free. Once you’ve done so, install the application. Bear in mind that this can take a few minutes since Local needs to set up virtual machine software to work. Once Local is ready, you’ll see a prompt to create a new site:
Click on it, and you will be asked to choose a name for your site:
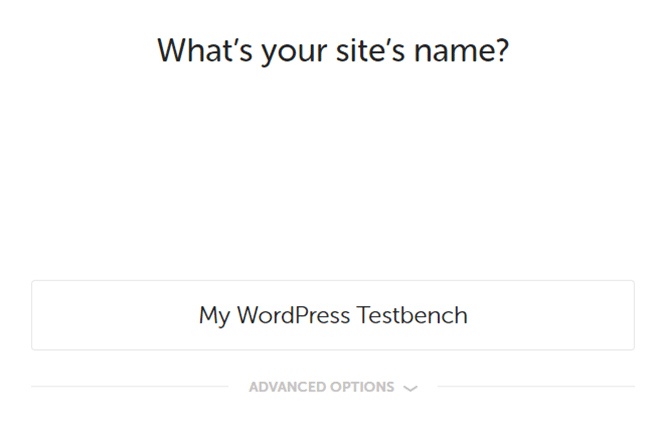
You may notice there’s also a tab labeled Advanced Options. If you click on it, you’ll be able to edit your local site’s domain, pick a root directory, and choose whether you want to use a blueprint.
For now, feel free to edit your site’s domain and directory. we’ll cover how to use blueprints later. When you’re ready, click on the Continue button in the bottom right corner.
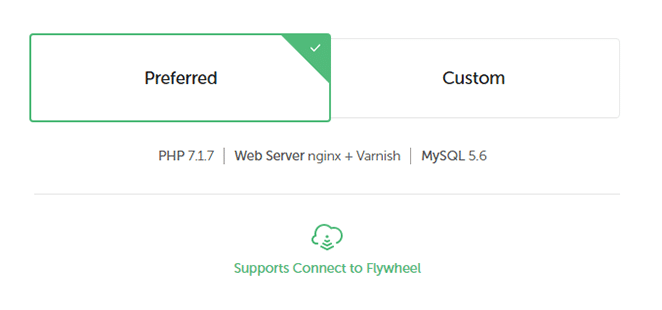
On the next page, you’ll get the option to use Local’s default WordPress environment for your website. The Preferred option includes the latest versions of PHP and MySQL, and it uses a combination of nginx + Varnish for your server:
You can also choose the Custom option, which enables you to change all the settings mentioned earlier:
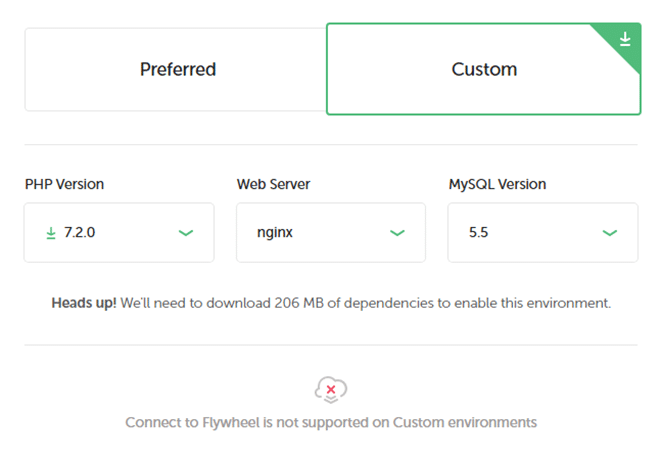
Generally speaking, using the latest versions of PHP and MySQL is always a good call. However, if you’re using Local to set up a staging site, you might need to use older versions of said software to emulate your live server.
For this tutorial, let’s stick with the Preferred setup, so select that and click on Continue. You’ll now be able to choose an admin username, password, and email, and select whether to enable multisite:
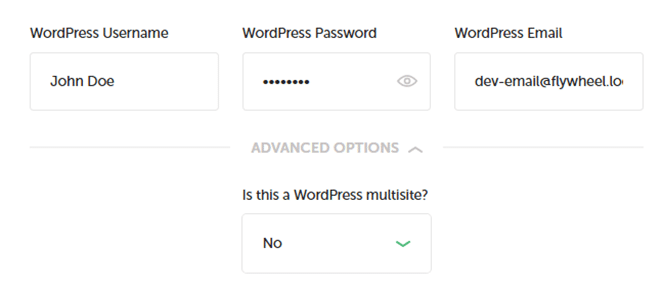
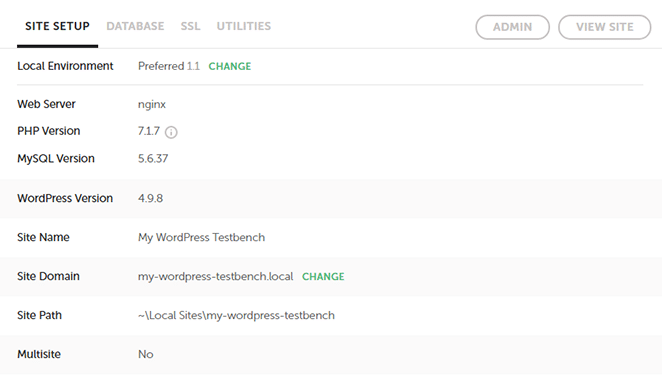
Keep in mind that the default email Local sets up for you will enable you to check out messages from within the application, so it’s recommended that you stick with it. Click on Continue again, and wait for Local to download and configure all the dependencies it needs for your site. When that’s done, your site’s info will show up to the right, and you can move on to step number two.
2. Set up a New Theme Directory
Now that your local WordPress website is ready, you can access it as you would a normal site using the URL you configured. You can also click on the Admin setting in the top right corner to jump right to its dashboard:
For now, though, you need to access your local site’s root folder, where all the WordPress files reside. To find it, look right under your site’s title at the top of the Local screen. There should be a directory listed there, and an arrow you can click to its right.
Clicking that arrow will open the directory in your file explorer. Go inside, and then open the app/public folder to find your WordPress files:
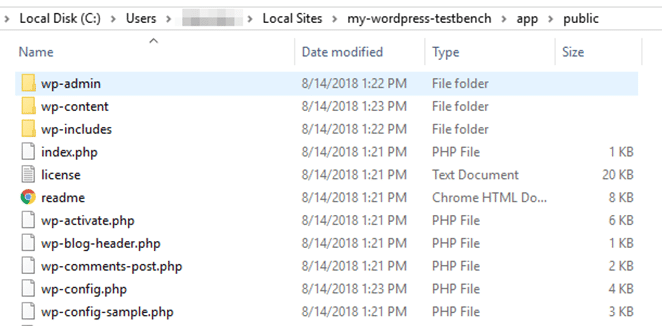
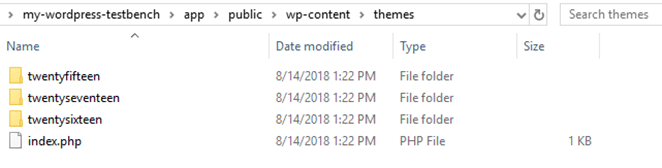
If you’ve ever accessed a WordPress site using an FTP client, this should look very familiar. Navigate to the wp-content/themes directory, where you should see three folders inside. These are the default themes WordPress installs on new sites:
Go ahead and create a new folder. Give it the name you want to use for your theme:
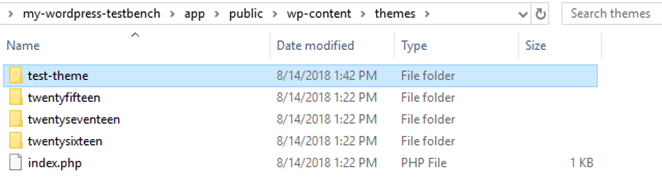
The folder is naturally empty. Next up, we’ll be adding some content.
3. Create Your Theme Layout Files
A basic WordPress theme only requires two files to work: index.php and style.css. Your index.php file corresponds to your WordPress main page, which shows all your latest blog posts and pulls its style from style.css. Let’s go ahead and create both files now:

Both files contain no code at the moment, so let’s change that. First, open style.css and add a brief description for your theme:
/*
   Theme Name: Test
   Theme Author: John Doe
   Description: A basic WordPress theme
   Version: 0.0.1
   Tags: bootstrap
*/
Repeat the same process with index.php, although the code for this one is a bit more complex:
<a href=”index.php?p=”>
That’s about as basic a layout as you can get. Within that code, we’re calling the style.css file we set up earlier, displaying your blog’s title, and using the WordPress ‘loop’. In case you don’t know, the loop is the name of the code a theme uses to display posts, and its actual structure can vary a lot from theme to theme.
Save the changes to both files now, and go to your WordPress dashboard. Navigate to the Appearance > Themes tab, and notice your brand-new theme waiting inside:

Activate it right away and check out your home page:
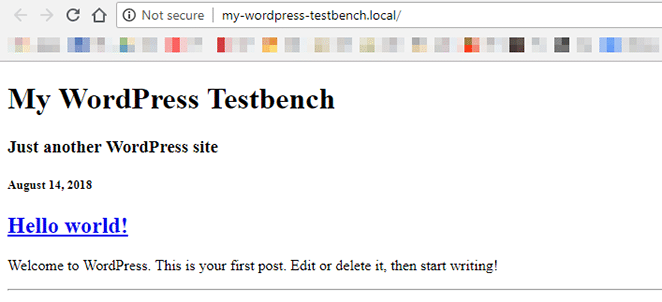
As far as homepages go, it won’t win any awards. However, the important thing is that you have a foundation in place, upon which you can build the rest of your theme. Your next step should be to use your style.css file to add some flair to your theme.
Once you make things a little prettier, you’ll want to work on a more complex layout. For example, you may want to add sidebars and footers to your theme, as well as a header.php file.
If you’re not sure what shape you want your theme to take, we recommend that you take a closer look at some WordPress starter themes. They’re very simple from a visual standpoint, but they include all the features a modern website needs.
4. Test Your WordPress Theme
Before you can use your theme on a live site, you’ll want to test it thoroughly. A quick visual overview will reveal most bugs, but that’s usually not enough. You can also use plugins such as Theme Check, which reviews your theme to make sure it meets WordPress’ review standards.

Theme review standards are only important if you want to publish your theme on WordPress.org. Even if you don’t plan to publish your theme publicly, these standards are still a good yardstick to measure your theme against.
Conclusion
If you have a basic grasp of web development, there’s nothing stopping you from creating your own WordPress theme. While it can take some time, it can be well worth the effort. Plus, it gives you a much greater degree of control over how your site looks.
To recap, the four basic steps to creating a WordPress theme using Local are:
- Use Local to set up a WordPress website.
- Set up a new theme directory.
- Create your theme layout files.
- Test your WordPress theme.
Want to find out more? Visit WP Engine to learn more about our high-quality WordPress hosting, local WordPress development, and our growing suite of tools for the modern WordPress developer.