Get Started


Key Takeaways
XAMPP allows for local WordPress testing. XAMPP is an open-source solution enabling private site testing without internet access, reducing risks of live site disruptions.
Local WordPress sites aid in risk-free changes. Testing changes offline ensures site integrity and optimal user experience before going live.
Installing WordPress with XAMPP involves two key steps. Configuring XAMPP components and setting up WordPress locally are essential for seamless testing environments.
Consider Local as an alternative to XAMPP for user-friendly setup. Local streamlines the process, eliminating manual file editing for quicker local site creation.
WordPress is arguably the most flexible Content Management System (CMS) available. However, making changes to your site isn’t always a sure thing. In fact, modifications to your website’s theme, plugins, or code can wreak havoc if not implemented properly.
Fortunately, it’s possible to test out changes before making them permanent on your live site. You achieve this with a local installation of WordPress, along with the help of a tool such as XAMPP.
In this article, we’ll introduce XAMPP and its various uses in WordPress. We’ll then show you how to install it on your computer (both for PC and Mac) and configure it properly with WordPress to create a local site. Finally, we’ll touch on some ways you can use your local installation effectively.
Let’s get started!
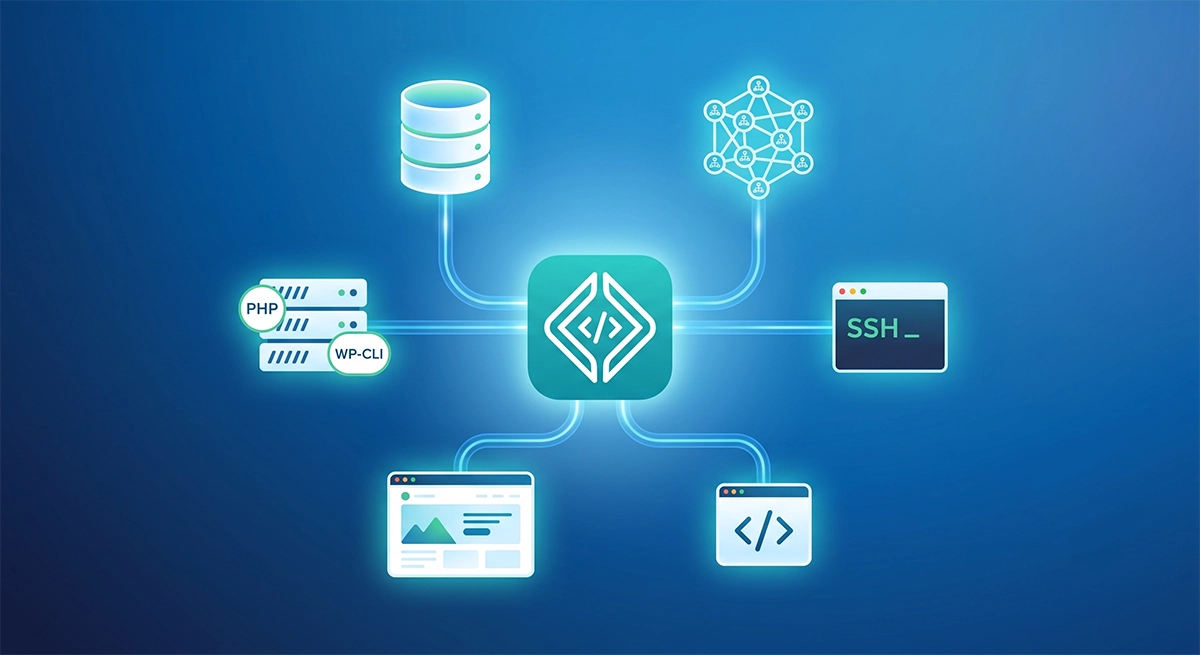
What Is XAMPP?
XAMPP is an open-source web server solution that enables you to create a local installation of WordPress on your computer. You can use this site without internet access, and it’s not publically available to other users. So all your work remains private until you’re ready to share it.
Such a setup is commonly referred to as a “sandbox” or “local environment.” It enables you to play around with different options and settings without interrupting your live site.
Why Install WordPress Locally?
Given that a local WordPress site can be managed on your computer without access to the internet, the ability to test changes without affecting your live site is a huge benefit. For more information on the basics of local hosting, check out our Local page.
You can see how different changes will appear on your site, as well as whether they’ll cause any issues with your current setup. What’s more, you can ensure that your site is properly optimized for a positive User Experience (UX), before letting real users loose on it. As you can see, installing WordPress locally with XAMPP opens a number of doors.
Installing WordPress With XAMPP Tutorial
There are two major steps when it comes to using XAMPP to create a local WordPress site. The first requires the installation and configuration of the software, and the second involves the installation of WordPress itself.
Step 1: Installing XAMPP
As open-source software, XAMPP is free to download and install on your computer. To begin, go to the XAMPP website and choose the version you need (Windows, Linux, or Mac).
Note that the rest of the steps below may vary slightly, depending on your operating system. If you’re using a Windows machine, double-clicking on the XAMPP file will open the Setup Wizard.
First, you’ll need to select the components to include in the installation from the checklist. For WordPress, all you need is Apache, MySQL, and phpMyAdmin. Once you’re ready, click on Next.
On the following screen, you’ll need to select a local folder to save your XAMPP installation to, and click on Next again. Then your installation will begin—it should only take a few minutes.
Once the installation is complete, you can open the Control Panel immediately, or uncheck the box and open it later. When you do open it, you’ll see the following screen.
Here, you can start Apache and MySQL. At this point, the installation and configuration of XAMPP is complete. It’s now time to move on to installing WordPress.
Step 2: Installing WordPress Locally Using XAMPP
If you’re using a Windows or Linux computer, you can install WordPress using one of the Bitnami one-click installers. However, in case you need to manually install the platform, here’s how to go about it.
This will require a bit of file editing, although you should be up and running within the hour. With both Apache and MySQL running successfully, you’ll need to create a database. To do so, open your XAMPP control panel and click on Admin next to MySQL.
A new browser window will open, and you’ll now have access to phpMyAdmin, which enables you to tinker under the hood of your server (in this case, your computer’s directory).
Next, click on Database in the top-left corner of the interface, and add a new database by entering in a name of your choosing. Click on Create.
With the new database in place, it’s time to install WordPress. Go to WordPress’ Download page and download the latest version. While the file will save to your computer’s dedicated download folder, you’ll need to unzip it into the proper directory to be able to access your installation via XAMPP.
Find the XAMPP folder on your computer, and open the htdocs folder within. There, you’ll create yet another folder named after your database. Drag and drop the WordPress .zip file you downloaded into this new folder, right click on it, and choose Extract.
Next, locate the wp-config-sample.php file and rename it to wp-config. Then open the file and find the line reading // ** MySQL settings – You can get this info from your web host ** //.
Here, replace the following placeholders:
- database_name_here to the name of the database you created in phpMyAdmin
- username_here to root
- password_here should be left blank
In all instances, keep the single quotation marks intact. Then save the edited file and close the editor.
You can now install WordPress! Enter http://localhost/name-of-database/ into your browser’s address bar (replacing name-of-database accordingly). You should see the WordPress translation screen. Choose your language, click on Continue, and then complete the rest of the installation process.
At this point, your WordPress installation should be all set! You can now go to http://localhost/name-of-database/wordpress/wp-admin to log in to your local WordPress site.
Installing WordPress in XAMPP on MAC OS
Mac users will need to follow a slightly different process in order to use XAMPP. After downloading the macOS version of the software from the XAMPP home page, simply open the XAMPP file and drag it into the Applications folder when prompted.
Then click on the Start button. This will reveal the IP address for your local computer.
Next, click on the Services tab and start Apache and MySQL.
Then you’ll be ready to move on to installing WordPress. To open phpMyAdmin for your XAMPP installation, simply type the IP address in the General tab of the XAMPP window into your browser, and select the phpMyAdmin tab.
The rest of the process is the same as the one we outlined in step two, although you’ll use Finder to access your files.
Alternative To XAMPP: Local
While the process of installing XAMPP and WordPress isn’t so difficult that you’ll need extensive technical knowledge, it’s also not the easiest task. If you’re in a hurry or simply want a solution that’s a little more user friendly, you might want to consider Local instead.
Local is the WP Engine alternative to XAMPP. Both are free and available for Windows, Mac, and Linux machines. The primary differences are that Local is WordPress-specific, and it streamlines the local website creation process so you don’t have to edit any files by hand.
To set it up, all you need to do is download Local and follow the installation prompts for your operating system. You can then connect Local to your WP Engine site to keep your staging environment up to date, and to easily push changes you’ve tested out to your live site.
How to Use WordPress with XAMPP
Now that you’ve got WordPress running on XAMPP, you can take website development to the next level. For example, you could work on a new design for your product landing pages, or install a new plugin to see if it plays nicely with your current setup.
You no longer have to worry about making changes that interrupt a user’s experience, or will potentially harm your site. If you want to test out your current website configuration, you can even upload the backup files from your current website to create a “mirror” site. Your local site will then have everything your live site has—posts, pages, plugins, themes, and more.
Can XAMPP and WordPress Be Used for Staging?
Staging is the process of testing changes before implementing them on your live site. While XAMPP and WordPress can be used for staging purposes, there are better options available (including Local, which we introduced above).
As we already mentioned, you can create a mirror site on XAMPP by importing a backup of your live site. However, you’ll have to do this every time you want to test a new change, in order to keep your local and live sites in sync. This can become tedious and time-consuming.
Additionally, XAMPP has not always been reliable about showing users how changes will impact their live sites. Since XAMPP is a different kind of server than the one your live site probably runs on, some errors and other issues may not play out the same way on your two sites.
See What WP Engine Can Do For You
WordPress is a robust CMS, enabling you to develop a website that goes above and beyond. With help from extensive developer resources, you can create the perfect setup for your site, as well as a staging environment and any other supplementary tools you may require.
You’ll also need a host such as WP Engine, to support your website’s growth over time and simplify the staging process. Take a look at our plans and learn more about our indusry leading WordPress hosting—including free SSL certificates and automated site migration—and see what we have to offer!