Get Started


Key Takeaways
Adding a scroll back-to-top button enhances UX. Long-form content popularity requires attention to user experience. Incorporating a back-to-top button aids navigation and boosts reader engagement.
Manual vs. plugin methods for adding the button. Choose between coding the button for customization or using a dedicated WordPress plugin for simplicity.
Considerations for implementing the button with HTML. Steps involve creating scripts, styling the button, and integrating JavaScript files.
Explore plugin options for scroll back-to-top functionality. To Top, WPFront Scroll Top, and Page scroll to id offer varying features for adding a floating back-to-top button.
When it comes to retaining and expanding your WordPress site’s readership, maintaining good User Experience (UX) is crucial. As such, if your content is lengthy, you may want to add a “scroll back-to-top” button as a handy timesaver.
Fortunately, adding this to your WordPress site is simple. You can either take the manual approach and use code, or choose a dedicated WordPress plugin. Ultimately, scroll back-to-top buttons can be configured to function on any device your site is viewed on.
In this article, we’ll take a closer look at what a scroll back-to-top link is (and why it’s good for UX). We’ll then take you through both methods for adding them to your WordPress website. Let’s dive in!
Back-to-Top Button
It’s no secret that long-form content is increasing in popularity on the web. This makes sense, as long-form content presents more opportunity for conveying detailed information, showcasing more images, and infusing keywords to boost your Search Engine Optimization (SEO). However, simply generating long content and ignoring UX will likely put your readers off.
Adding a back-to-top button can help you avoid this. As the name suggests, once clicked, this simply brings your user back to the top of the page they’re on. They’re suitable for all devices and screens, and typically float in the bottom right hand corner of the screen.
If you use long-form content, incorporating a scroll back-to-top button is highly recommended. This piece will cover exactly how to do so.
Adding a Scroll Back-to-Top Button with HTML
This method is ideal if you want to directly tweak the appearance and behavior of your page scroll back-to-top button manually (and refrain from burdening your site with extra WordPress menu plugins).
Before you begin, remember you’ll be playing around with code under the hood. As such, it’s a good idea to use a child theme or local development environment when adding the button via HTML (as well as backing up your site). Let’s take a look!
Step 1
The first step will be to access your WordPress website’s files via File Transfer Protocol (FTP) to locate your JavaScript folder. For this example, we’ll use FTP solution FileZilla, as it is user-friendly, secure, and available for every platform.
Once you’ve added your site’s credentials, navigate to wp-content > themes > yourtheme > js (your theme being the theme you’ve selected for your site):
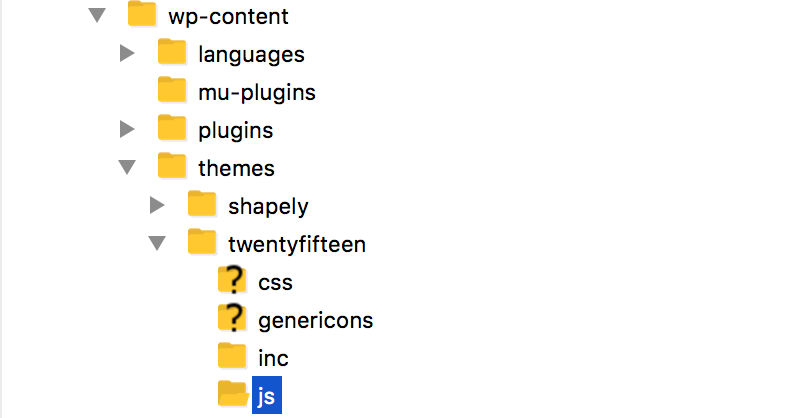
In this folder, we’ll need to create a script file that will dictate how your button will behave on your site.
Step 2
Next, you’ll want to create a new file named topbutton.js within your js folder. To do this in FileZilla, right-click the lower right hand quadrant and select Create new file. Once the file opens in your favorite text editor, paste in the following code:
jQuery(document).ready(function($){
    var offset = 100;
    var speed = 250;
    var duration = 500;
        $(window).scroll(function(){
            if ($(this).scrollTop() < offset) {
                      $('.topbutton') .fadeOut(duration);
            } else {
                      $('.topbutton') .fadeIn(duration);
            }
        });
     $('.topbutton').on('click', function(){
            $('html, body').animate({scrollTop:0}, speed);
            return false;
            });
});
You can adjust the speed and duration settings in this code to meet your needs as they represent units of time, but this isn’t necessary right now.
Once you’re happy with your button’s settings, save the file and move onto the next step.
Step 3
You’ll now need to create your button. You can either create one from scratch or download one from a site such as Font Awesome. Next, upload your image to WordPress via the Media Library, and copy its URL:
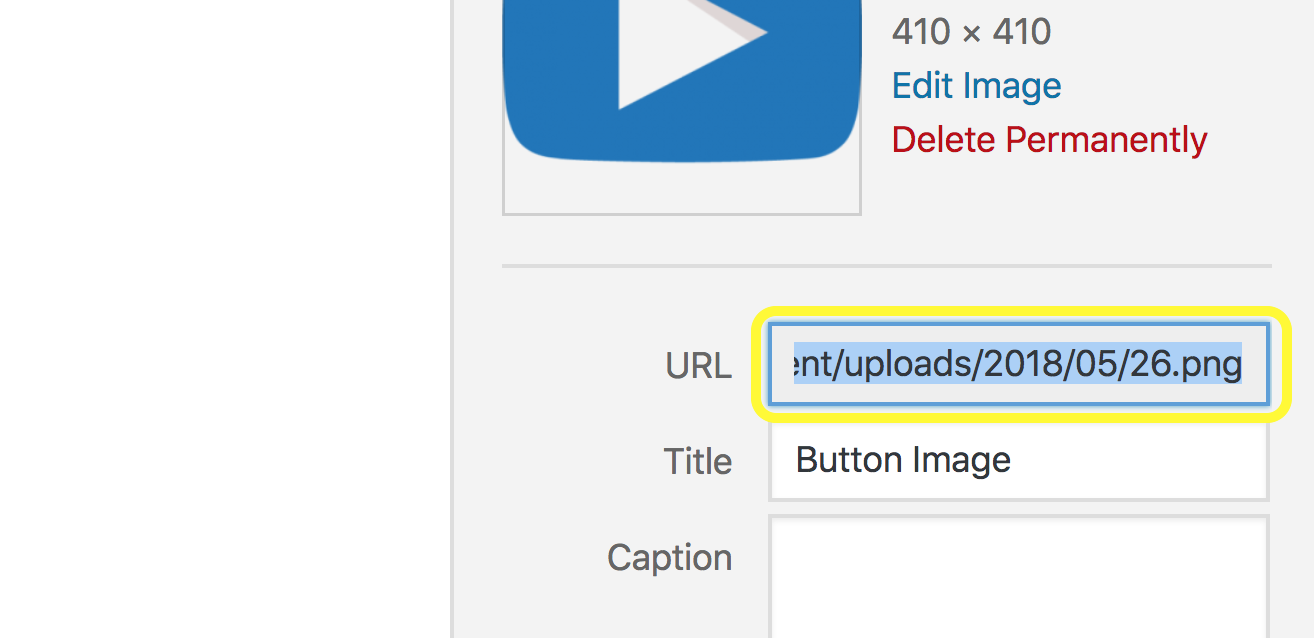
You’ll need to paste this URL into your style.css file in order to use it on your site, which brings us to the next step.
Step 4
Your style.css file contains all of the design elements of your site, such as fonts, colors, and much more. To access it, navigate to Appearance > Editor within WordPress, and open the Stylesheet tab. You’ll then need to paste in the following snippet:
.topbutton {
     height:50px;
     width:50px;
     position:fixed;
     right:5px;
     bottom:5px;
     Z-index:1;
     background-image:url("http://example.com/wp-content/uploads/2015/01/topbutton.png");
     background-repeat:no-repeat;
     display:none;
}
Be sure to replace the image link URL in this snippet with the URL you copied in the previous step. Then select Update File, which will will set your button to appear.
Step 5
You’ll now need to tell WordPress that you want to use the JavaScript file you created. Remaining in the Editor page, open up the Theme Functions (functions.php) tab:
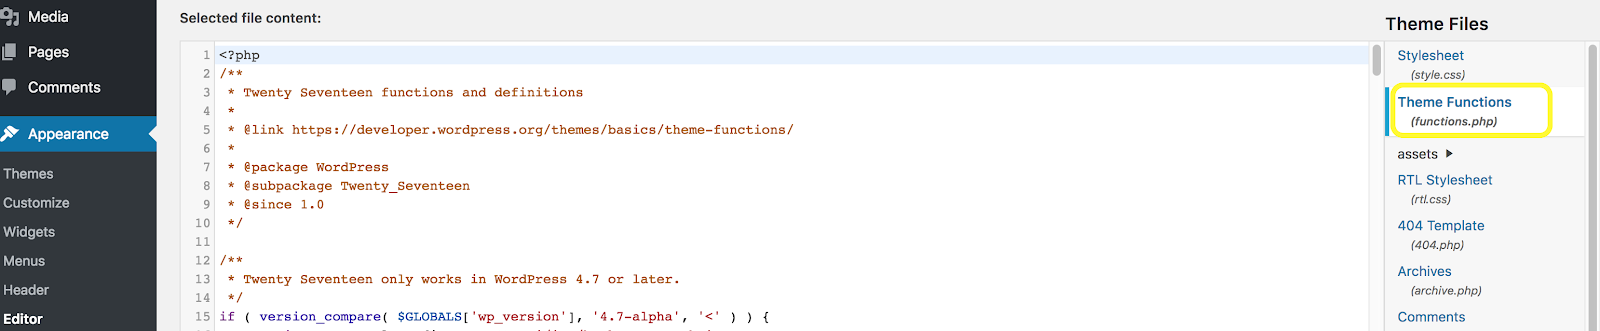
Next, paste in the following enqueue script:
function my_scripts_method() {
     wp_enqueue_script(
           'custom-script',
           get_stylesheet_directory_uri() . '/js/topbutton.js',
           array( 'jquery' )
     );
}

add_action( 'wp_enqueue_scripts', 'my_scripts_method' );
Don’t worry if you don’t understand the text—WordPress will, which is the important thing! When you’re ready, hit Update File.
Step #6
Finally, to add your button to the footer of your web page, navigate to the Theme Footer (footer.php) file within the Editor screen, and paste the following code snippet (ideally before a closing div tag to ensure optimal spacing):
<a href="#" class="topbutton"></a>
Select Update File and you’re all set! Your back-to-top menu button should now display on the pages of your WordPress site.
Adding a Scroll Back-to-Top Button with a Plugin
While the manual method is going to be simple for experienced developers, everyone else will likely want to use a dedicated WordPress plugin. Let’s roundup some of the best free options currently available.
To Top
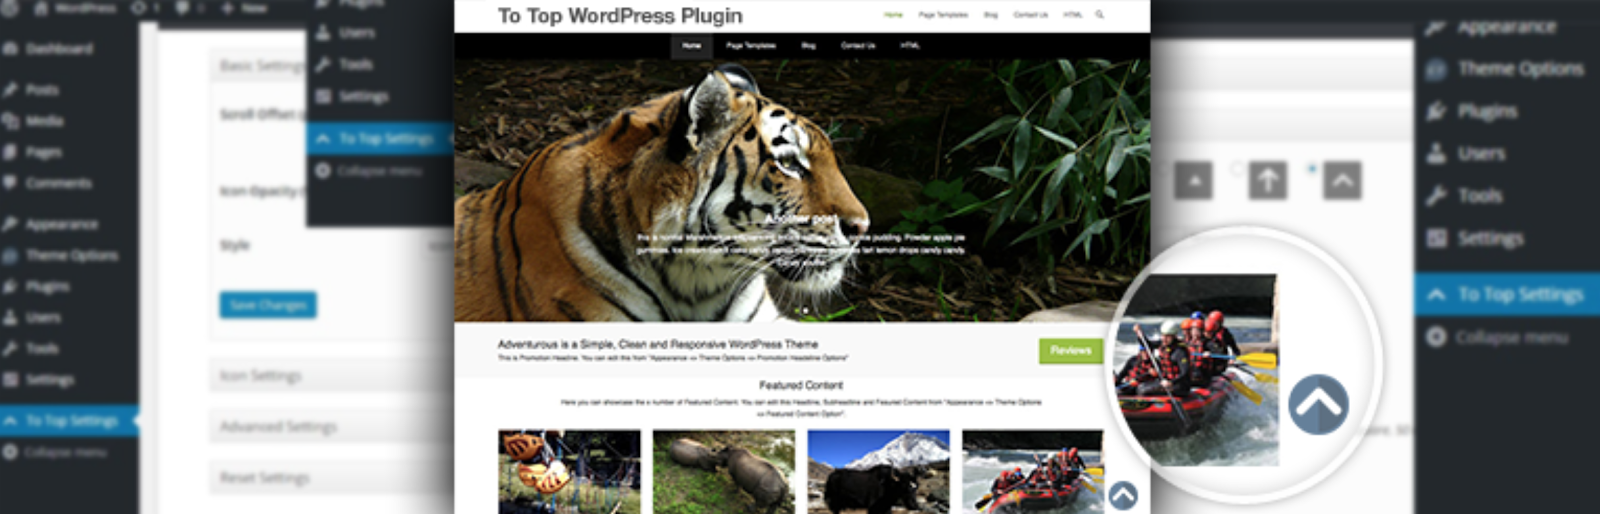
This lightweight plugin will add a customizable floating button to your pages, letting your readers glide back to the top of the page. With To Top, you can adjust your button icon’s size, color, and position effortlessly using drop-down menus. There’s even an option for optimizing your menu button for mobile devices.
What’s more, you can also set when the button appears on your page, reducing clutter, and boosting UX.
WPFront Scroll Top

Although it’s not as feature-heavy as To Top, WPFront Scroll Top is a versatile option to consider. You can set practically any image for your button, add Font Awesome elements, and even adjust the icon shape.
In addition, while WPFront Scroll Top is configured to display responsive icons that will look good on any mobile device, you also get the option to not show your button on smaller screens.
Page scroll to id

Page scroll to id is—much like the other solutions in this list—simple to use and implement. However, it’s unique in that you can also add buttons for horizontal and custom scrolling. This is going to be ideal for one-page WordPress sites designed for smooth scrolling on smaller screens.
The plugin also comes with a huge array of customization and configuration options. You can use it to quickly adjust your scroll duration and behavior, tweak button animations, set anchor point targets and more.
Reliable and Affordable WordPress Support With WP Engine
At WP Engine, our expert team is committed to helping you keep your WordPress site’s UX top notch. Our dedicated content library contains a wealth of articles, tip roundups, and insights for improving the performance and appearance of your site. If you have any specific enquiries or concerns, our support staff are able to help 24/7.
To find out more about our about our quality hosting plans for WordPress, or find out how we can boost your WordPress site performance, don’t hesitate to contact us today!