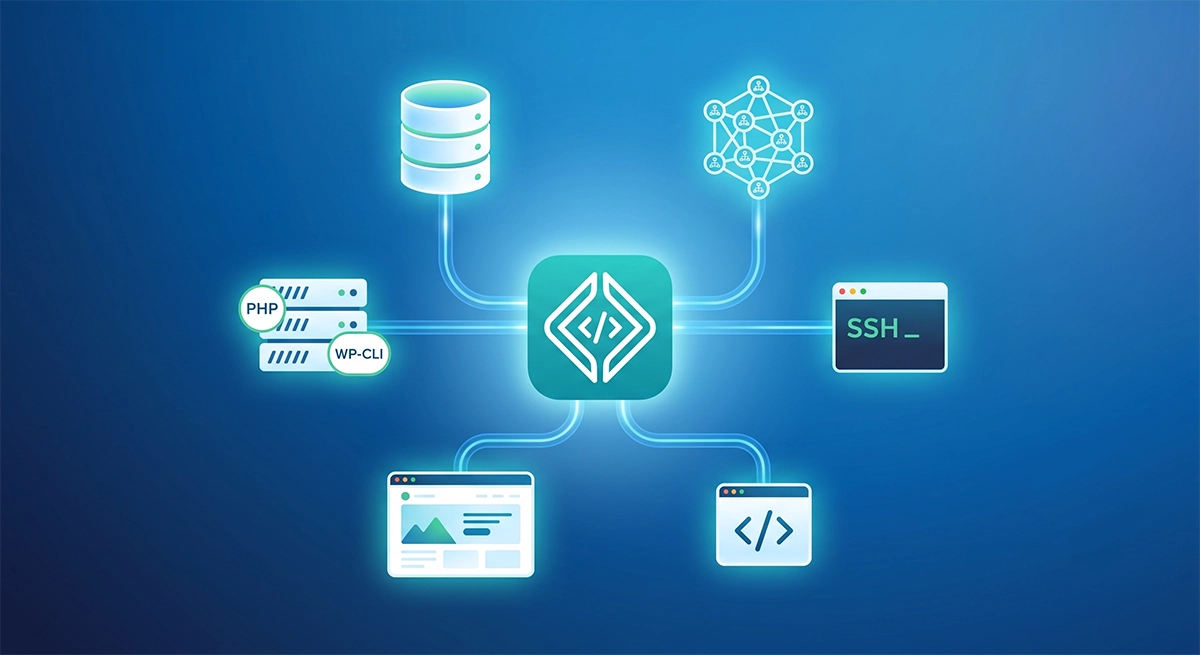
Get Started
Allowed Memory Size Error
Tags:
Key Takeaways
Allowed Memory Size Error
Memory errors in WordPress can be resolved by editing wp-config.php. By defining new memory limits, tasks can be completed without exceeding allocated memory.
Memory leaks may persist even after increasing memory limits. Testing and monitoring plugins/themes can help identify and resolve memory leaks.
Review WP Engine default platform settings for additional optimization.
If you are using WordPress® to perform tasks which consume a large amount of Memory (RAM) to complete, you may run into errors due to the amount of Memory required for the task.1 This article will explain what these Memory errors mean, and how to resolve them.
About Allowed Memory Errors
If you are performing tasks that consume a large amount of Memory on your WP Engine server environment, you may encounter an error similar to the following:
Fatal error: Allowed memory size of 536870912 bytes exhausted (tried to allocate 98574336 bytes) in /nas/content/live/yourinstall/wp-content/object-cache.php on line 425
In some cases this error will print directly on your page. In others, you may see a blank white screen (sometimes called the “White Screen of Death”), or a browser error:
This page isn’t working
yourdomain.com is currently unable to handle this request.
HTTP ERROR 500
In this case, you may find the fatal error mentioned above in the site error logs located in your User Portal instead.
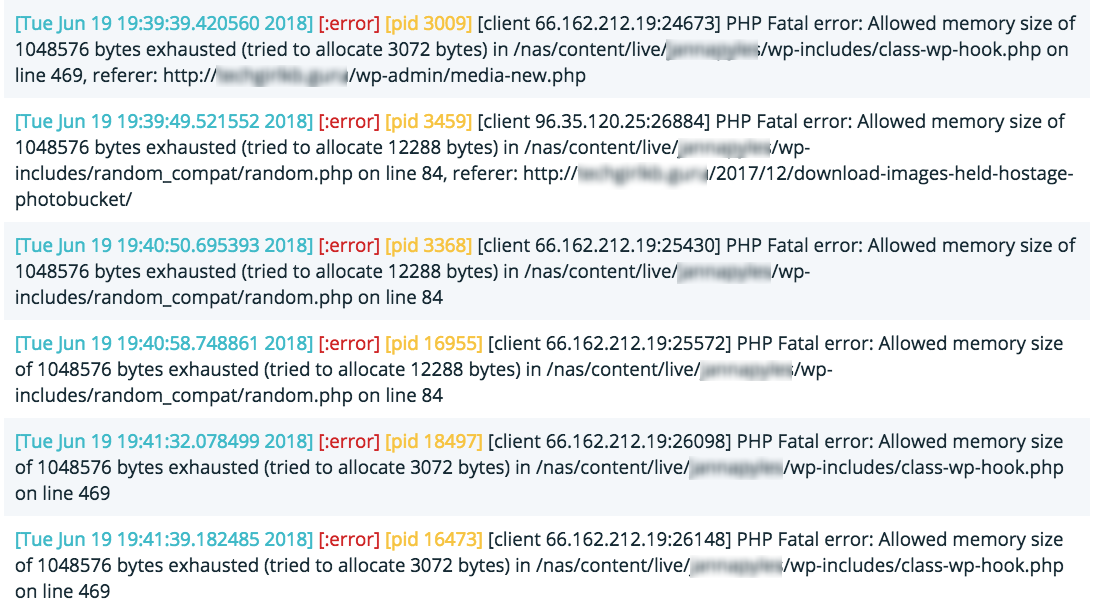
In either scenario, this error indicates that the current task tried to use an amount of Memory that was higher than the amount allocated to PHP. It is not specific to WordPress sites, but rather to PHP and how much memory PHP is allowed to use.
Fixing Allowed Memory Errors
By default, WordPress defines the memory limit for WordPress PHP processes to 40MB for a standard site and 64MB for a WordPress multisite. Adding two lines to your wp-config.php file defining a new Memory limit will overwrite the default Memory limitations.
To edit your wp-config.php file you will need to connect to SFTP. If you have never connected to this website over SFTP before, be sure to review our SFTP guide for help downloading an SFTP client and adding an SFTP user.
Edit wp-config.php
Open your SFTP client and enter your SFTP credentials to connect to your website. Once you are connected, you will see a listing of the files and folders for your website. Right-click the “wp-config.php” file from the list and select “View/Edit.” This will open the file in a text editor.

In the text editor, scroll down to the “WP Engine Settings” section and add the following two lines:
define('WP_MEMORY_LIMIT', '256M');
define( 'WP_MAX_MEMORY_LIMIT', '512M' );
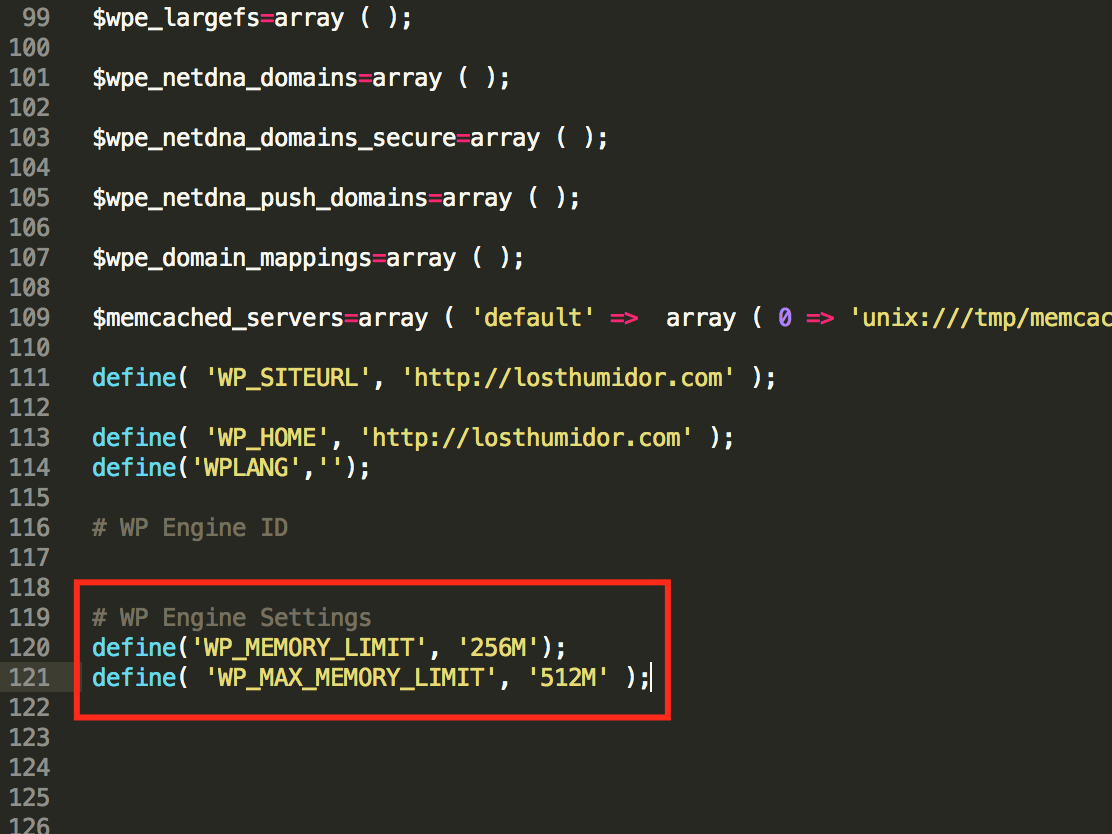
We recommend setting 256MB for the standard WP_MEMORY_LIMIT, as this is the line that defines how much memory all WordPress operations can use. By adding a WP_MAX_MEMORY_LIMIT line as well, you are setting a separate limit specifically for tasks in the WordPress Admin Dashboard area of your site. We recommend setting this at a max of 512MB because administration-related tasks often require more Memory,
When the lines have been added, save the file in your text editor. Your SFTP client may ask whether or not you would like to apply the changes to your website. Make sure you select “yes” if prompted to confirm the change.
That’s it! Provided the task does not require more than the max memory allowed by WordPress (now 256MB for all requests, and 512MB for wp-admin requests), your issue will be resolved.
Detecting a Memory Leak
If the memory limit has been increased, but the memory exhaustion error continues to occur- there may be a memory leak. A memory leak happens when a theme/plugin process uses up too much PHP memory. Unfortunately, the fatal error may not tell you which plugin/theme is causing the memory leak.
- Start by copying the environment to staging or development for testing.
- Then disable all plugins and themes on the test environment.
- Next, install and activate a plugin to help monitor memory usage, such as Query Monitor, Server IP and Memory Usage or WP-Memory-Usage.
- Finally, reactivate plugins and themes one by one on the test environment, monitoring the website’s memory usage as you go.
- Once the culprit has been located, reach out to the developer of the offending plugin or theme for more guidance.
NEXT STEP: Review WP Engine default platform settings