Get Started
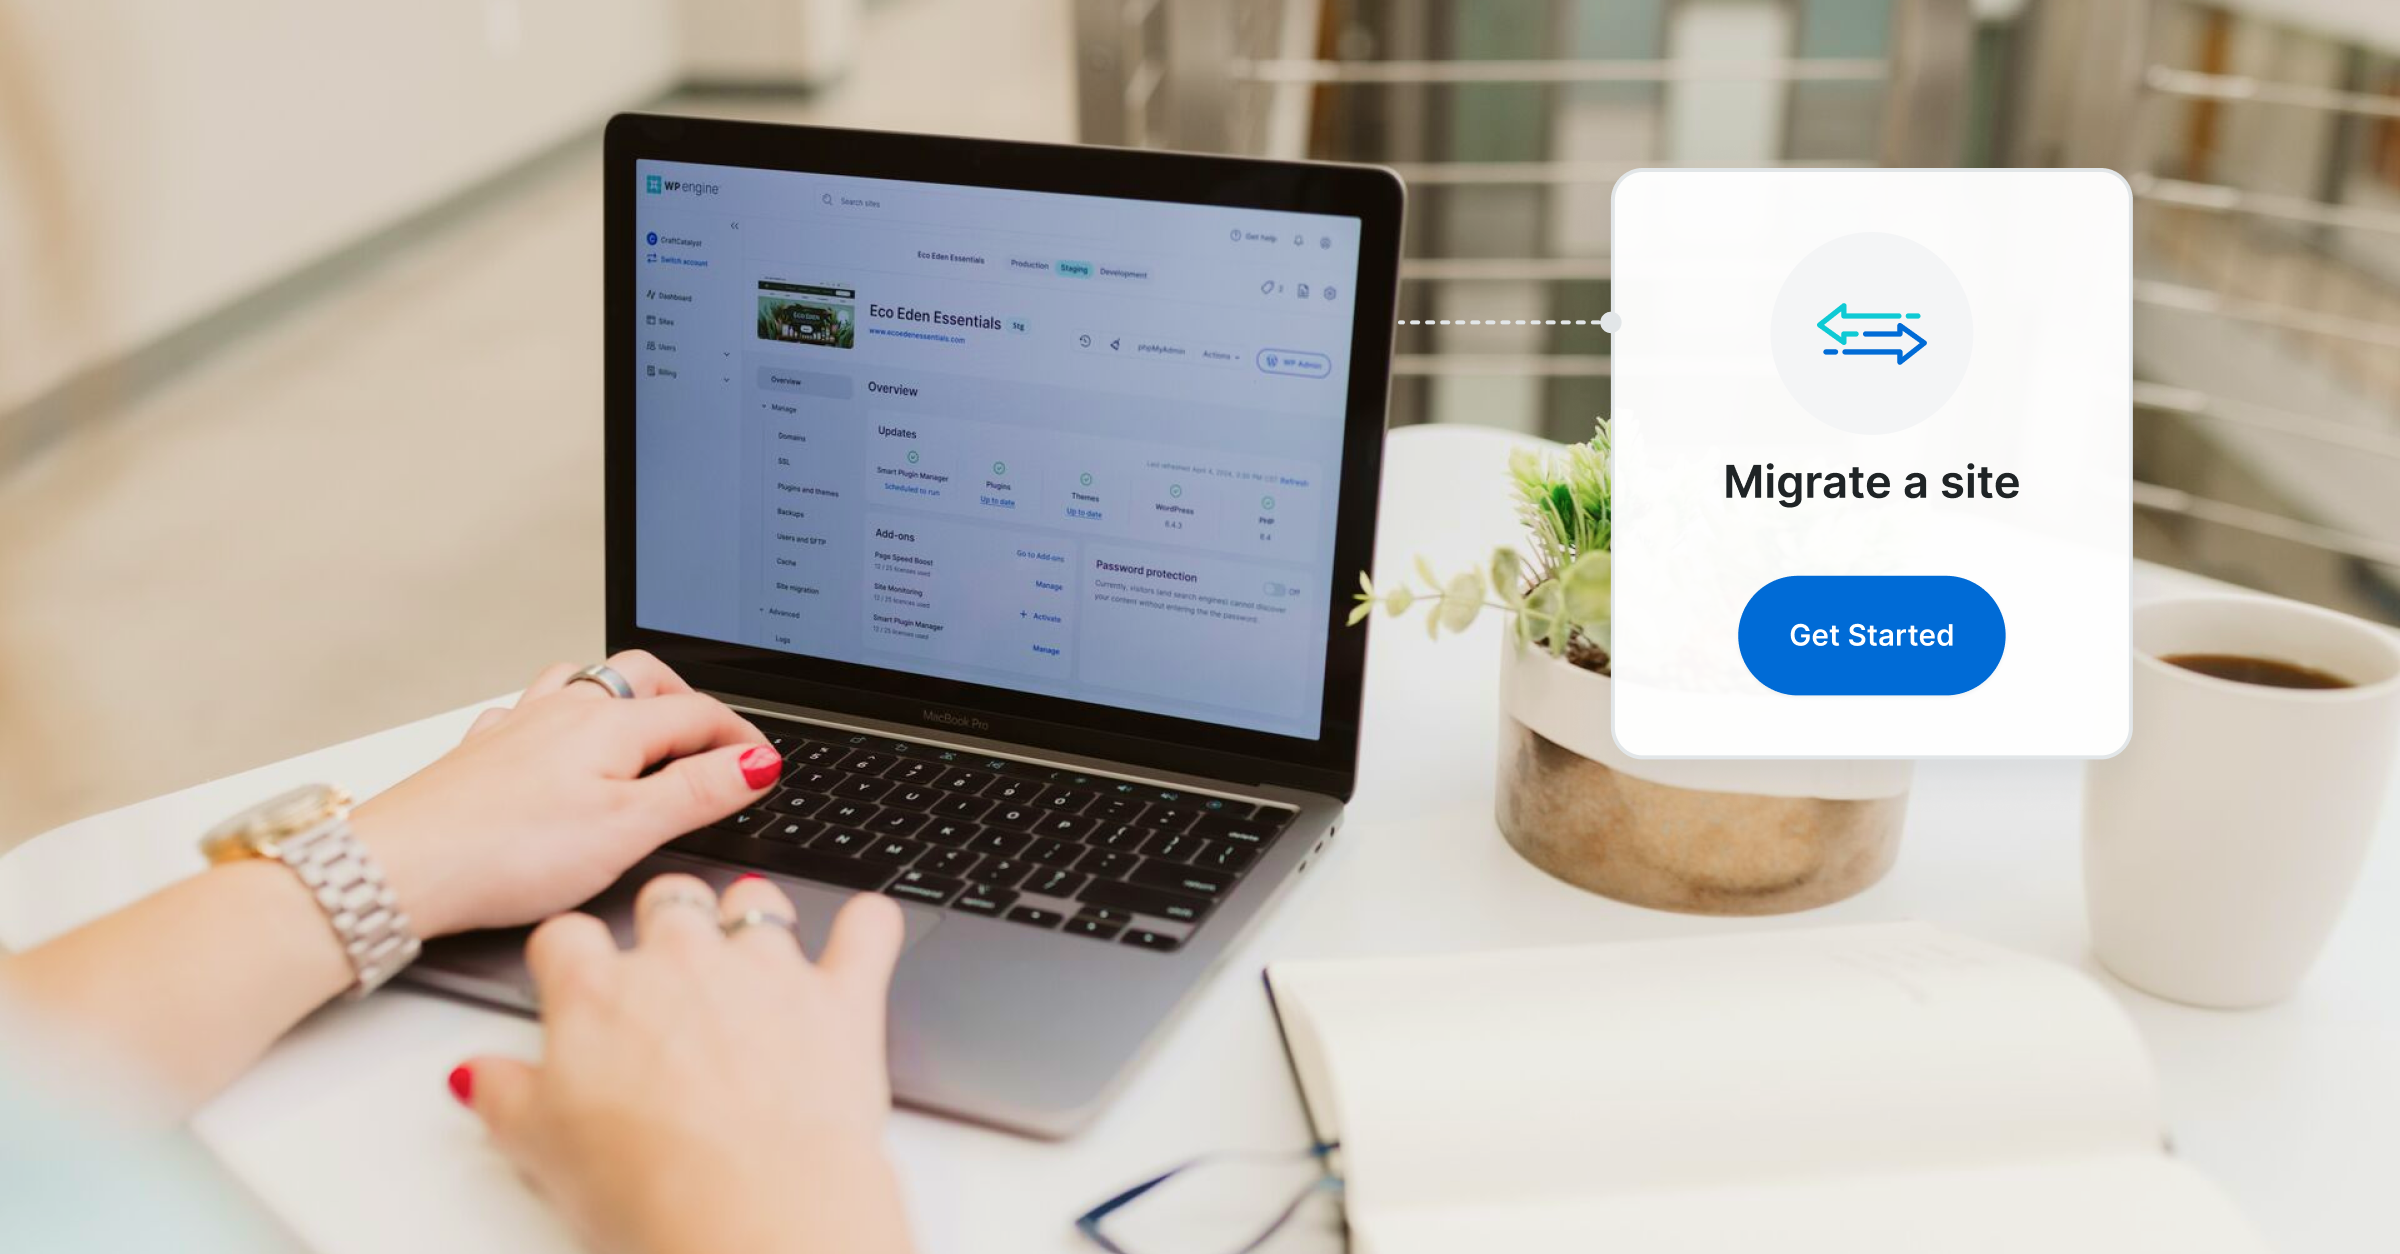
Migrating an eCommerce Site
Tags:
Key Takeaways
Migrating an eCommerce site involves unique challenges. Constant changes in an eCommerce store require careful planning to prevent data loss and minimize downtime during migration.
Disabling emails and API calls is crucial for a smooth migration. Preventing unexpected communications or charges to customers ensures a seamless transition to the new host.
Timing migrations help plan for downtime effectively. Running trial migrations aids in determining the impact on site availability and visitor experience.
Adding the domain and pointing DNS correctly are critical final steps. Completing these steps ensures the new site is live and directing traffic appropriately.
Migrating an eCommerce site to a new host comes with a separate set of challenges from a simple blog. An eCommerce site is constantly changing – with new orders, new customers, and rotating products, it can’t be expected that a store will remain in the exact same state for very long, nor that you can take your business offline for too long to facilitate a migration. In order to protect your business from the possibility of data loss or missed conversions while migrating to WP Engine, we’ve put together this guide on how to migrate an eCommerce store.
The steps in this guide ensure that your store’s content and domain are transferred in an orderly fashion that prevents lost data as well as minimizes overall downtime.
eCommerce Migration Process
Before starting this process we suggest reading through each step carefully. These initial steps copy the bulk of your site’s content, as well as prevent the new site from sending duplicate emails or charges. You’ll then run a trial “timing” migration to determine how long your site will be down during the finalizing process. Upon completing these steps your site will be fully migrated and the domain will be pointed and directing traffic to WP Engine.
Before starting, you will need:
- Access to the website at your previous host.
- You will need access to install and initiate a plugin.
- A new environment on WP Engine to migrate content to.
- Access to your DNS records.
- This is usually where you bought the domain, but may be an intermediary DNS management service such as Cloudflare or Sucuri.
If you run into any issues or have questions at any time, our Support team is available to help 24×7, 365 days a year! Reach out to us here.
Migrate Your Content
The first step is to make an initial copy of your site’s content on WP Engine’s server. To do this, simply follow the first steps of the automated migration process.
Copying the content for the first time can take a while, especially if you have a large site. You will receive an email when this is done.
(Optional) Disable Emails, External Calls, and Cron Events
Disabling emails, external API calls, and scheduled cron events is optional, but recommended. This is done to prevent any unexpected communications or charges to your customers from the incomplete WP Engine version of your site.
Depending on your particular website and overall configuration, you may only need to disable a portion of these items.
Set Store to Staging Mode
Store-related API calls, emails, and cron tasks can automatically be disabled by placing the store into Staging mode. This will prevent issues such as duplicate subscription charges. Be sure to perform this on the WP Engine version of the website.
Disable Emails
Emails should be disabled on the WP Engine environment. This is to prevent any duplicate emails from being sent from the new site while you are in the process of migrating.
To disable emails we recommend using a plugin.
Disable External API Calls
If your website makes external API calls, we recommend disabling these on the newly migrated version of your site that is located on WP Engine.
Disable Crons
Disabling crons, similar to disabling emails, will prevent any scheduled tasks from firing. These should be disabled on the new site, on WP Engine, to prevent duplicate actions.
Alternatively, crons can be deleted by installing a plugin such as WP Crontrol. Those crons will be added back in the final migration.
Run a Timing Migration
Now that you’ve created an initial copy of the site, subsequent migrations will typically be performed faster. Run the migration plugin a second time, this time keep track of how long the migration takes to complete.
Be sure to enter your WP Engine default CNAME address as the Destination Site URL (i.e. yoursite.wpengine.com).
Your site will require an amount of downtime to finalize the migration and update DNS. Knowing the length of time this “timing” migration takes will allow you to plan for your downtime in the final move. Use this timing to select a period of slow traffic where the final migration steps will have the least impact on your visitors.
(Optional) Disable Emails, External Calls, and Cron Events
Disabling emails, external API calls, and scheduled cron events is optional, but recommended. This is done to prevent any unexpected communications or charges to your customers from the incomplete WP Engine version of your site.
Review more information in the previous section here.
Add Domain in User Portal
Add your live domain into the WP Engine User Portal.
- Log in to the User Portal
- Choose your production environment name
- Select Domains
- Click Add Domain
- Enter your domain
When you reach the Point DNS step, select I’ll point this later. Do not point your DNS at this time, or the migration plugin will be unable to access your old site for the final migration.
Learn more about adding your domain to the User Portal here.
Place Site in Maintenance Mode
Select a low period of traffic on your site to begin the finalizing steps. Your site will need to have a freeze in place to prevent traffic while the migration is finalized and DNS propagates.
At your previous host, place the old site into maintenance mode. A custom maintenance page can be configured, or a plugin can be utilized.
We recommend the WP Maintenance Mode & Coming Soon plugin.
Run the Final Migration
This final migration should be a similar length of time as determined by the “timing” migration performed previously.
This time enter your website’s “live” domain as the Destination Site URL (i.e. yourdomain.com) instead of the WP Engine temporary CNAME (i.e. yoursite.wpengine.com) that was used in the first two migrations.
Point DNS
Log in to your DNS host and point DNS for your domain. There are three options when pointing DNS to WP Engine:
- Advanced network DNS – Recommended for most sites.
- Legacy network DNS – Uses a legacy network format, not recommended.
- Global Edge Security DNS – This should be used if you have purchased this product extension.
Once you’ve pointed your DNS, confirm that it has propagated and that it shows your WP Engine IP(s) or CNAME on servers around the world. When typing your domain in a browser, you should now load the WP Engine version.
You can test DNS propagation on a website such as WhatsMyDNS. Enter your domain and be sure to update the dropdown to test either A or CNAME records, depending on what you’ve configured.
Add an SSL
eCommerce sites typically require an SSL to accept customer information.
Once DNS has propagated you can secure your site with am SSL in a few ways:
- Install Let’s Encrypt certificate(s) – This option is free for all plan levels, but only available when using the legacy network.
- Import a third-party SSL – Not available for Startup or Lite plans. This option should only be selected if you require an SSL purchased from a third party.
Review and Test Site
Log in to the site and ensure everything is functioning as expected.
WP Engine recommends reviewing essential pages and functionality such as product pages, contact forms, as well as your cart and checkout processes. It’s a good idea to place a test order to verify end-to-end functionality.
The WP Engine platform automatically excludes certain eCommerce pages from our server caching to help with standard functionality. If a page is not submitting information correctly, reach out to our Support team.
Remove Maintenance Mode
When you’re satisfied that everything is working, take your new WP Engine site out of maintenance mode.
That’s it! Your site has been migrated and taken live with WP Engine. If you run into any issues or have questions at any time, our Support team is available to help 24×7, 365 days a year! Reach out to us here.
The previous version of your website at the old host will be inaccessible due to the DNS change. You may choose to cancel your website hosting at this point. If you choose to switch the old website to a temporary domain to retain access, we recommend disabling automated services and emails on the previous host, similar to the step Disable Emails, External API Calls, and Cron Events above.